
If you're new to competitive gaming or have recently switched from console to PC, the term \"DPI\" probably sounds like tech jargon. You’ve likely heard players talk about their “400 DPI” or “800 DPI setup,” but what does that actually mean—and more importantly, how can it help you aim better? The truth is, DPI settings are one of the most misunderstood yet impactful aspects of precision in games like FPS (first-person shooters), MOBAs, and battle royales. Getting this right can transform shaky, inconsistent aiming into smooth, controlled targeting. This guide breaks down everything you need to know—no fluff, no confusing math—just clear, actionable advice to help you improve faster.
What Is DPI, and Why Does It Matter?
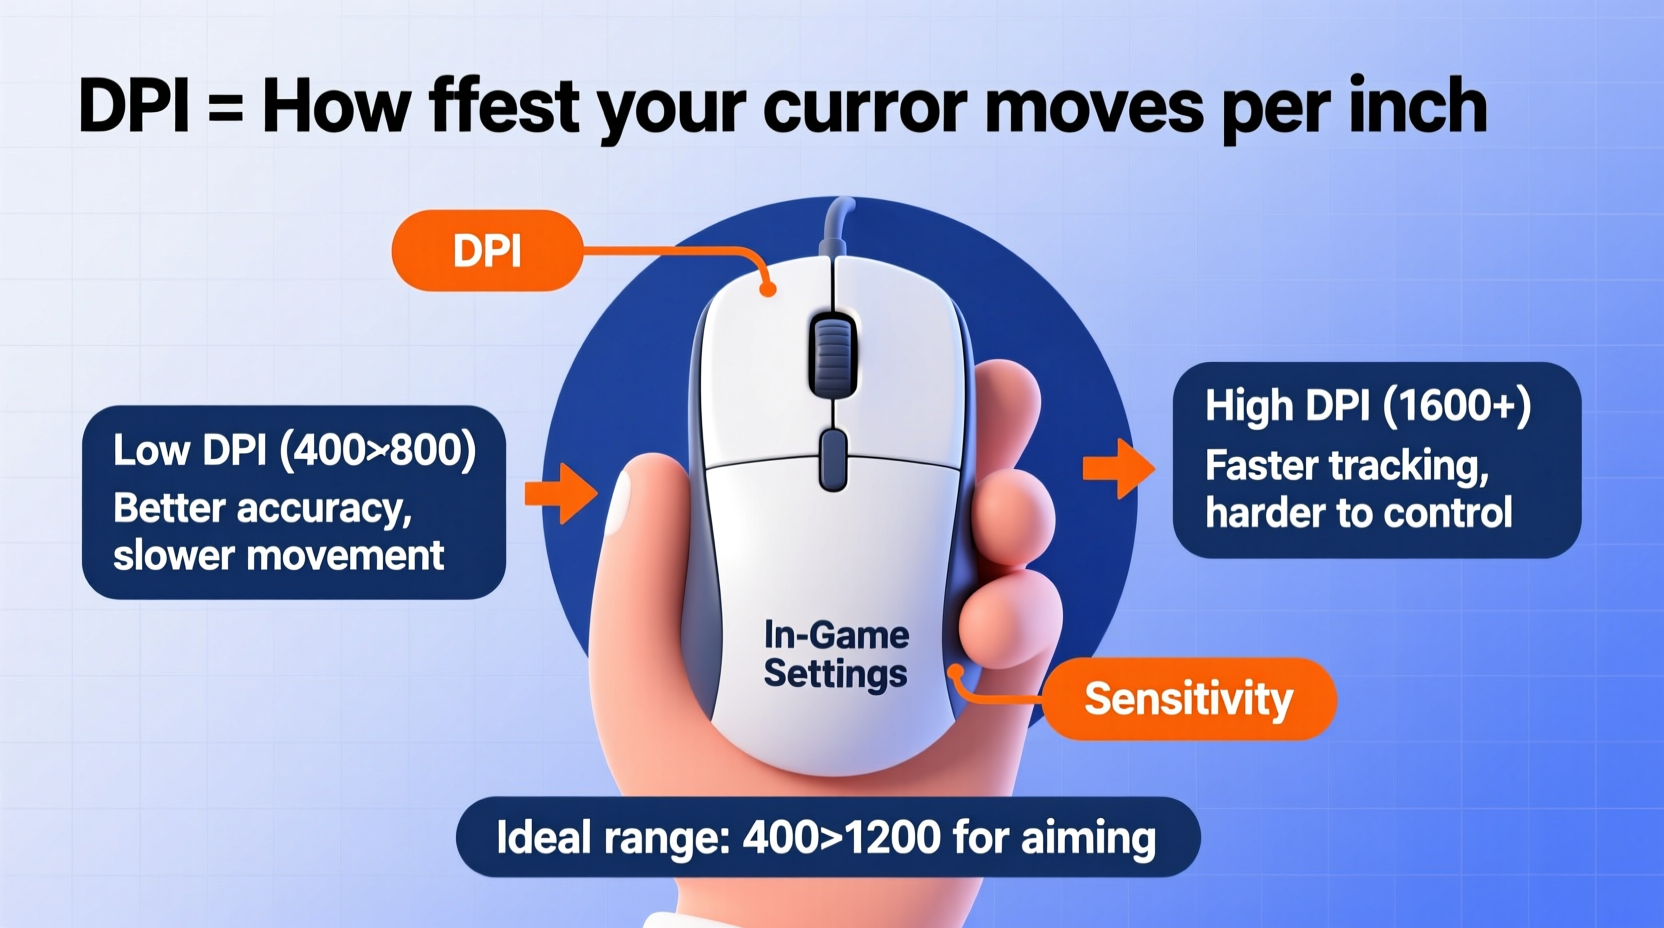
DPI stands for \"dots per inch.\" In gaming, it measures how sensitive your mouse is to movement. Specifically, it tells you how many pixels your cursor moves on-screen for every inch you physically move the mouse. A higher DPI means less physical movement is needed to cover large distances on screen. A lower DPI requires more desk space but offers greater control and precision.
For example, at 800 DPI, moving your mouse one inch will move the cursor 800 pixels across the screen. At 1600 DPI, the same one-inch movement results in 1600 pixels of travel—twice as far. While this might sound like a win for speed, high DPI often sacrifices accuracy, especially during fine adjustments like tracking a moving enemy’s head.
Many beginners assume higher DPI equals better performance, but top esports professionals typically use much lower settings than expected. Why? Because aiming isn’t about speed—it’s about consistency, muscle memory, and control.
“Most elite FPS players use between 400 and 800 DPI. It gives them enough precision to make micro-adjustments without overshooting targets.” — Daniel Reyes, Competitive FPS Coach and Tournament Analyst
How DPI Interacts With In-Game Sensitivity
DPI is only half the equation. Your in-game sensitivity setting multiplies the effect of your DPI. Think of DPI as the foundation and in-game sensitivity as the fine-tuner. Together, they determine your effective sensitivity, often referred to as eDPI (effective DPI).
The formula is simple:
For instance, if you’re playing CS2 with a DPI of 400 and an in-game sensitivity of 2.0, your eDPI is 800. If another player uses 800 DPI with 1.0 sensitivity, they also have an eDPI of 800—meaning both setups feel nearly identical in terms of responsiveness.
This is crucial because comparing settings across players means looking at eDPI, not just DPI. Two players with different DPIs can have the same overall feel if their in-game sensitivity compensates accordingly.
Why Use Lower DPI?
- Better Control: Lower DPI forces you to use larger arm movements, which are more stable than wrist flicks.
- Improved Muscle Memory: Consistent, full-range motion helps your brain learn precise aiming patterns.
- Reduced Overshooting: High sensitivity often leads to overcorrecting when tracking fast enemies.
- Scalability Across Games: A stable base DPI makes it easier to adjust sensitivity between titles.
Finding Your Ideal DPI: A Step-by-Step Guide
There’s no universal “best” DPI. The ideal setting depends on your hand size, desk space, grip style, and game genre. Follow this process to dial in your personal sweet spot.
- Reset to a Baseline: Set your mouse DPI to 800 (a common default). In your game, set sensitivity to the default or midpoint.
- Test Movement Range: Sit in your normal position and move your mouse from one end of your pad to the other. Can you turn 180 degrees in-game? If yes, you likely have room to lower DPI. If not, you may need to increase it slightly.
- Lower Gradually: Reduce DPI to 400 or 600. Adjust in-game sensitivity upward until your turning speed feels comfortable. Aim for full 180-degree turns within your mousepad limits.
- Practice Tracking: Use a target dummy or aim trainer. Try smoothly following a moving object. If you’re jittery or overshooting, your sensitivity may still be too high.
- Lock It In: Once you find a combo that feels consistent, stick with it for at least two weeks. Muscle memory takes time to develop.
The goal isn’t maximum speed—it’s repeatable, accurate control. You should be able to flick to a target and return to center without wobbling.
DPI Settings by Game Type
Different genres benefit from different sensitivities. Here's a breakdown based on real-world usage and pro trends:
| Game Genre | Typical DPI Range | In-Game Sensitivity (Relative) | Why It Works |
|---|---|---|---|
| FPS (CS2, Valorant) | 400–800 | Low to Medium | Precision aiming and recoil control require stability. |
| FPS (Apex Legends, Warzone) | 800–1200 | Medium | Faster movement and wider maps demand quicker turns. |
| MOBA (League of Legends) | 1000–1600 | High | Cursor speed matters more than pixel-perfect aim. |
| RTS (StarCraft) | 1000–1600+ | High | Rapid map navigation requires fast pointer movement. |
| Battle Royale (Fortnite) | 400–800 (mouse), higher on controller | Medium | Building and shooting both require precision and speed. |
Note: Many Fortnite players use hybrid setups with low DPI for building and higher sensitivity for combat, but consistency usually wins over complexity.
A Real Example: From Frustration to Precision
Mark, a 22-year-old casual gamer, struggled with aiming in Valorant. He used 1600 DPI with medium in-game sensitivity because he thought it would make him faster. But he constantly overshot enemies, couldn’t track heads smoothly, and felt “jittery” during fights.
After reading about professional settings, he reset his DPI to 400 and doubled his in-game sensitivity to maintain similar turning speed. At first, it felt sluggish. But after three days of practice using an aim trainer, his accuracy improved noticeably. Within a week, he was landing headshots consistently and winning more duels.
His breakthrough wasn’t raw speed—it was control. By lowering his DPI, he trained his arm to make smaller, deliberate movements. His muscle memory developed faster because his inputs were more predictable. After a month, his K/D ratio increased by 40%, and he ranked up twice.
Mark’s story isn’t unique. It reflects a common pattern: new players prioritize reaction speed over precision, then plateau. Switching to a lower DPI setup unlocks the next skill tier.
Common Mistakes and How to Avoid Them
- Mistake: Chasing Pro Settings Without Context
Just because a pro uses 400 DPI doesn’t mean it’s right for you. They’ve trained for thousands of hours. Start near their range, but adapt to your body and playstyle. - Mistake: Changing Settings Too Often
Switching DPI every few days prevents muscle memory from forming. Pick a setting and commit for at least two weeks. - Mistake: Ignoring Mouse Pad Size
Using 400 DPI on a small mousepad limits your movement range. If you run out of space during a 180-degree turn, consider a larger pad before increasing DPI. - Mistake: Overlooking Polling Rate
While not directly related to DPI, a low polling rate (e.g., 125Hz) can make your mouse feel laggy. Use 500Hz or 1000Hz for smoother response.
Your Action Plan: Optimizing DPI for Better Aim
Follow this checklist to set up your mouse for peak aiming performance:
- ✅ Determine your current DPI (check mouse software or manufacturer specs)
- ✅ Reset to 800 DPI as a starting point
- ✅ Adjust in-game sensitivity so a full mousepad swipe equals a 180-degree turn
- ✅ Test tracking and flick shots in an aim trainer (like Aim Lab or Kovaak’s)
- ✅ Lower DPI to 400–600 if you have space and feel too twitchy
- ✅ Increase in-game sensitivity to compensate for slower movement
- ✅ Practice daily for at least 15 minutes with consistent settings
- ✅ Re-evaluate after two weeks—only tweak if necessary
FAQ: Quick Answers to Common Questions
Can I aim well with high DPI?
You can, but it’s harder to achieve consistent precision. High DPI encourages wrist-only movements, which are less stable. Most top players avoid anything above 1000 DPI for serious gameplay.
Should I use different DPI for different games?
You can, but it’s better to keep a consistent base DPI (like 400 or 800) and adjust in-game sensitivity instead. This helps build transferable muscle memory across titles.
Does my mouse brand affect DPI quality?
Yes. Higher-end mice offer more accurate sensors with less acceleration or smoothing. Budget mice may misreport DPI or introduce input errors. For serious gaming, invest in a reliable model with adjustable DPI steps.
Final Thoughts: Mastery Starts With Stability
Better aim doesn’t come from faster reflexes or expensive gear—it comes from consistency. Your DPI setting is the foundation of that consistency. By choosing a moderate DPI, adjusting your in-game sensitivity wisely, and sticking with your setup long enough to build muscle memory, you create the conditions for real improvement.
Stop chasing numbers. Stop changing settings every time you lose a match. Focus on control, not speed. Train deliberately. Trust the process.


 浙公网安备
33010002000092号
浙公网安备
33010002000092号 浙B2-20120091-4
Comments
No comments yet. Why don't you start the discussion?