
Stains don’t have to mean a second trip through the washing machine. Whether it’s dried coffee on a white blouse, grease from last night’s dinner, or ink that bled onto a favorite shirt, set-in stains are frustrating—but not irreversible. Rewashing isn’t always practical, especially for delicate fabrics or items you’ve already hung up. The good news? There are targeted, effective solutions you can apply directly to stubborn spots without tossing the entire garment back into the cycle.
These methods rely on chemistry, timing, and household staples most people already have on hand. By understanding the nature of different stains and how they bond with fabric, you can neutralize, lift, and erase them with precision. This guide reveals professional-grade techniques that preserve your clothes while restoring their appearance—no rewashing required.
Understanding Set-In Stains: Why They Stick
A “set-in” stain isn’t just dirt that’s dried; it’s one that has chemically bonded with the fibers of the fabric. When a spill sits too long before treatment, proteins coagulate, oils oxidize, and tannins embed deeper into the weave. Heat from drying accelerates this process, essentially baking the stain into place. Once this happens, standard detergents often fail because they’re designed for loose particles, not molecular adhesion.
The key to reversing this is disruption: breaking down the chemical structure of the stain so it releases from the fiber. Different substances require different solvents. For example:
- Protein-based stains (blood, sweat, egg) respond best to enzyme cleaners or cold water treatments.
- Tannin stains (coffee, wine, tea) need acidic agents like vinegar or lemon juice.
- Oil-based stains (grease, makeup, butter) dissolve in degreasers such as dish soap or rubbing alcohol.
- Insoluble pigments (mud, ink) may require oxidation or mechanical lifting with absorbent powders.
Timing matters, but even if days have passed, proper intervention can still yield results.
Step-by-Step Guide: Removing Set-In Stains Without Rewashing
Follow this structured approach to treat individual stains safely and effectively. Each step is designed to minimize damage to fabric while maximizing removal power.
- Identify the stain type. Look at color, texture, and origin. Greasy sheen? Likely oil. Yellow-brown ring? Probably tannin. This determines your cleaning agent.
- Blot excess residue. Use a clean cloth to gently scrape or dab away any surface debris. Avoid rubbing, which pushes the stain deeper.
- Test on an inconspicuous area. Apply your chosen solution to a seam or hem first to check for discoloration or fabric damage.
- Apply the appropriate treatment. Use targeted methods based on stain category (see next section).
- Wait patiently. Allow 15–30 minutes for chemical action. Some tough stains may need several hours or overnight soaking in paste form.
- Rinse locally. Dampen a microfiber cloth with cool water and blot the area to remove residue. Repeat until no cleaner remains.
- Air-dry and assess. Let the fabric dry naturally. If the stain persists, repeat the process before considering rewashing.
Targeted Hacks for Common Set-In Stains
Not all stains respond to the same remedy. Here are precise solutions for the most stubborn offenders, using everyday products.
Coffee or Tea Stains
Dried tannins leave yellowish rings that look permanent. To reverse them:
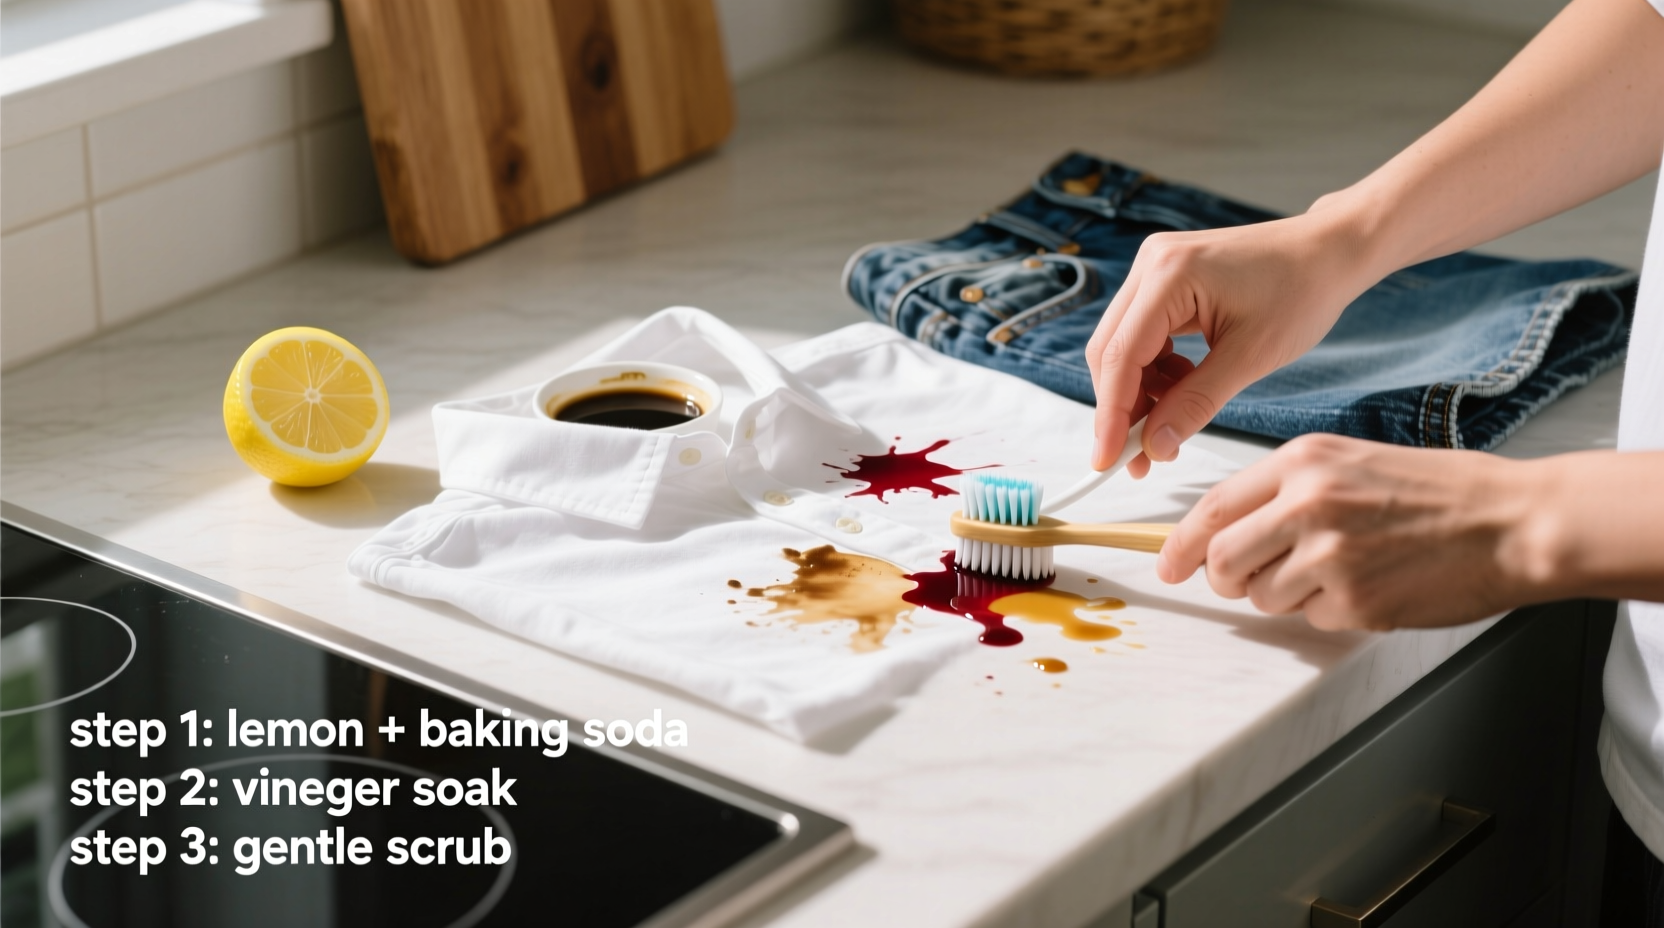
- Mix one tablespoon of white vinegar with two tablespoons of cool water.
- Dab the solution onto the stain using a cotton ball.
- Sprinkle a pinch of baking soda over the damp area—it will fizz, helping lift the stain.
- Wait 20 minutes, then blot with a damp cloth.
Grease or Oil Spots
Cooking oil, salad dressing, or makeup stains become invisible after drying but reappear when heated. Break them down with dish soap:
- Place a paper towel under the fabric to absorb runoff.
- Apply a small amount of blue Dawn dish liquid directly to the spot.
- Let sit for 15 minutes—do not rub.
- Blot with a damp cloth. The grease should transfer to the cloth.
- If needed, repeat once more before rinsing.
Ink Marks
Ballpoint pen leaks are common and notoriously hard to remove. Alcohol works best:
- Use 70% isopropyl alcohol and a cotton swab.
- Gently dab (don’t scrub) around the edge of the stain, working inward.
- As ink dissolves, it will wick into the swab.
- Change swabs frequently to avoid redepositing ink.
- Once lifted, rinse with water and pat dry.
Blood Stains
Dried blood binds tightly to fibers. Enzymes break down protein bonds:
- Soak a cloth in cold water and press it over the stain to rehydrate.
- Apply a paste of meat tenderizer and water (contains protease enzymes).
- Let sit for 30–60 minutes.
- Blot and rinse thoroughly with cold water.
“Enzymatic treatments are the gold standard for organic stains. They target the molecular structure without damaging fabric.” — Dr. Lena Patel, Textile Chemist, University of Massachusetts
Do’s and Don’ts: Table of Best Practices
| Scenario | Do | Don’t |
|---|---|---|
| Stain identification | Examine texture, color, and source | Assume all dark stains are the same |
| Application method | Dab gently with a clean cloth or swab | Rub aggressively—it spreads the stain |
| Heat exposure | Avoid irons, dryers, or hot water until stain is gone | Press with a warm iron to “set” the fix |
| Fabric safety | Always patch-test first | Use bleach on silk or spandex |
| Product use | Stick to one treatment at a time | Mix chemicals like vinegar and bleach |
Real Example: Saving a Work Shirt After Lunch Disaster
Mark, a project manager, spilled marinara sauce on his dress shirt during a client lunch. He dabbed it with a napkin but didn’t treat it immediately. By evening, the stain had dried into a stiff orange patch near the collar. Rewashing wasn’t an option—he needed the shirt for a presentation the next morning.
He followed these steps:
- Placed a towel under the stain to catch runoff.
- Applied a dime-sized amount of dish soap to the area.
- Let it sit for 20 minutes.
- Used a soft toothbrush to lightly agitate the fibers.
- Blotted with a damp cloth until the red residue transferred.
- Pressed a dry towel over the spot and let it air-dry overnight.
In the morning, the stain was nearly invisible. A quick press with a cool iron restored the collar’s shape. The shirt made it through the presentation flawlessly—no rewashing, no replacement.
Essential Checklist: Quick Reference for Spot Treatment
Keep this checklist handy for future stain emergencies:
- ✅ Identify the stain type before acting
- ✅ Blot, don’t rub
- ✅ Test solution on a hidden area
- ✅ Use cool water—never hot
- ✅ Apply the correct solvent (vinegar, alcohol, dish soap, etc.)
- ✅ Wait 15–30 minutes for reaction
- ✅ Rinse locally with damp cloth
- ✅ Air-dry completely before reassessing
- ✅ Repeat if necessary before rewashing
- ✅ Avoid heat until stain is fully removed
FAQ: Common Questions About Stain Removal Without Rewashing
Can I use these methods on delicate fabrics like silk or wool?
Yes, but with caution. Always use the mildest possible solution—often diluted white vinegar or a tiny drop of gentle dish soap. Avoid alcohol and abrasives. Test thoroughly and blot lightly. For valuable garments, consult a professional cleaner first.
What if the stain comes back after drying?
If a stain reappears post-drying, it means residual particles remained and were activated by moisture or heat. Re-treat using a stronger method—such as an enzymatic cleaner for organic stains or a paste of baking soda and hydrogen peroxide for whites. Never put the item through another dryer cycle until the stain is completely gone.
Are homemade solutions as effective as commercial stain removers?
Often, yes. Many commercial products contain the same active ingredients—alcohol, enzymes, surfactants—as household items, but at higher concentrations. However, DIY methods are gentler and reduce chemical exposure. For light to moderate set-in stains, home remedies are usually sufficient.
Final Tips for Long-Term Stain Prevention
While removing set-in stains is possible, preventing them from setting in the first place saves time and wear on your clothes. Adopt these habits:
- Address spills within 5–10 minutes if possible.
- Carry a travel-sized stain pen or wipes for on-the-go accidents.
- Store frequently worn items away from high-risk areas (e.g., kitchen chairs, dining tables).
- Use protective sprays on natural fabrics to create a barrier against liquids.
- Label stubborn stains with a safety pin or tag so you remember to treat them before drying.
Conclusion: Take Control of Your Laundry, One Stain at a Time
You don’t need to rewash every garment just because a stain survived the last cycle. With the right knowledge and tools, you can target and eliminate set-in marks efficiently and safely. These hacks aren’t just about convenience—they extend the life of your clothing, reduce water and energy use, and help you maintain confidence in what you wear.
Next time a dried stain appears, pause before reloading the washer. Assess, treat, and restore with precision. Small actions make a lasting difference. Try one method today, share your success story, and reclaim control over your wardrobe—one spot at a time.


 浙公网安备
33010002000092号
浙公网安备
33010002000092号 浙B2-20120091-4
Comments
No comments yet. Why don't you start the discussion?