
Egg candling is a crucial step in successful poultry incubation, allowing breeders and hobbyists to monitor embryo development without disturbing the delicate process. A high-quality egg candler with a clear, bright view enables accurate assessment of fertility, blood vessel formation, and potential issues like bacterial growth or dead embryos. With so many options on the market, choosing the right tool can make a significant difference in hatch rates and overall efficiency. This guide breaks down what makes an egg candler effective, reviews top models, and provides practical advice for maximizing clarity during each inspection.
Why Clear Viewing Matters in Egg Candling
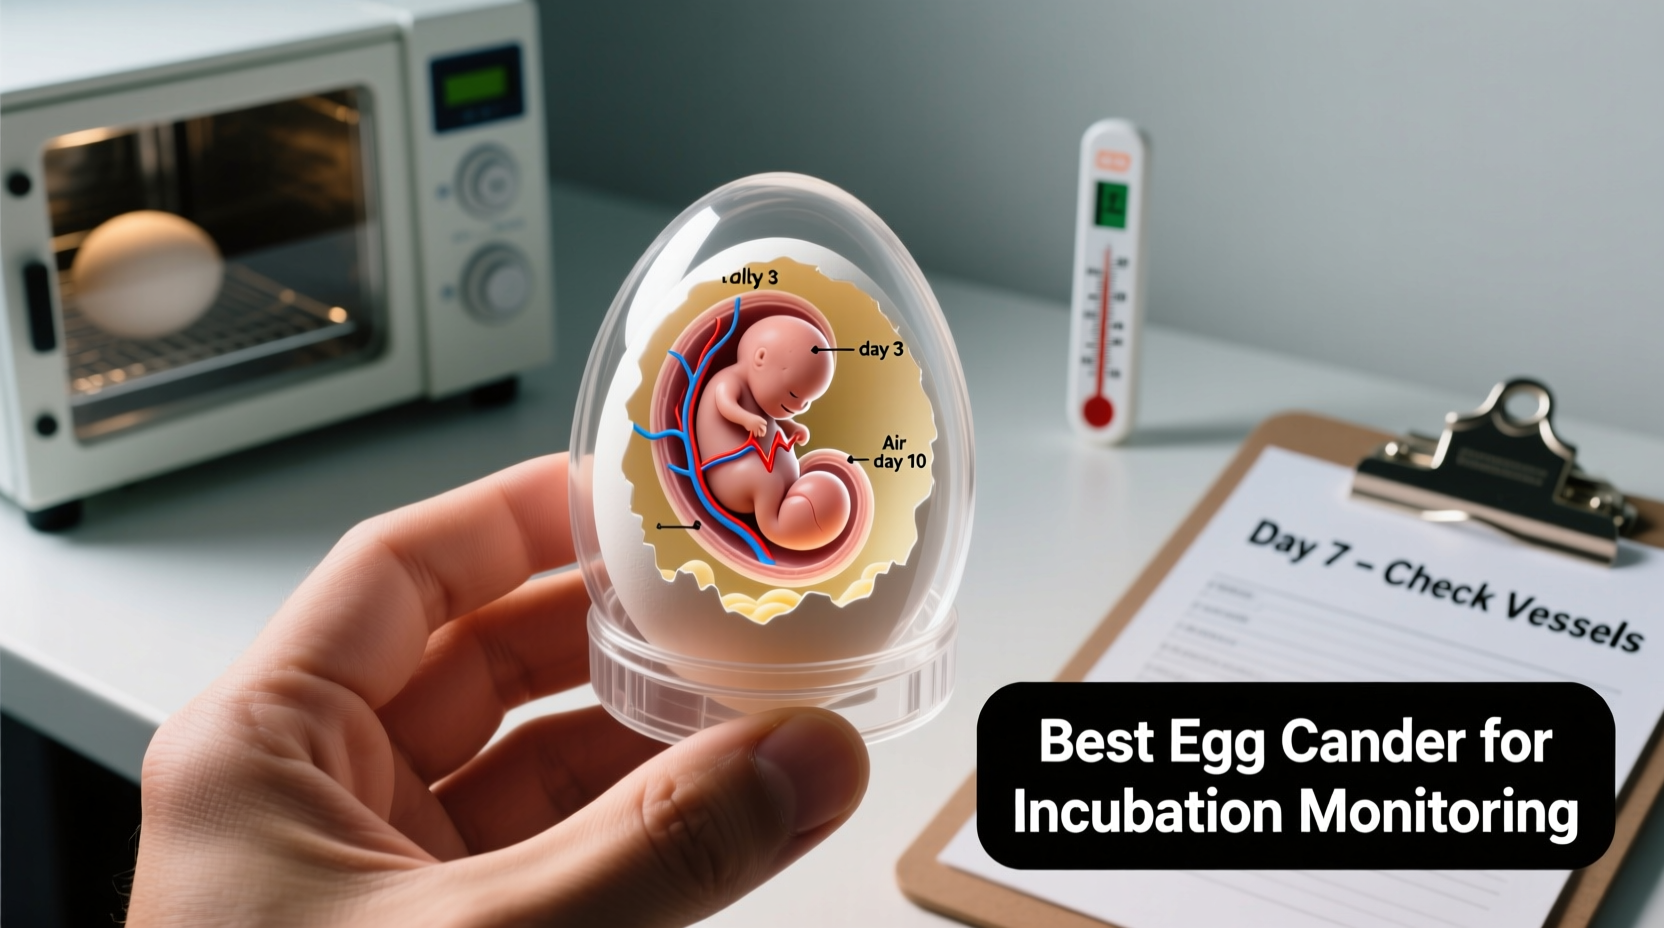
The primary purpose of candling is to peer inside an egg using a concentrated light source. The clearer the view, the more confidently you can identify developing veins, movement, air sac size, and signs of embryonic death. Poor lighting or diffused beams result in blurry images that lead to misdiagnosis—potentially removing viable eggs or keeping non-viable ones, which increases contamination risk.
Modern LED technology has revolutionized egg candlers by offering brighter, cooler, and more energy-efficient illumination than older incandescent bulbs. However, not all LEDs are created equal. The best devices focus light tightly through small apertures, minimizing glare while maximizing internal contrast. This precision allows users to distinguish fine details such as heartbeat pulsations in early-stage embryos (around day 5–7) or the position of the beak near lockdown (day 18+).
Top Features of High-Performance Egg Candlers
When evaluating candlers for clarity and usability, several key features determine performance:
- Brightness (Lumens): Look for at least 3,000 lumens; higher-end models exceed 8,000.
- Wavelength: Blue-white spectrum (~450–500 nm) enhances vein contrast better than warm white.
- Lens Design: Concave or contoured lenses conform to egg shape, reducing light leakage.
- Adjustable Focus: Some premium models allow beam concentration for different egg sizes.
- Power Source: Rechargeable lithium-ion batteries offer consistent output over time.
- Durability: Rubberized casing protects against drops and moisture exposure.
Additionally, ease of cleaning is often overlooked but essential—especially when candling multiple clutches. Devices with smooth, non-porous surfaces resist organic buildup and can be wiped down quickly between uses.
Comparison of Leading Egg Candlers for Clarity and Performance
| Model | Lumens | Focus Type | Battery Life | Best For |
|---|---|---|---|---|
| OvaScope LED Pro | 8,500 | Fixed, concave lens | Up to 10 hours | Commercial hatcheries, large flocks |
| Egg Finder 2000 | 6,000 | Adjustable focus ring | 6 hours | Hobbyists, mixed poultry types |
| Brinsea OptiTherm Candler | 5,000 | Wide-angle diffusion | Integrated with incubator | Beginners, combo units |
| ESR BrightView Mini | 4,000 | Fixed narrow beam | 4 hours (USB rechargeable) | Home use, occasional checks |
| SuperBright Egg Viewer X1 | 9,200 | Dual-mode focus (spot/flood) | 8 hours | Precision work, waterfowl & reptile eggs |
The OvaScope LED Pro remains a favorite among professional breeders due to its unmatched brightness and rugged build. Meanwhile, the Egg Finder 2000 strikes a balance between price and functionality, making it ideal for backyard flock owners who need reliable results across chicken, duck, and quail eggs.
Step-by-Step Guide to Effective Egg Inspection
To get the clearest possible view during candling, follow this proven sequence:
- Wait Until Day 5–7: Early inspections reveal blood rings and initial vascular networks. Candling before day 5 may yield inconclusive results.
- Warm Up the Room: Cold eggs fog up when exposed to warm air. Allow eggs to sit in the incubation room for 15 minutes before handling.
- Darken the Environment: Turn off lights and close blinds. Even minor ambient light reduces image contrast.
- Position the Egg Correctly: Hold the larger end of the egg against the lens. This aligns the air cell with the light path for optimal depth perception.
- Observe for Key Signs:
- Fertile: Spiderweb-like network of blood vessels radiating from a central point.
- Infertile: Solid yolk shadow with no branching structures.
- Dead Embryo: Blood ring with no active circulation or movement.
- Recheck at Days 10 and 18: Confirm continued development and prepare for lockdown by checking air cell expansion.
- Clean the Lens After Use: Wipe with a microfiber cloth to prevent dust or residue from clouding future inspections.
“Accurate candling isn’t just about having a bright light—it’s about timing, technique, and consistency. One clear reading can save you from losing an entire batch.” — Dr. Laura Mendez, Avian Reproduction Specialist, University of Maine Poultry Extension
Real-World Example: Improving Hatch Rates on a Small Farm
A homesteader in Vermont struggled with inconsistent hatch rates averaging only 45% over three seasons. After switching from a basic flashlight-based candler to the OvaScope LED Pro, they began identifying non-viable eggs earlier and improved sanitation practices based on clearer observations. By removing dead embryos before day 7, mold spread decreased significantly. Within one year, their average hatch rate rose to 78%. The investment in a superior candler paid for itself within two breeding cycles.
This case highlights how clarity directly impacts decision-making. Without a sharp view, subtle signs like stalled development or thinning vasculature go unnoticed until it's too late.
Common Mistakes That Reduce Viewing Clarity
Even the best equipment fails if used improperly. Avoid these common errors:
- Using a dirty lens: Smudges scatter light and obscure detail.
- Candling in daylight: Natural light washes out internal features.
- Handling cold eggs: Condensation forms instantly, creating a foggy barrier.
- Pressing too hard: Cracks can develop, especially in thin-shelled eggs.
- Inspecting too frequently: More than once every 5–7 days disrupts temperature stability.
FAQ
Can I use a smartphone flashlight app as an egg candler?
While some apps amplify phone flash intensity, most lack sufficient lumen output and proper focusing mechanisms. Results are typically poor beyond detecting large air cells. Dedicated LED candlers provide far superior clarity and reliability.
How do I know if my candler is strong enough for duck or goose eggs?
Duck and goose eggs have thicker shells and require higher lumens (minimum 6,000). Look for models specifically marketed for waterfowl. Test your device: if you cannot clearly see blood vessels by day 6, consider upgrading.
Is it safe to candle eggs daily?
No. Frequent removal from the incubator causes temperature and humidity fluctuations that harm embryo development. Limit candling to days 5–7, 10, and 18 unless troubleshooting a specific issue.
Final Recommendations and Action Plan
Choosing the right egg candler comes down to balancing clarity, durability, and intended use. For serious hatchers managing multiple species or larger batches, investing in a high-lumen, professionally designed unit like the OvaScope or SuperBright X1 delivers measurable returns through improved hatch rates and reduced waste. Casual users may find mid-tier options like the Egg Finder 2000 perfectly adequate.
Regardless of model, technique matters just as much as technology. Master the timing, maintain your equipment, and perform inspections under controlled conditions. Over time, you’ll develop an intuitive sense of what healthy development looks like—and catch problems before they compromise your clutch.


 浙公网安备
33010002000092号
浙公网安备
33010002000092号 浙B2-20120091-4
Comments
No comments yet. Why don't you start the discussion?