
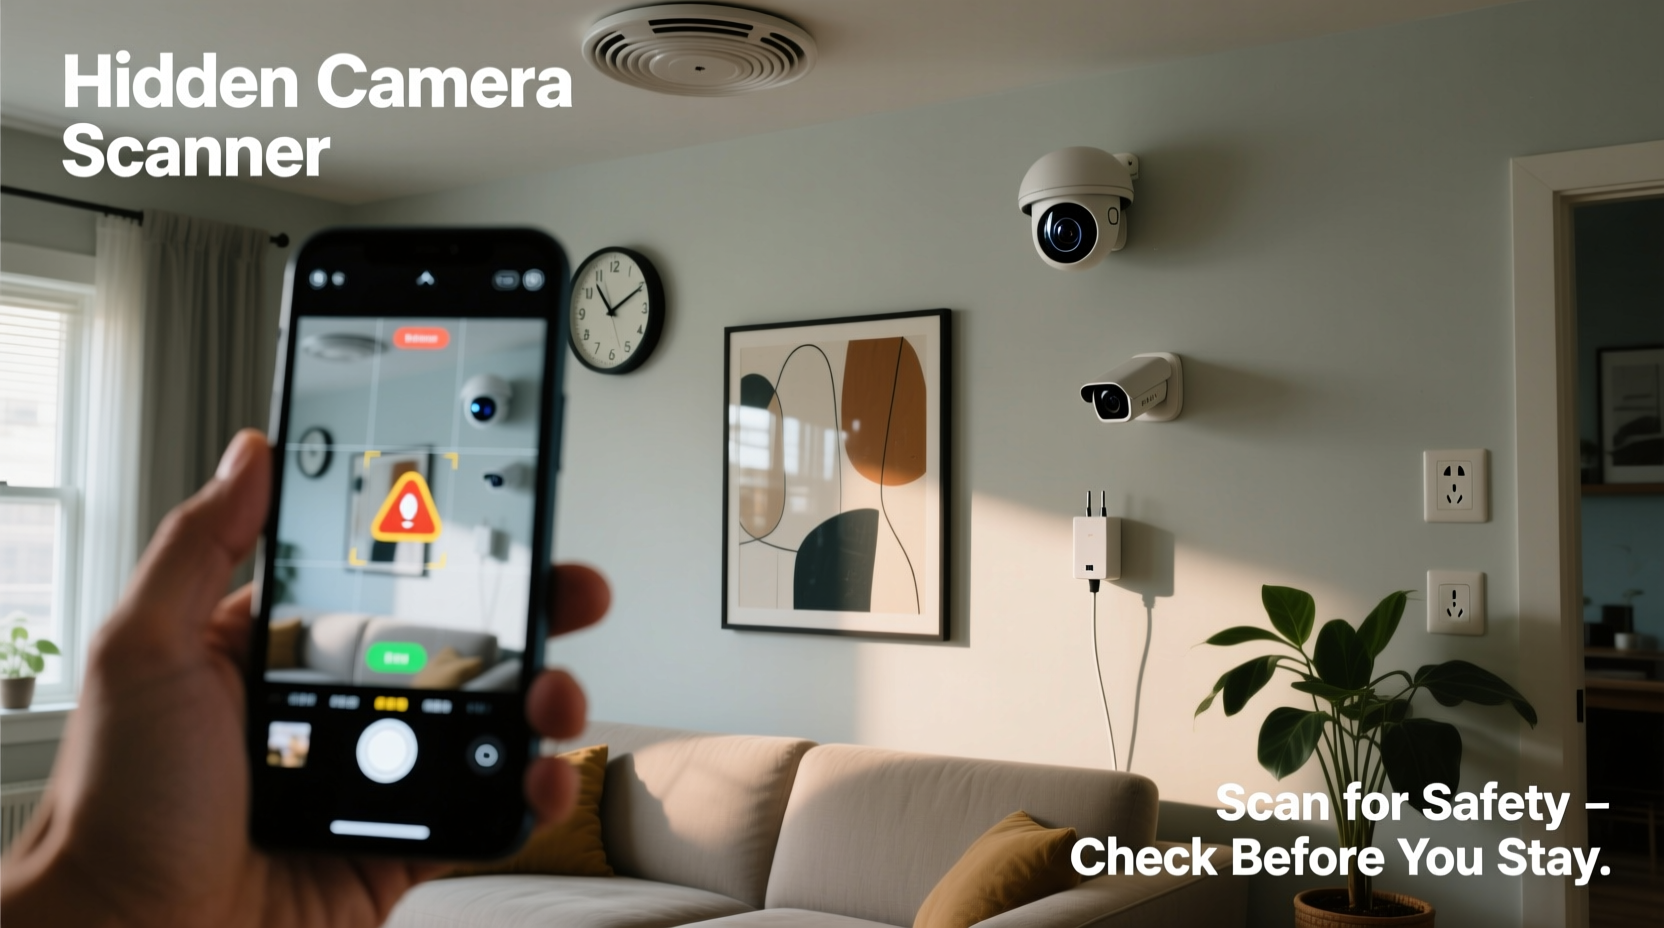
Staying in an Airbnb can be a comfortable and affordable travel option, but recent incidents have raised serious concerns about guest privacy. Hidden cameras—sometimes disguised in everyday objects like smoke detectors, wall outlets, or picture frames—have been discovered in rentals around the world. While most hosts are trustworthy, the risk of unauthorized surveillance is real. Knowing how to scan your Airbnb for hidden cameras empowers you to protect your personal space and maintain peace of mind during your stay.
This guide provides actionable strategies, tools, and real-world examples to help you detect hidden recording devices before they compromise your privacy. From visual inspections to technical detection methods, you’ll learn how to conduct a thorough room scan using nothing more than your smartphone and awareness.
Why Hidden Camera Risks Are Real in Short-Term Rentals
The rise of home-sharing platforms has created new opportunities for unscrupulous individuals to exploit guest trust. In 2023, a study by the American Hotel & Lodging Association found that over 60% of travelers expressed concern about hidden cameras in rental accommodations. While Airbnb’s policy prohibits non-consensual recording devices in private areas, enforcement relies heavily on guest reporting and host compliance.
Common locations for hidden cameras include:
- Smoke or carbon monoxide detectors
- Power strips and electrical outlets
- TV stands, clock radios, or DVD players
- Decorative items like vases, books, or framed art
- Wall vents or air purifiers
Many of these devices use pinhole lenses, wireless transmission, and motion activation, making them difficult to spot without careful inspection. The good news? With the right approach, most hidden cameras can be detected before they capture anything.
Step-by-Step Guide to Scanning Your Airbnb Room
Detecting hidden cameras doesn’t require expensive equipment. A methodical, multi-sensory approach significantly increases your chances of uncovering suspicious devices.
- Conduct a Visual Sweep Upon Entry
As soon as you enter the space, pause and observe. Walk slowly through each room, especially bedrooms and bathrooms. Look for anything that seems out of place—newer devices in an otherwise vintage-decorated room, objects facing the bed or shower, or electronics with no apparent function (e.g., a Wi-Fi router in a closet). - Inspect Common Hiding Spots
Focus on objects that have openings, power sources, or elevated views:- Check behind mirrors for reflective inconsistencies.
- Examine air vents and ceiling fixtures for small lens glints.
- Remove decorative covers from smoke detectors and inspect for added components.
- Look inside charging stations or USB hubs for embedded circuitry.
- Use Your Phone’s Flashlight
Turn off the lights and shine your phone’s flashlight across surfaces at eye level. Glass lenses reflect light differently than plastic. Move slowly—if you see a small, bright reflection that isn’t explained by a mirror or glossy surface, investigate further. - Leverage Your Smartphone’s Camera
Most smartphone cameras can detect infrared (IR) light used by night-vision cameras. Open your phone’s camera app and scan the room in darkness. If you see a faint purple or white glow from a device (especially in a darkened smoke detector or clock), it may house an IR-enabled camera. - Check for Unusual Network Activity
Connect to the Wi-Fi network and use a network scanner app like Fing (available for iOS and Android). These apps reveal all connected devices. Look for unfamiliar names like “IPCAM,” “Camera_01,” or generic MAC addresses. While not all unknown devices are cameras, unexpected entries warrant scrutiny. - Listen for Subtle Sounds
In quiet moments, hold your ear close to suspect devices. Some cameras emit a faint buzzing or clicking sound when active. This method works best at night when background noise is minimal. - Test for RF Signals (Optional)
Radio frequency (RF) detectors can identify wireless transmission signals. These handheld devices cost $30–$100 and scan for active broadcasts. Sweep the device slowly near electronics and walls. A spike in signal strength may indicate a transmitting camera.
Do’s and Don’ts of Hidden Camera Detection
| Do’s | Don’ts |
|---|---|
| Scan the room immediately upon arrival | Assume the listing is safe because it has good reviews |
| Use your phone’s flashlight and camera to test for reflections and IR light | Disassemble electrical devices unless you’re trained |
| Take photos of suspicious devices and report them to Airbnb | Confront the host aggressively without evidence |
| Use a network scanner app to check connected devices | Rely solely on one detection method |
| Trust your instincts—if something feels off, investigate | Ignore small details like misaligned screws or mismatched hardware |
Real Example: How One Traveler Discovered a Hidden Camera
In 2022, Sarah M., a digital nomad from Canada, booked a highly rated studio apartment in Lisbon for a two-week stay. On her first night, she noticed a small black dot on the underside of the smoke detector in the bedroom. It faced directly toward the bed.
Skeptical but cautious, she turned off the lights and used her iPhone camera to scan the area. Through the screen, she saw a faint purple glow emanating from the same spot. She took a photo and sent it to a tech-savvy friend, who confirmed it was consistent with an IR camera lens.
Sarah contacted Airbnb support immediately, providing photos and the Wi-Fi network name. Airbnb verified that the device was not authorized and suspended the host’s account. An investigation later revealed the host had installed multiple cameras across three properties. Thanks to Sarah’s vigilance, the devices were removed, and other guests were protected.
This case underscores a critical point: even high-rated listings aren’t immune to privacy violations. A few minutes of proactive scanning can prevent lasting harm.
“Guests should treat every rental like a potential risk zone. A quick 10-minute inspection can save you from lifelong regret.” — Mark Reynolds, Cybersecurity Consultant and IoT Privacy Researcher
Essential Checklist for Every Airbnb Guest
Print this checklist or save it to your phone before your next trip:
- ✅ Perform a visual inspection of all rooms within 15 minutes of arrival
- ✅ Check smoke detectors, wall outlets, and electronic devices for modifications
- ✅ Use your phone’s flashlight to search for lens reflections in dark conditions
- ✅ Scan the room with your smartphone camera to detect IR emissions
- ✅ Download a network scanner app and review connected devices on the Wi-Fi
- ✅ Listen for unusual buzzing sounds near electronics at night
- ✅ Take photos of any suspicious objects and report findings to Airbnb
- ✅ Trust your intuition—if something feels wrong, act on it
Frequently Asked Questions
Are hosts allowed to install cameras in Airbnbs?
Airbnb’s policy permits security cameras only in outdoor common areas like driveways or front porches. Cameras are strictly prohibited in private spaces such as bedrooms, bathrooms, and changing areas. Hosts must disclose any recording devices in their listing description. If a camera is present in a private area—even if turned off—it violates Airbnb’s terms.
Can I use a drone or thermal camera to scan my room?
While thermal imaging cameras can detect heat signatures from active electronics, they are often impractical for travelers due to size and cost. Drones are unnecessary and could violate local laws or host rules. Stick to accessible methods: visual checks, smartphone tools, and network scans.
What should I do if I find a hidden camera?
First, document everything—take clear photos and videos of the device and its location. Do not touch or remove it. Contact Airbnb support immediately through the app or website. Provide all evidence and request a refund or relocation. In cases where you suspect criminal intent, contact local law enforcement. Airbnb typically responds within hours to urgent privacy reports.
Protecting Your Privacy Starts Before You Book
Prevention begins long before you arrive. When selecting an Airbnb, scrutinize the listing details:
- Read reviews carefully for mentions of privacy, cleanliness, or odd devices.
- Avoid listings with overly professional photos that look staged or lack natural clutter.
- Prefer Superhosts or long-term verified users over new accounts.
- Contact the host with specific questions—responsive, detailed answers are a good sign.
Also consider booking entire homes rather than shared rooms, as the latter increases the likelihood of host access and potential monitoring. If the host refuses to answer basic questions about security or seems evasive, cancel and choose another property.
“The easiest way to avoid hidden cameras is to stay somewhere where there’s no incentive to install them.” — Lena Park, Digital Privacy Advocate
Conclusion: Stay Alert, Stay Safe
Your privacy is not guaranteed just because you’ve paid for a place to stay. Hidden cameras in Airbnbs, while not the norm, are a growing threat that demands attention. By combining simple observation techniques with smart technology, you can conduct a reliable scan of your rental in under 15 minutes.
No single method is foolproof, but layering visual checks, infrared detection, and network analysis creates a strong defense. Remember, your comfort and dignity matter. Never dismiss a gut feeling or skip the inspection to save time. A moment of caution today can prevent emotional distress and legal complications tomorrow.


 浙公网安备
33010002000092号
浙公网安备
33010002000092号 浙B2-20120091-4
Comments
No comments yet. Why don't you start the discussion?