
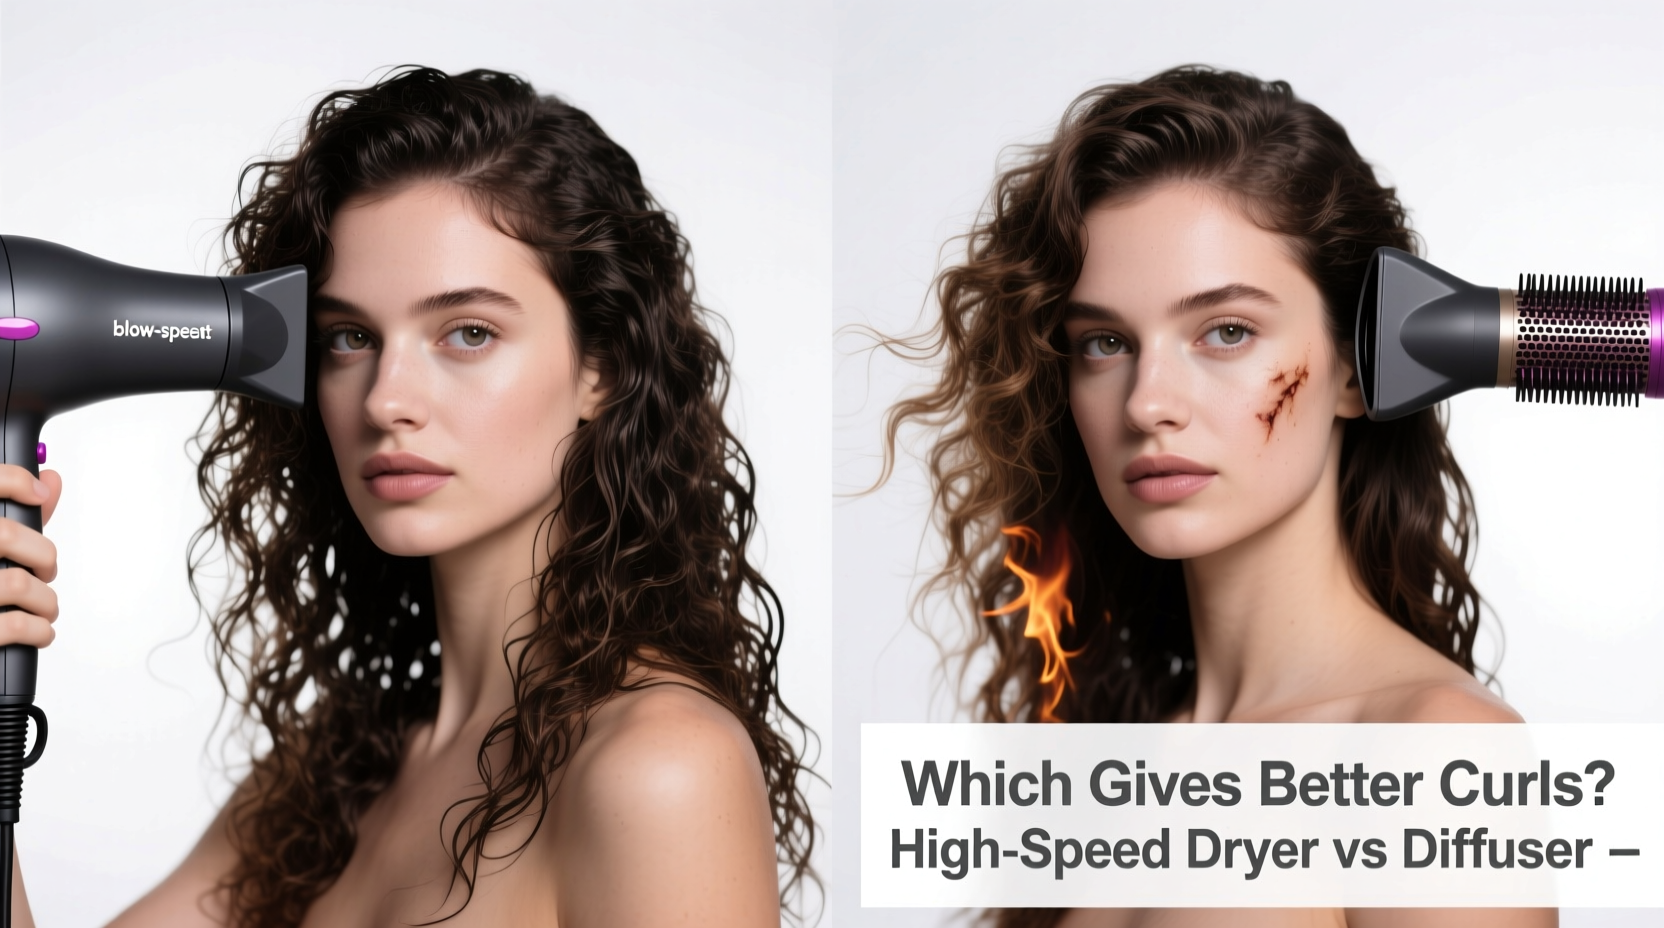
When it comes to enhancing natural curls or creating bouncy, defined waves, the right drying tool can make all the difference. Many people assume that any hair dryer will do the job, but the choice between a high-speed hair dryer and a diffuser attachment significantly impacts curl definition, volume, frizz control, and overall hair health. While both tools are commonly used in curly hair routines, they serve different purposes—and understanding their strengths is key to achieving salon-quality results at home.
How Curls React to Heat and Airflow
Curls form due to the shape of the hair follicle and the distribution of proteins within the hair shaft. When wet, curls expand as water molecules penetrate the cortex. As hair dries, those bonds re-form, locking in the curl pattern. The way you dry your hair—especially the direction, intensity, and temperature of airflow—can either support or disrupt this process.
High-speed dryers use concentrated, powerful airflow to dry hair quickly, often with minimal heat protection. This forceful air can break up curl clumps, cause frizz, and lead to uneven drying. In contrast, a diffuser disperses airflow over a wider area, gently lifting roots while preserving curl formation. It mimics the effect of air-drying but cuts drying time significantly.
“Curl definition starts in the drying phase. Aggressive airflow destroys the delicate structure of curl clusters before they set.” — Dr. Lena Torres, Trichologist & Hair Texture Specialist
High-Speed Hair Dryer: Speed vs. Structure
High-speed hair dryers, popularized by brands like Dyson and T3, use advanced motors to deliver fast drying times with reduced heat exposure. These dryers excel in efficiency and are ideal for straight or wavy hair types seeking smoothness and speed. However, for tightly coiled or springy curls, the intense, focused airflow can be counterproductive.
The narrow nozzle concentrates air into a single stream, disrupting curl grouping and encouraging frizz by separating strands prematurely. Without proper technique, such as using a comb attachment or shielding curls from direct airflow, high-speed dryers may leave curls loose, undefined, and puffier than desired.
Diffuser: The Curly Hair Ally
A diffuser works by spreading airflow through wide prongs or petals that cradle sections of hair without disturbing them. This allows moisture to evaporate evenly while maintaining the integrity of each curl. Most users find that diffusing enhances volume at the roots and definition along the shaft, especially when combined with scrunching techniques.
Key benefits of using a diffuser include:
- Minimized frizz due to low turbulence
- Better curl clumping and separation
- Natural lift at the scalp
- Reduced mechanical stress (no pulling or tugging)
Modern diffusers come in various designs—some deep-cupped for thick hair, others with flexible fingers for precision. Pairing a quality diffuser with a medium-powered dryer (not necessarily high-speed) often yields optimal results for curl retention and shine.
Comparative Breakdown: High-Speed Dryer vs Diffuser
| Feature | High-Speed Hair Dryer (Nozzle) | Hair Dryer with Diffuser |
|---|---|---|
| Drying Time | Faster (10–15 mins) | Moderate (20–30 mins) |
| Curl Definition | Low to moderate (can disrupt clumps) | High (preserves natural pattern) |
| Frizz Control | Poor without product/technique | Excellent with proper method |
| Volume at Roots | Good if lifted manually | Natural lift via airflow dispersion |
| Suitable For | Straight, fine, or looser wave types | Tight curls, coils, spirals, voluminous styles |
| Heat Exposure Risk | Lower per minute, but higher total if misused | Controlled, indirect exposure |
Step-by-Step Guide to Maximizing Curl Results
Whether you're using a diffuser or adapting a high-speed dryer for curls, technique matters more than equipment. Follow this proven routine:
- Prep on damp hair: Apply leave-in conditioner and curl cream while hair is soaking wet. Use the “praying hands” method to coat strands, then scrunch upward to encourage clumping.
- Section hair: Divide into 4–6 sections based on thickness. Clip away what you’re not working on to prevent disruption.
- Invert head (optional): Flip your head forward to boost root volume during initial drying.
- Use low heat and medium speed: Set dryer to warm or cool setting. High heat can dehydrate curls and increase frizz.
- Hover or cup curls: With a diffuser, place curls gently into the bowl and let airflow do the work. Avoid constant movement; hold for 2–3 minutes per section.
- Finish upright: Once 80% dry, stand normally and lightly diffuse ends to refine shape.
- Lock in with cool shot: Finish with a blast of cool air to seal the cuticle and enhance shine.
Real Example: Transformation with Technique Shift
Sophia, a client with 3C curls, struggled with flat roots and undefined spirals despite owning a premium high-speed dryer. She used the concentrator nozzle to “smooth” her curls, directing airflow down the length. After consultation, she switched to using the same dryer—but with a universal diffuser attachment—and adopted the plopping and upside-down drying method.
Within two weeks, her curls showed tighter definition, 30% more volume at the crown, and noticeably less frizz. “I didn’t realize I was breaking my curls apart every time I dried them,” she said. “Switching to diffusing changed everything.”
Checklist: Choosing the Right Tool for Your Curl Type
- ✅ Do you have tight curls (3B–4C)? → Prioritize a diffuser
- ✅ Are you short on time but want defined curls? → Use a diffuser on a powerful (but not aggressive) dryer
- ✅ Do you have fine, loose waves (2A–2C)? → A high-speed dryer with tension brush may work well
- ✅ Is frizz a major concern? → Diffuser + cool shot = best defense
- ✅ Want salon-style volume without backcombing? → Diffuse inverted for natural lift
- ✅ Using heat frequently? → Always apply a heat protectant (min. 450°F protection)
Frequently Asked Questions
Can I use a high-speed dryer with a diffuser attachment?
Yes—many modern high-speed dryers are compatible with diffusers. The key is adjusting settings: reduce speed and heat to avoid disturbing curl formation. Brands like Dyson and Bio Ionic offer diffuser attachments designed specifically for their models.
Why do my curls fall flat when I use a regular dryer?
Direct, concentrated airflow flattens the root structure and separates curl clusters. Without diffusion, the weight of water pulls curls down, and rapid drying locks them in a stretched, limp state. Diffusing supports natural bounce by drying curls in their coiled position.
Is air-drying better than using a diffuser?
Air-drying avoids heat entirely but takes longer and can lead to “shrinkage halo” or mildew in humid environments. Prolonged dampness also weakens hair temporarily. A diffuser speeds up the process while preserving curl integrity—making it a balanced compromise.
Final Verdict: Which Gives Better Curls?
For most curl types—especially 3A and tighter—the diffuser is the superior choice. It respects the natural architecture of curls, reduces frizz, and enhances definition without sacrificing too much time. While high-speed dryers offer unmatched speed, their design favors smoothness over texture, making them less ideal for curl enhancement unless used with extreme care.
The best outcome often comes not from choosing one tool over the other, but from using the right tool for the right purpose. Consider keeping both in your routine: use the high-speed dryer with a concentrator for touch-ups or smoothing bangs, and rely on the diffuser for full-head curl styling.


 浙公网安备
33010002000092号
浙公网安备
33010002000092号 浙B2-20120091-4
Comments
No comments yet. Why don't you start the discussion?