
System Restore is one of Windows’ most valuable built-in tools for recovering from software conflicts, failed updates, or driver issues. When your computer begins acting erratically after an installation or update, rolling back to a previous state can save hours of troubleshooting. The process is designed to be non-destructive—your personal files remain intact, while system settings, programs, and drivers are reverted to a known good configuration.
Despite its usefulness, many users either don’t know how to access System Restore or hesitate to use it out of fear of data loss. This guide demystifies the process, offering clear, safe methods to activate and use System Restore across different versions of Windows. Whether you're facing boot problems or preparing proactively, you’ll learn how to navigate this feature with confidence.
Understanding System Restore: What It Does and Doesn’t Do
System Restore works by creating \"restore points\"—snapshots of your system’s critical files, registry settings, and installed programs at specific times. These points are automatically generated before major system events like Windows Updates, driver installations, or software setups. You can also create them manually.
When you initiate a restore, Windows reverts the system partition (usually C:\\) to the state it was in at the time of the selected restore point. However, it does not affect personal files such as documents, photos, music, or emails. This distinction is crucial: System Restore targets system stability, not file recovery.
That said, any program installed after the restore point will be removed, and recent system changes—like updated drivers—will be rolled back. Always verify the date and description of a restore point before proceeding.
How to Access System Restore in Modern Windows (Windows 10 & 11)
Accessing System Restore in current versions of Windows is straightforward if your system is functional. Here’s a step-by-step method using the Settings app and Control Panel:
- Press Windows + I to open Settings.
- Navigate to System > About.
- Click Advanced system settings on the right.
- In the System Properties window, go to the System Protection tab.
- Click System Restore.
- Follow the wizard to select a restore point and confirm the action.
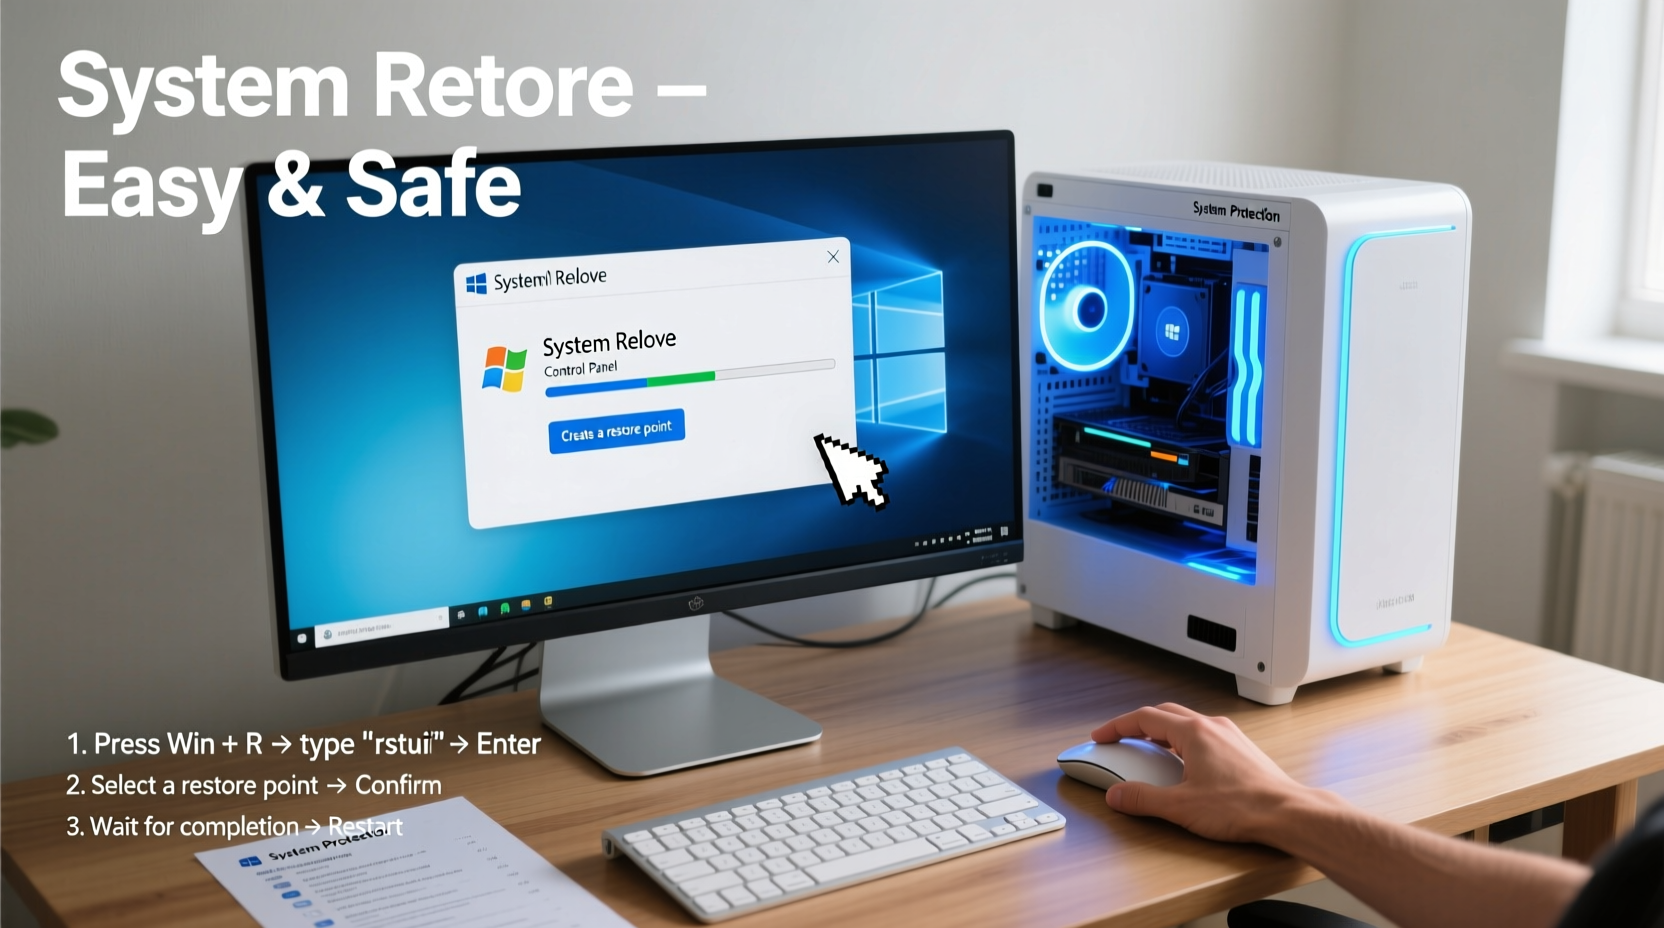
If you prefer a quicker route, press Windows + R, type rstrui.exe, and press Enter. This command launches the System Restore wizard directly.
Alternative Path via Start Menu Search
- Type “Create a restore point” in the taskbar search box.
- Open the matching result.
- Click System Restore in the System Protection tab.
This method is particularly useful if you need to assess available restore points or adjust disk space allocation for restore data.
Using System Restore When Windows Won’t Boot
Sometimes, the need for System Restore arises when Windows fails to start properly—perhaps due to a faulty driver or corrupted update. In such cases, standard access methods won’t work. Fortunately, Windows provides recovery options through its boot environment.
- Restart your PC and interrupt the boot process three times to trigger Automatic Repair.
- Once in the recovery environment, select Advanced Options > Troubleshoot > Advanced Options > System Restore.
- Choose an administrator account and enter the password if prompted.
- Select a restore point from the list and proceed.
If Automatic Repair doesn't activate, boot from a Windows installation USB or recovery drive. From there, choose Repair your computer instead of installing, then follow the same Advanced Options path.
Best Practices and Safety Measures
While System Restore is generally safe, certain precautions minimize risks and improve success rates:
- Verify restore points exist: Open System Protection and click “Configure” to see how much disk space is allocated and whether protection is turned on.
- Create manual restore points: Before installing new software or drivers, manually create a restore point as a safety net.
- Avoid restoring during active work: Close all applications and save your work before initiating a restore.
- Don’t rely solely on System Restore: It is not a substitute for regular backups. Use File History or third-party tools to back up personal data.
“System Restore is a powerful rollback mechanism, but it should be part of a layered defense strategy that includes backups and secure update practices.” — David Lin, Senior Systems Engineer at TechRescue Labs
Do’s and Don’ts of Using System Restore
| Do’s | Don’ts |
|---|---|
| Check available restore points regularly | Use System Restore to remove viruses (malware may persist in restore points) |
| Enable System Protection on the system drive | Disable System Restore unless absolutely necessary |
| Create a restore point before major changes | Assume all programs will work post-restore (some may require reinstallation) |
| Monitor disk space usage for restore files | Ignore warnings about potential program incompatibilities during restore |
Real-World Example: Recovering from a Failed Graphics Driver Update
Sarah, a freelance graphic designer, installed a new NVIDIA driver to improve performance in her design suite. After rebooting, her screen flickered and Windows failed to load the desktop. Safe Mode worked, but performance was severely degraded.
Instead of reinstalling Windows, she accessed System Restore via Safe Mode using the rstrui.exe command. She selected a restore point from the day before the driver update. Within 15 minutes, her system reverted to the previous configuration, the display stabilized, and her projects opened normally. The entire process preserved her client files and software preferences.
This scenario illustrates how System Restore acts as a quick, low-risk solution for hardware-related instability—especially when caused by recent software changes.
Frequently Asked Questions
Can System Restore delete my personal files?
No. System Restore does not modify, delete, or affect personal files such as documents, photos, videos, or emails. It only changes system files, registry entries, and installed programs.
Why can’t I find any restore points?
This usually means System Protection was disabled or recently enabled. Check the System Protection tab in System Properties. If protection was just turned on, no historical points will exist yet. Also, some Windows editions (like Home) may limit restore point creation if disk space is low.
How long do restore points last?
Restore points are stored until they are overwritten by newer ones. Windows automatically manages disk space (default is up to 10% of the drive). Older points are deleted as space fills. Manual restore points may persist longer if not needed for cleanup.
Conclusion: Take Control of Your System’s Stability
System Restore is a quiet guardian of your PC’s reliability. Knowing how to access it—whether through normal operation or recovery mode—gives you a powerful tool to reverse harmful changes without resorting to drastic measures. By understanding its limits and applying best practices, you turn reactive troubleshooting into proactive system management.
Don’t wait for a crisis to learn how it works. Enable System Protection, create a manual restore point today, and keep a recovery drive ready. These small steps build resilience into your computing experience.


 浙公网安备
33010002000092号
浙公网安备
33010002000092号 浙B2-20120091-4
Comments
No comments yet. Why don't you start the discussion?