
Adding images to a webpage enhances visual appeal, improves user engagement, and helps communicate ideas more effectively. For beginners diving into web development, inserting an image might seem daunting at first. However, with the right understanding of HTML and a few key principles, it becomes a straightforward task. This guide walks through the entire process—from preparing your image to embedding it correctly in your code—while highlighting best practices that ensure accessibility, performance, and compatibility.
Understanding the HTML Image Element
The primary way to add an image in HTML is by using the <img> tag. Unlike most HTML elements, this one is self-closing, meaning it doesn’t require a closing tag. It relies on attributes to define the source of the image and other important details.
The two essential attributes are:
- src: Specifies the path to the image file (required).
- alt: Provides alternative text if the image fails to load or for screen readers (strongly recommended).
A basic example looks like this:
<img src=\"photo.jpg\" alt=\"A description of the image\">
This line tells the browser to display the image located at \"photo.jpg\" and show the descriptive text if the image isn't available.
alt attribute—it's crucial for accessibility and SEO.
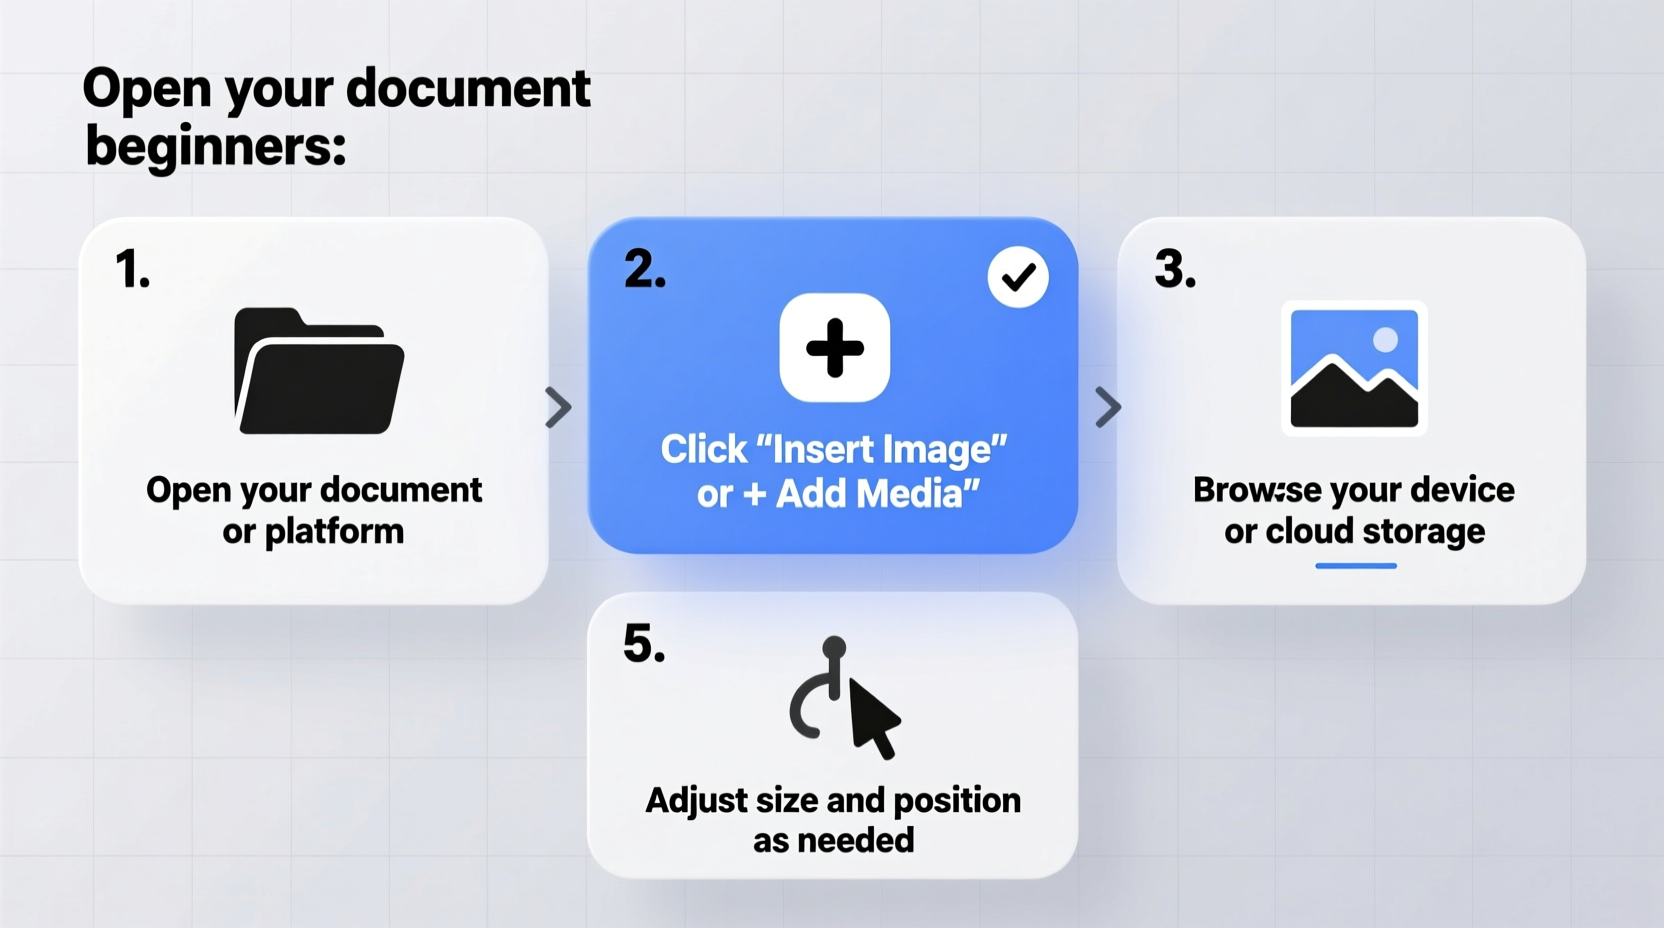
Step-by-Step: How to Add an Image to Your Webpage
- Prepare your image: Choose a high-quality but optimized image. Save it in a common format such as JPEG, PNG, or WebP. Name the file clearly and without spaces (e.g.,
sunset-beach.jpg). - Place the image in your project folder: Store the image in a dedicated directory like
/images/within your website’s root folder. - Open your HTML file: Use a text editor or IDE to open the page where you want to insert the image.
- Insert the img tag: Position the cursor where the image should appear and write the
<img>element with the correctsrcpath. - Add descriptive alt text: Write concise, meaningful text describing the image’s content and purpose.
- Test your page: Open the HTML file in a browser to confirm the image loads properly.
Example Implementation
If your folder structure looks like this:
project-folder/
│
├── index.html
└── images/
    └── sunrise.jpg
Then your HTML code should reference the image like so:
<img src=\"images/sunrise.jpg\" alt=\"Golden sunrise over a calm lake\">
This relative path tells the browser to look inside the images folder for the file sunrise.jpg.
Best Practices for Using Images on Websites
While adding an image is simple, doing it well requires attention to detail. Poor image handling can slow down your site, harm accessibility, or break layouts.
Optimize File Size and Format
Large images increase loading time, which affects user experience and search engine rankings. Compress images before uploading. Tools like TinyPNG or Squoosh.app help reduce file size without noticeable quality loss.
| Image Type | Best For | Recommended Use Case |
|---|---|---|
| JPEG | Photographs, complex colors | Banner images, gallery photos |
| PNG | Graphics with transparency | Logos, icons, overlays |
| WebP | Modern browsers, smaller files | Performance-focused sites |
Use Responsive Attributes
To ensure images scale properly across devices, use CSS or HTML attributes. A common approach is setting width via CSS:
<img src=\"image.jpg\" alt=\"Example\" style=\"max-width: 100%; height: auto;\">
This prevents the image from overflowing its container on small screens.
“An image that enhances content shouldn’t hinder performance. Optimize every asset as if your audience is on mobile data.” — Sarah Lin, Front-End Performance Engineer
Common Mistakes and How to Avoid Them
Even experienced developers occasionally make errors when working with images. Here are frequent issues and their solutions:
- Misleading or missing alt text: Never leave
alt=\"\"unless the image is purely decorative. Avoid generic phrases like “image” or “picture here.” - Incorrect file paths: Double-check spelling and folder names. Relative paths are preferred for local projects.
- Using oversized images: Don’t upload a 4000px-wide photo just to display it at 300px. Resize it first.
- Ignoring responsive design: Fixed widths cause layout issues on phones and tablets.
- Embedding images directly in HTML via base64: While possible, this increases page size and slows loading—use sparingly.
Mini Case Study: Fixing a Broken Image Issue
Lena, a new blogger, launched her travel website only to find visitors couldn’t see any pictures. After checking the console, she discovered 404 errors for all image sources.
The problem? She had saved her images on her desktop and used absolute paths like C:\\Users\\Lena\\Pictures\\maldives.jpg. These paths only worked on her computer, not online.
She fixed it by:
- Moving all images into an
/images/folder in her project. - Updating the
srcattributes to relative paths:images/maldives.jpg. - Adding descriptive
alttexts like “Overwater bungalow in the Maldives at sunset.”
Within minutes, the images loaded correctly across all devices. Her bounce rate dropped significantly in the following week.
Frequently Asked Questions
Can I link an image to another webpage?
Yes. Wrap the <img> tag inside an anchor (<a>) tag. Example:
<a href=\"https://example.com\"><img src=\"button.jpg\" alt=\"Visit our homepage\"></a>
What if my image isn’t showing up?
Check these common causes:
- The file name or path is misspelled.
- The image file isn’t uploaded to the server.
- The file extension is incorrect (e.g., .jpe instead of .jpg).
- Permissions prevent access to the file.
Should I always use HTTPS for external images?
Yes. If your site uses HTTPS, loading images over HTTP creates mixed-content warnings and security risks. Always pull external assets securely.
Final Checklist Before Publishing
- ✅ Image saved in appropriate format (JPEG/PNG/WebP)
- Ensures quality and performance balance.
- ✅ File placed in project folder (e.g., /images/)
- Keeps assets organized and accessible.
-
✅ Correct
srcpath used (relative or absolute) - Prevents broken links.
-
✅ Descriptive and accurate
alttext added - Supports accessibility and SEO.
- ✅ Image scaled responsively
- Looks good on all screen sizes.
- ✅ Tested across browsers and devices
- Confirms consistent appearance.
Conclusion
Adding an image may be one of the simplest tasks in web development, but doing it correctly lays the foundation for a professional, accessible, and fast-loading website. By following structured steps, adhering to best practices, and learning from real-world examples, even beginners can confidently enhance their pages with visuals.


 浙公网安备
33010002000092号
浙公网安备
33010002000092号 浙B2-20120091-4
Comments
No comments yet. Why don't you start the discussion?