
In today’s digital world, losing a device isn’t just inconvenient—it can compromise personal data, disrupt productivity, and lead to costly replacements. Apple’s “Find My” network offers a powerful solution, enabling users to locate, secure, and recover their devices with precision and ease. Whether it’s an iPhone left in a café or AirPods misplaced at home, integrating all your compatible Apple devices into the Find My ecosystem ensures you’re always in control. This guide walks through the full process of adding devices, optimizing settings, and leveraging advanced features to maximize security and convenience.
Understanding the Find My Ecosystem
Find My is more than just a lost device tracker. It’s a privacy-first, end-to-end encrypted service that uses Apple’s global network of devices to help locate yours—even when they’re offline. When a device goes missing, nearby Apple devices anonymously relay its location back to the owner without exposing any personal information.
The service supports a wide range of Apple hardware: iPhones, iPads, Macs, Apple Watches, AirPods, and even third-party accessories certified under Apple’s Find My network program. Each device must be signed into the same Apple ID and have Find My enabled to participate.
“Find My has become one of the most effective tools for device recovery, combining crowd-sourced location data with military-grade encryption.” — Lisa Park, Senior Security Analyst at TechShield Insights
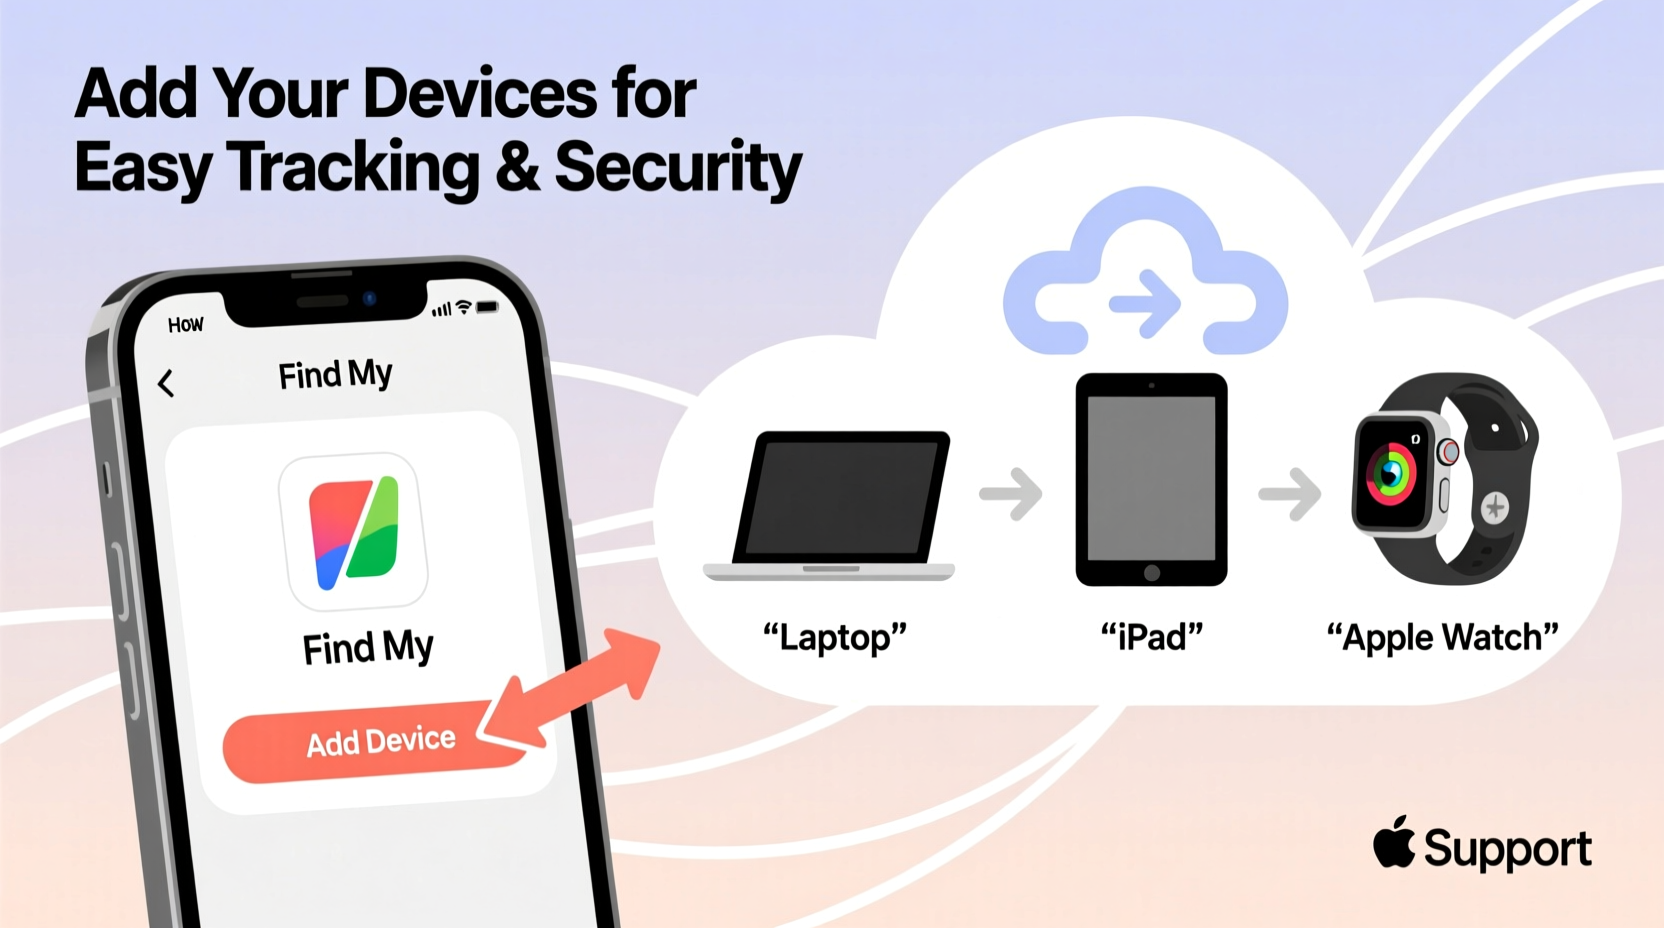
Step-by-Step Guide to Adding Devices
Adding a device to Find My is straightforward, but the exact steps vary slightly depending on the type of device. Below is a universal process applicable to most Apple products.
- Ensure the device is signed in with your Apple ID. Go to Settings > [Your Name] and confirm login status.
- Enable Find My [Device]. For example, on iPhone: Settings > [Your Name] > Find My > Find My iPhone.
- Turn on both “Find My [Device]” and “Send Last Location.” The latter automatically uploads the device’s position when the battery is about to die.
- For non-phone devices (like AirPods or Apple Watch), pair them first via Bluetooth and follow setup prompts. They’ll automatically appear in your Find My list once linked to your account.
- Verify the device appears in the Find My app under the Devices tab. Tap it to see its location, play a sound, or enable Lost Mode.
Supported Devices and Setup Variations
While the core functionality remains consistent, certain devices require specific attention during setup. The table below outlines key differences:
| Device Type | Setup Path | Special Notes |
|---|---|---|
| iPhone/iPad | Settings > [Name] > Find My > Find My iPhone/iPad | Requires iCloud and two-factor authentication. |
| Mac (macOS Monterey or later) | System Settings > Apple ID > Find My > Find My Mac | Activation Lock prevents unauthorized reactivation. |
| AirPods (Pro, Max, 3rd gen or later) | Automatically added when paired to an iOS device | Can track each earbud separately if lost. |
| Apple Watch | Paired via iPhone; enabled in Watch app under My Watch > General > Reset > Erase All Content | Mirrors Find My settings from paired iPhone. |
| Find My Network Accessories (e.g., AirTags, Belkin trackers) | Hold near iPhone and follow on-screen pairing | Customizable with name, emoji, and contact info. |
Real-World Example: Recovering a Lost MacBook
Sarah, a freelance designer, left her MacBook Pro in an airport lounge after a long flight. She realized the loss two hours later while boarding a connecting flight. Using her iPhone, she opened the Find My app, selected her MacBook, and saw it was still at the terminal. She played a loud sound remotely—useful if someone nearby had picked it up unknowingly. When no response came, she activated Lost Mode, locking the device with a custom message displaying her phone number. Within 30 minutes, a staff member called her using the contact info shown on the locked screen. Her MacBook was returned intact.
This scenario highlights how proactive setup pays off. Because Sarah had enabled Find My Mac and Send Last Location months earlier, she retained visibility even as the laptop’s battery drained.
Best Practices and Common Pitfalls
To get the most out of Find My, avoid these common oversights:
- Not enabling Offline Finding: Without this, devices in airplane mode or powered off won’t register location updates.
- Using different Apple IDs across devices: Find My only works within a single account. Family members should use Family Sharing instead.
- Disabling Location Services: This breaks real-time tracking. Ensure Location Services are on for Find My (Settings > Privacy & Security > Location Services).
- Ignoring software updates: Older OS versions may lack critical security patches or new Find My features.
Checklist: Securing Your Devices with Find My
Follow this checklist to ensure every device is properly protected:
- ✅ Sign in with the same Apple ID across all devices
- ✅ Enable Find My [Device] for each gadget
- ✅ Turn on Offline Finding and Send Last Location
- ✅ Verify two-factor authentication is active on your Apple ID
- ✅ Test the “Play Sound” feature to confirm connectivity
- ✅ Add descriptive names (e.g., “Sarah’s Blue AirPods”) for quick identification
- ✅ Review device list monthly for accuracy
Frequently Asked Questions
Can someone else track my device without my knowledge?
No. Find My requires explicit permission and sign-in credentials. All tracking activity is tied to your Apple ID, and unauthorized access is prevented by two-factor authentication and end-to-end encryption. If you suspect tracking, use the “Item Safety Alerts” feature to detect unknown AirTags or accessories following you.
What happens if I sell or give away a device?
You must remove it from your Find My list before transferring ownership. On iOS: go to Find My > Devices > Select Device > Remove from Account. On Mac: Apple Menu > System Settings > Apple ID > iCloud > Find My Mac > Turn Off. Failure to do so leaves Activation Lock active, preventing the new user from setting it up.
Can I use Find My on non-Apple devices?
Direct integration is limited to Apple hardware and certified third-party accessories. However, you can access the Find My website (icloud.com/find) from any modern browser to locate your Apple devices remotely, even from a Windows PC.
Conclusion: Stay One Step Ahead with Smart Tracking
Losing a device doesn’t have to mean losing control. By systematically adding every compatible gadget to Find My, you create a resilient safety net that blends real-time tracking with robust security. From immediate sound alerts to remote locking and offline detection, the tools are already built into your devices—you just need to activate them. In moments of stress, having that confidence can make all the difference.


 浙公网安备
33010002000092号
浙公网安备
33010002000092号 浙B2-20120091-4
Comments
No comments yet. Why don't you start the discussion?