
Applying false eyelashes can be a game-changer for your makeup look—adding volume, length, and drama in seconds. But for many beginners, especially those dealing with shaky hands due to nervousness, fatigue, or medical conditions like essential tremor, the process feels more like a high-stakes balancing act than a beauty ritual. The fear of poking your eye, misaligning the lash, or gluing your lashes shut can make the entire experience stressful.
The good news? You don’t need steady surgeon-level precision to master falsies. With the right tools, techniques, and mindset, even the shakiest hands can achieve clean, symmetrical, fluttery lashes. This guide breaks down a beginner-friendly method that minimizes hand movement, maximizes control, and turns lash application from a chore into a confident part of your routine.
Why Shaky Hands Make Lash Application Difficult
When you're holding tweezers or your fingers near your eye, even minor tremors are amplified. The delicate nature of false lashes—thin bands, wispy fibers, and tiny glue spots—means small movements can lead to big mistakes: uneven placement, glue smears, or accidental blinks mid-application.
Shakiness isn’t always about nerves. Conditions like anxiety, low blood sugar, caffeine intake, Parkinson’s, or even staring too hard (which tenses facial muscles) can contribute. The key isn’t eliminating the shake—it’s working around it with smarter mechanics.
“Most beginners overcomplicate lash application by trying to place the entire strip at once. That’s where the struggle begins.” — Lana Reyes, Professional Makeup Artist & Beauty Educator
Beginner Hack: The Spoon Technique for Steady Placement
The most effective method for shaky-handed beginners is the spoon stabilization technique. It reduces fine motor demand by using a common kitchen spoon as a stabilizing tool, allowing you to rest your hand and guide the lash into place with minimal finger movement.
What You’ll Need
- A clean metal teaspoon (not plastic)
- False eyelashes (beginner-friendly, flexible band)
- Lash adhesive (tacky formula recommended)
- Tweezers or lash applicator (optional)
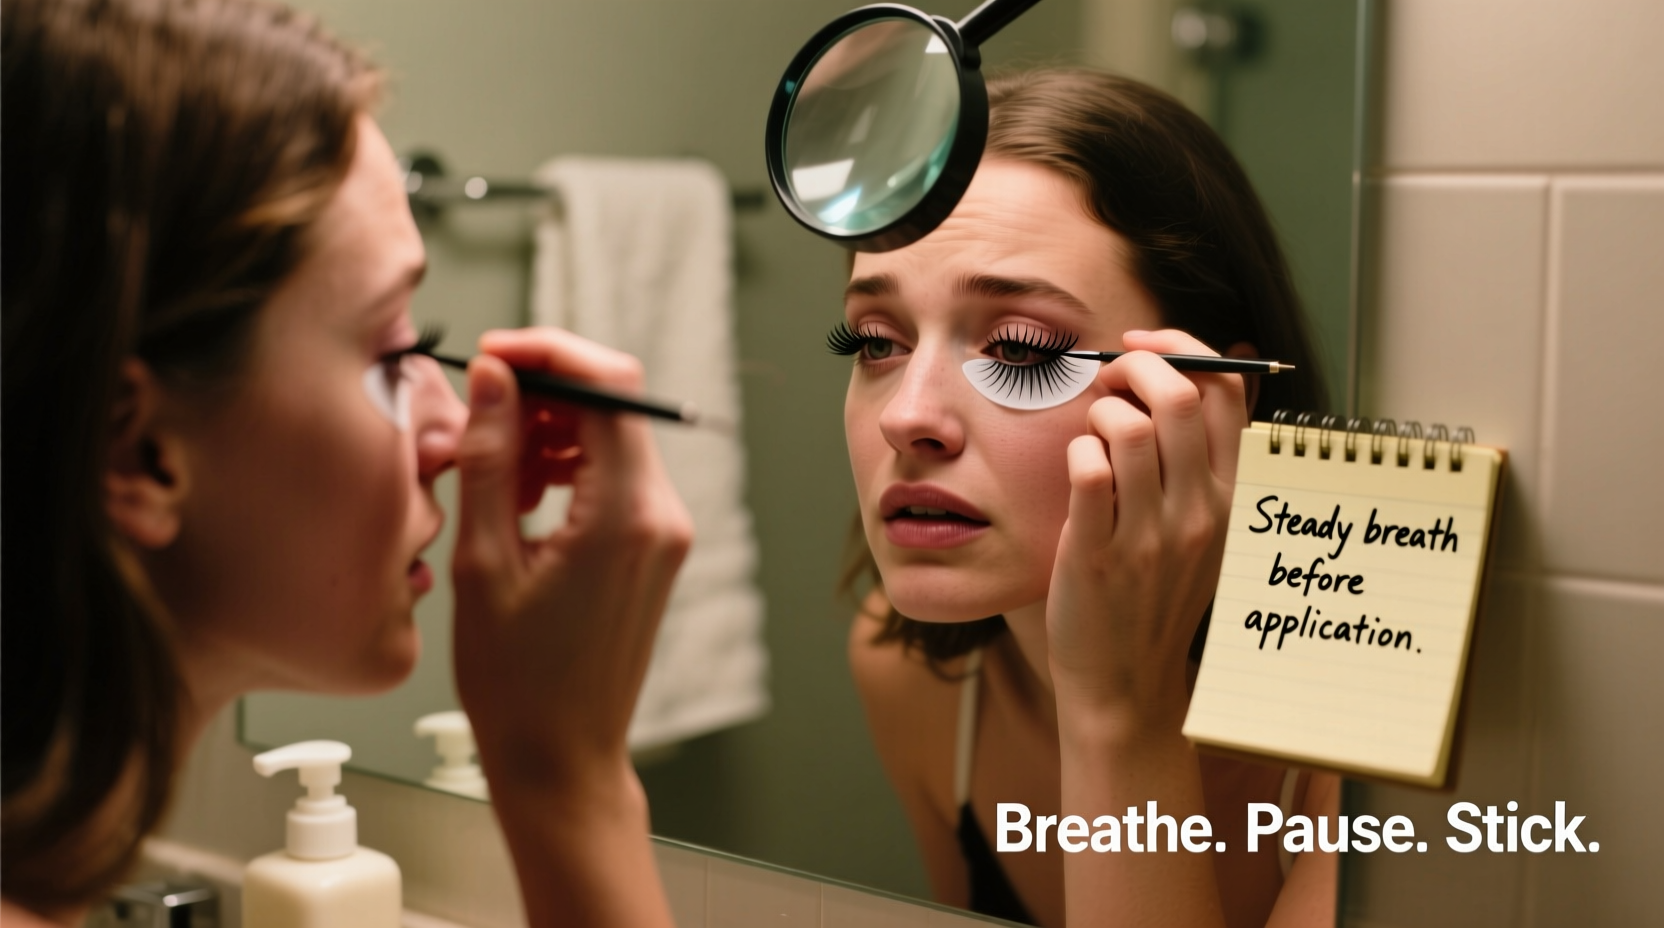
- Mirror (preferably magnifying or well-lit)
Step-by-Step: Spoon Method for Shaky Hands
- Prepare Your Lashes: Gently remove the false lash from its tray. Test the fit by holding it against your lash line. Trim the outer edge if needed—always trim from the outer end to preserve the band’s integrity.
- Apply Glue Sparingly: Squeeze a thin line of lash adhesive along the band. Wait 30–45 seconds until the glue becomes tacky. This prevents sliding and gives you better control.
- Position the Spoon: Hold the back of a metal teaspoon against the outer corner of your cheekbone, just below your eye socket. The bowl of the spoon should cradle the lower half of your face, acting as a stable platform.
- Rest Your Hand: Place your ring finger or pinky on the spoon’s handle or the back of the bowl. This anchors your hand, reducing tremors caused by unsupported fingers.
- Guide the Lash In: Use your other hand (or tweezers) to pick up the lash. Instead of placing it all at once, start with the center. Align the middle of the lash band with the center of your natural lash line. Press gently with the tip of your finger or tweezers.
- Secure Inner and Outer Corners: Once the center is set, adjust the inner corner first—this is harder to reach later. Then secure the outer edge. The spoon allows micro-movements without full-hand shaking.
- Hold and Set: Keep gentle pressure on the lash for 15–20 seconds. Blink slowly to check alignment. Use a clean spoolie or lash brush to blend falsies with natural lashes if needed.
Choosing the Right False Lashes for Beginners with Tremors
Not all false lashes are created equal—some are far more forgiving than others when dealing with unsteady hands. Look for these features:
- Flexible band: Thin, pliable bands conform to your eye shape and are easier to adjust mid-application.
- Center-focused volume: Lashes with denser volume in the center (rather than dramatic wings) are easier to align symmetrically.
- Shorter length: Opt for medium-length styles (12–14mm) instead of extreme lengths that require perfect placement.
- Pre-cut strips: Avoid clusters or individual lashes at first—stick to full strips for faster, simpler application.
| Lash Type | Best For Shaky Hands? | Why |
|---|---|---|
| Faux mink strip lashes (flexible band) | ✅ Yes | Bend easily, lightweight, blend naturally |
| Pixie or doll-like styles | ✅ Yes | Shorter length, less margin for error |
| Dramatic winged lashes | ❌ No | Long tails require precise angle control |
| Individual clusters | ❌ Not recommended | Require multiple placements—too much hand movement |
| Magnetic lashes | ✅ Yes (with caution) | No glue = less mess, but magnets must align perfectly |
Alternative Tools & Techniques to Reduce Hand Movement
If the spoon method feels awkward, try these alternative stabilization strategies:
1. The Knuckle Bridge
Rest your ring finger or pinky knuckle on your cheekbone while using your index and thumb to place the lash. This creates a pivot point, minimizing tremors. Think of it like drawing a straight line by anchoring your wrist on paper.
2. Tape Anchor Method
Place a small piece of translucent tape on your cheek just below the lash line. Attach the false lash to the tape temporarily while adjusting the position. Peel the tape away once the lash is glued and set. This gives you time to reposition without blinking.
3. Use a Lash Applicator with Grip
Invest in a rubber-grip lash applicator designed for precision. These tools often have curved tips that mimic the eye’s shape and reduce the need for fine finger control. Hold it like a pencil and brace your hand on your cheek.
Real Example: Sarah’s First Successful Application
Sarah, a 28-year-old office worker with mild anxiety, had tried false lashes three times before giving up. “I kept poking myself or putting them on crooked,” she said. “One time I glued my lashes together and had to cut them out.”
After learning the spoon technique from a YouTube tutorial, she tried again. She chilled a teaspoon, used a soft-pack lash with a black band, and waited for the glue to get tacky. “I rested my pinky on the spoon and just focused on the center first. It took two tries, but they were actually straight!”
Within a week, Sarah was applying lashes in under five minutes. “It’s not perfect, but now I feel like I can do it even before morning meetings. The spoon makes me feel anchored.”
Common Mistakes to Avoid with Shaky Hands
- Rushing the glue timing: Applying lashes too soon after gluing causes sliding. Wait until the adhesive is tacky—not wet.
- Using too much glue: Excess glue seeps out, creating a mess and extending drying time. A thin, even line is enough.
- Trying to fix it mid-blink: If you blink and shift the lash, don’t panic. Let it dry slightly, then gently lift and reposition with tweezers.
- Skipping the trim: Ill-fitting lashes are harder to place. Always test the fit and trim from the outer edge if needed.
- Working in poor light: Dim lighting forces squinting and tension. Use a ring light or sit near a bright window.
Checklist: Foolproof False Lash Application for Shaky Hands
- ☐ Choose flexible, beginner-friendly lashes
- ☐ Trim if necessary—measure against your eye
- ☐ Apply glue and wait 30–45 seconds for tackiness
- ☐ Use a spoon or knuckle to stabilize your hand
- ☐ Place center first, then inner and outer corners
- ☐ Hold in place for 15–20 seconds
- ☐ Blend with mascara or spoolie if needed
- ☐ Remove gently at night with oil-based remover
Frequently Asked Questions
Can I use this method if I wear glasses or contacts?
Absolutely. The spoon technique works with both. If you wear contacts, consider inserting them after applying lashes to avoid irritation. Glasses wearers may need to tilt their head slightly upward during application for better visibility.
What if I still can’t get them straight?
Perfect symmetry isn’t required. Most people’s eyes aren’t identical, so slight adjustments are normal. Focus on comfort and alignment with your crease rather than mirror-image perfection. Over time, your accuracy will improve.
Are there long-term solutions for shaky hands during makeup?
If tremors persist, consult a healthcare provider to rule out underlying conditions. In the meantime, consider semi-permanent options like lash lifts or extensions applied by a professional. For daily wear, magnetic lashes or lash-enhancing serums can reduce reliance on manual application.
Final Tips for Confidence and Consistency
Mastering false eyelashes with shaky hands isn’t about achieving perfection—it’s about building a repeatable process that works for your body. Start slow. Practice without glue. Celebrate small wins. Remember, even professional makeup artists started with wobbly hands and misplaced lashes.
The spoon trick, combined with the right products and patience, transforms a frustrating task into a manageable, even enjoyable, part of your routine. Over time, your brain and muscles adapt, making each attempt smoother than the last.
“The secret to great lashes isn’t steady hands—it’s smart technique. Work with your body, not against it.” — Diego Martinez, Celebrity MUA
Conclusion: You’ve Got This
Applying false eyelashes with shaky hands doesn’t have to be a source of stress or avoidance. With the spoon stabilization method, the right lash style, and a few simple tools, you can achieve beautiful results—no surgeon’s hands required. It’s not about eliminating the shake; it’s about designing a system that keeps you in control.
Start tonight. Grab a teaspoon, pick a forgiving pair of lashes, and give the technique a try. Even if it takes a few attempts, you’re building a skill that will grow stronger with practice. And when you finally see those fluttery, flawless lashes staring back at you in the mirror, you’ll know it was worth every second.


 浙公网安备
33010002000092号
浙公网安备
33010002000092号 浙B2-20120091-4
Comments
No comments yet. Why don't you start the discussion?