
False eyelashes can elevate any makeup look from everyday natural to full-glam in seconds. Yet for many, the application process feels more like an obstacle course than a beauty ritual. Sticky fingers, clumps of dried glue, misaligned wings, and involuntary blinking mid-paste—these aren’t just annoyances; they’re reasons people give up on falsies altogether. The good news? With the right tools, technique, and timing, you can apply false lashes smoothly, precisely, and without irritation. This guide walks you through a clean, controlled method that eliminates mess and minimizes discomfort—even if you're new to falsies.
Why Glue Mess and Blinking Happen (And How to Stop Them)
The root causes of messy lash applications are often overlooked. Most tutorials focus on “where” to place the lashes but skip the “how” behind handling glue and managing eye movement. Understanding the mechanics helps prevent common pitfalls.
Glue becomes problematic when it’s applied too thickly or unevenly. Excess adhesive seeps out when pressure is applied during placement, creating visible strings or blobs along the lash band. It also increases drying time, forcing you to hold your eyes open longer—which leads to dryness, strain, and reflexive blinking.
Blinking isn’t defiance; it’s biology. Your eyes protect themselves from foreign objects near the lash line. When tweezers hover too close or glue feels tacky on sensitive skin, your body responds instinctively. The solution isn’t willpower—it’s precision, preparation, and patience.
Step-by-Step: Clean, Trauma-Free Lash Application
Follow this timeline-tested sequence to achieve salon-quality results at home. Each step reduces risk of error and enhances comfort.
- Prep Your Natural Lashes: Curl your lashes and apply a light coat of mascara. This helps blend real and fake lashes seamlessly and gives extra grip for alignment.
- Trim to Fit: Hold the false lash against your lash line. Mark excess length with a dot of eyeliner and trim from the outer end using small scissors. Never cut from the inner corner—it disrupts the band’s flexibility.
- Shape the Band: Gently bend the lash strip into a “C” shape between your fingers. This mimics the curve of your eye and ensures better contact with the lid.
- Apply Glue Strategically: Squeeze a rice-grain-sized amount of latex-free glue onto the back of your hand. Using a toothpick or fine brush, spread a very thin layer along the band. Wait 30 seconds until slightly tacky—this reduces oozing.
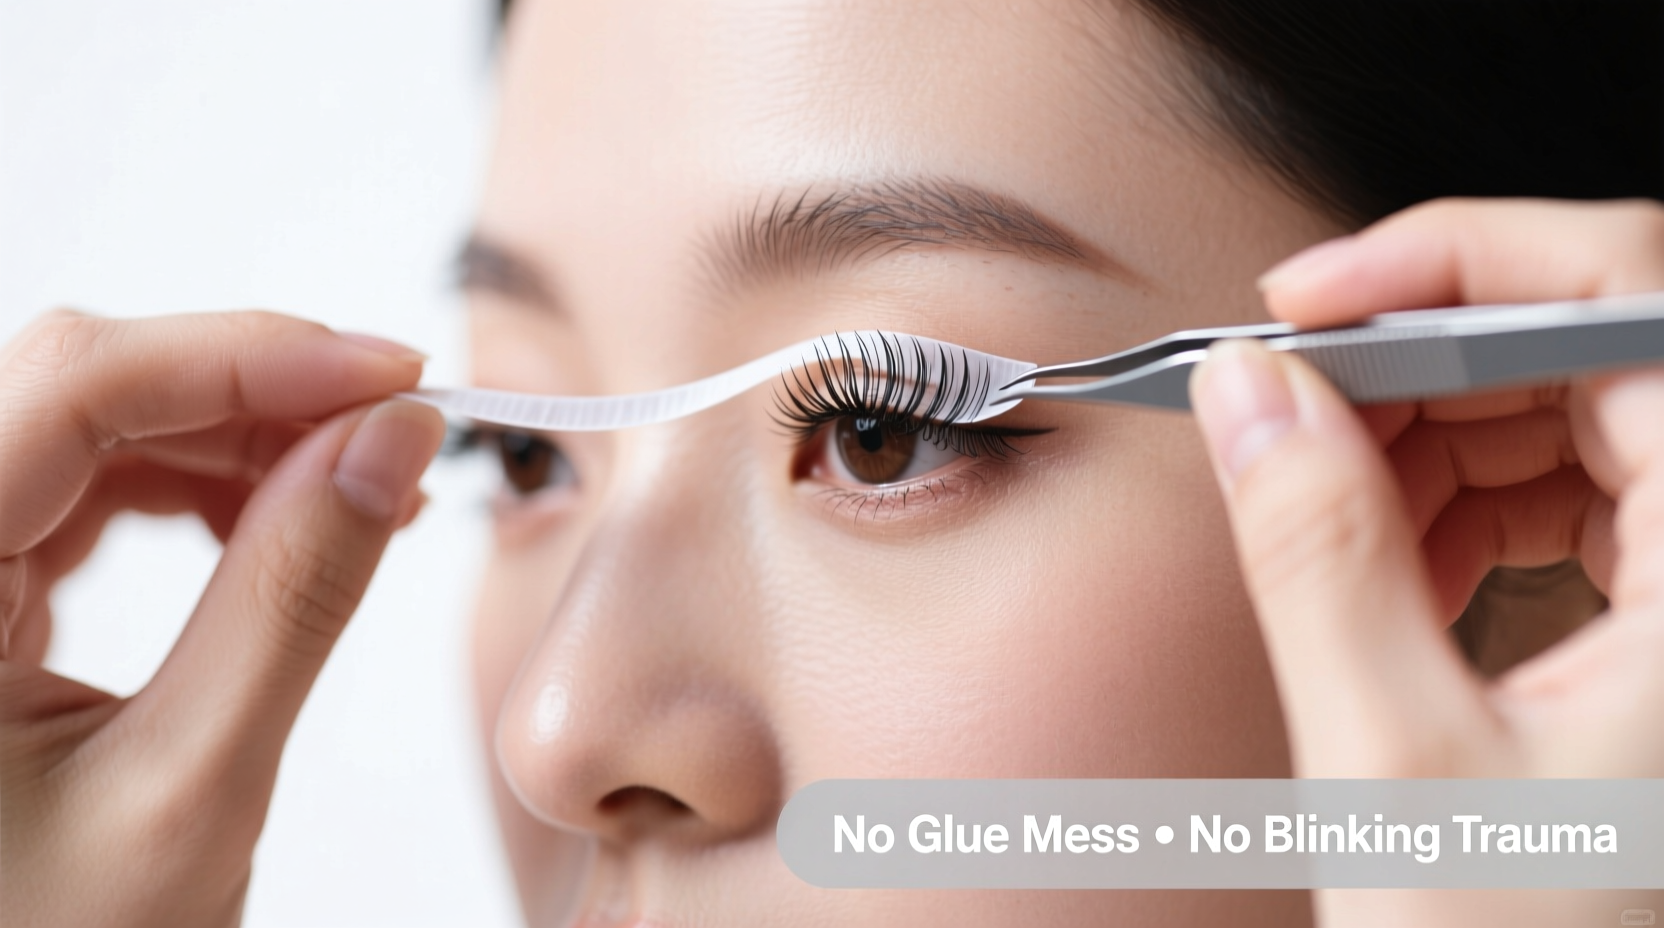
- Position with Precision: Look down into a mirror placed on a flat surface. Use angled tweezers to place the center of the lash first, then adjust the inner and outer corners. Let gravity help you see the lash line clearly.
- Secure Without Pressure: Once placed, avoid pressing down hard. Instead, use the flat side of a clean spoolie or lash applicator to gently press along the band in small sections.
- Blend and Finish: After 60 seconds, lightly curl both natural and false lashes together. Apply one coat of mascara only at the tips to fuse them without weighing them down.
This method prioritizes control over speed. Rushing through steps increases the chance of misalignment and glue smearing. Taking two minutes longer can save ten minutes of correction—or starting over.
Choosing the Right Tools and Products
Not all glues and lashes behave the same. Selecting compatible products tailored to your sensitivity level and skill improves outcomes dramatically.
| Product Type | Recommended For | Avoid If… |
|---|---|---|
| Latex-Free Glue | Sensitive eyes, beginners | You need ultra-strong hold for windy events |
| Clear Adhesive | Dark lash bands, quick-dry needs | You struggle with visibility during placement |
| Black Adhesive | Visible lash lines, dramatic looks | You want a natural daytime effect |
| Individual Clusters | Fine control, sparse natural lashes | You prefer full-strip convenience |
| Pre-Curved Full Strips | Beginners, hooded eyes | You have very narrow lids or extreme curvature |
Invest in a quality pair of slanted lash tweezers with fine tips. They offer better grip than plastic applicators and allow micro-adjustments without disturbing the glue seal. Also keep a pointed cotton swab dipped in micellar water nearby—it removes stray glue instantly without tugging skin.
“Most lash disasters happen before the strip even touches the eye. Poor prep and over-application of glue are the true culprits.” — Lena Torres, Celebrity Makeup Artist & Lash Educator
Real Example: From Frustration to Flawless in One Week
Sophia, a 28-year-old marketing executive, had given up on falsies after multiple failed attempts before important meetings. She described her experience as “sticky, stressful, and always crooked.” After switching to a daily five-minute practice routine using the above method—without makeup, just glue and lashes—she built muscle memory. By day four, she could apply a pair in under three minutes with zero blinking episodes. On day seven, she wore them to a client presentation and received compliments on her “perfectly defined eyes.” Her breakthrough wasn’t talent—it was repetition and using the right tools consistently.
Her key insight? “I stopped trying to do it fast. When I slowed down and used the toothpick for glue, everything changed.”
Checklist: Glue-Mess Prevention Routine
- ✔️ Wash and dry hands thoroughly before starting
- ✔️ Use a non-latex, low-irritant adhesive
- ✔️ Apply glue with a toothpick or micro-brush—not the wand
- ✔️ Wait 20–30 seconds for glue to become tacky
- ✔️ Place lashes looking down into a well-lit mirror
- ✔️ Secure with light taps, not firm pressure
- ✔️ Keep a cleanup tool (cotton swab + remover) ready
- ✔️ Avoid touching eyes or rubbing lids post-application
This checklist addresses the most frequent sources of contamination and error. Following it turns application into a repeatable ritual rather than a gamble.
Frequently Asked Questions
Can I reuse false lashes without reapplying glue all over?
Yes. After removal, gently peel off old adhesive with tweezers and clean the band with alcohol-free wipe. Reapply glue only where needed—usually the ends—and let it set for 30 seconds before placing.
Why do my eyes water when I put on false lashes?
Watering is typically caused by fumes from strong adhesives or accidental contact between glue and skin. Switch to a medical-grade, formaldehyde-free formula and ensure the glue stays strictly on the band. Ventilation also helps reduce irritation.
How do I stop the outer edge from lifting?
Lifting usually occurs due to insufficient adhesive at the corners or improper band shaping. Before applying, press the ends of the lash band firmly against your fingertip to create a slight upward curl. Then add a tiny dab of extra glue just at each tip when placing.
Mistakes That Cause Blinking Trauma (And How to Avoid Them)
Blinking isn’t random—it’s triggered by specific stimuli. Recognizing these triggers allows you to neutralize them.
- Too much glue near the inner corner: This area is highly sensitive. Apply less adhesive here and avoid extending the lash past the natural lash line.
- Holding your eyes open too long: Work quickly once glue is applied. Practice the motion beforehand so placement takes under 15 seconds per eye.
- Using dull or wide tweezers: Bulky tools crowd the eye space. Opt for slim, pointed tweezers that allow precise release without hovering.
- Applying with head tilted back: This forces you to look up, stretching the eyelid unnaturally. Instead, tilt your head forward slightly and look down into the mirror.
Final Thoughts: Mastery Over Perfection
Applying false eyelashes cleanly and comfortably isn’t about having steady hands or perfect vision—it’s about system and awareness. Every smear, blink, and misalignment points to a fixable step in the process. Whether you wear falsies weekly or only for special occasions, refining your technique pays off in confidence and time saved.
Start small: dedicate one evening to practicing placement without glue. Then try one full run-through slowly. Build consistency, not speed. Soon, what once felt chaotic will become second nature—glue-free fingers, calm blinks, and all.


 浙公网安备
33010002000092号
浙公网安备
33010002000092号 浙B2-20120091-4
Comments
No comments yet. Why don't you start the discussion?