
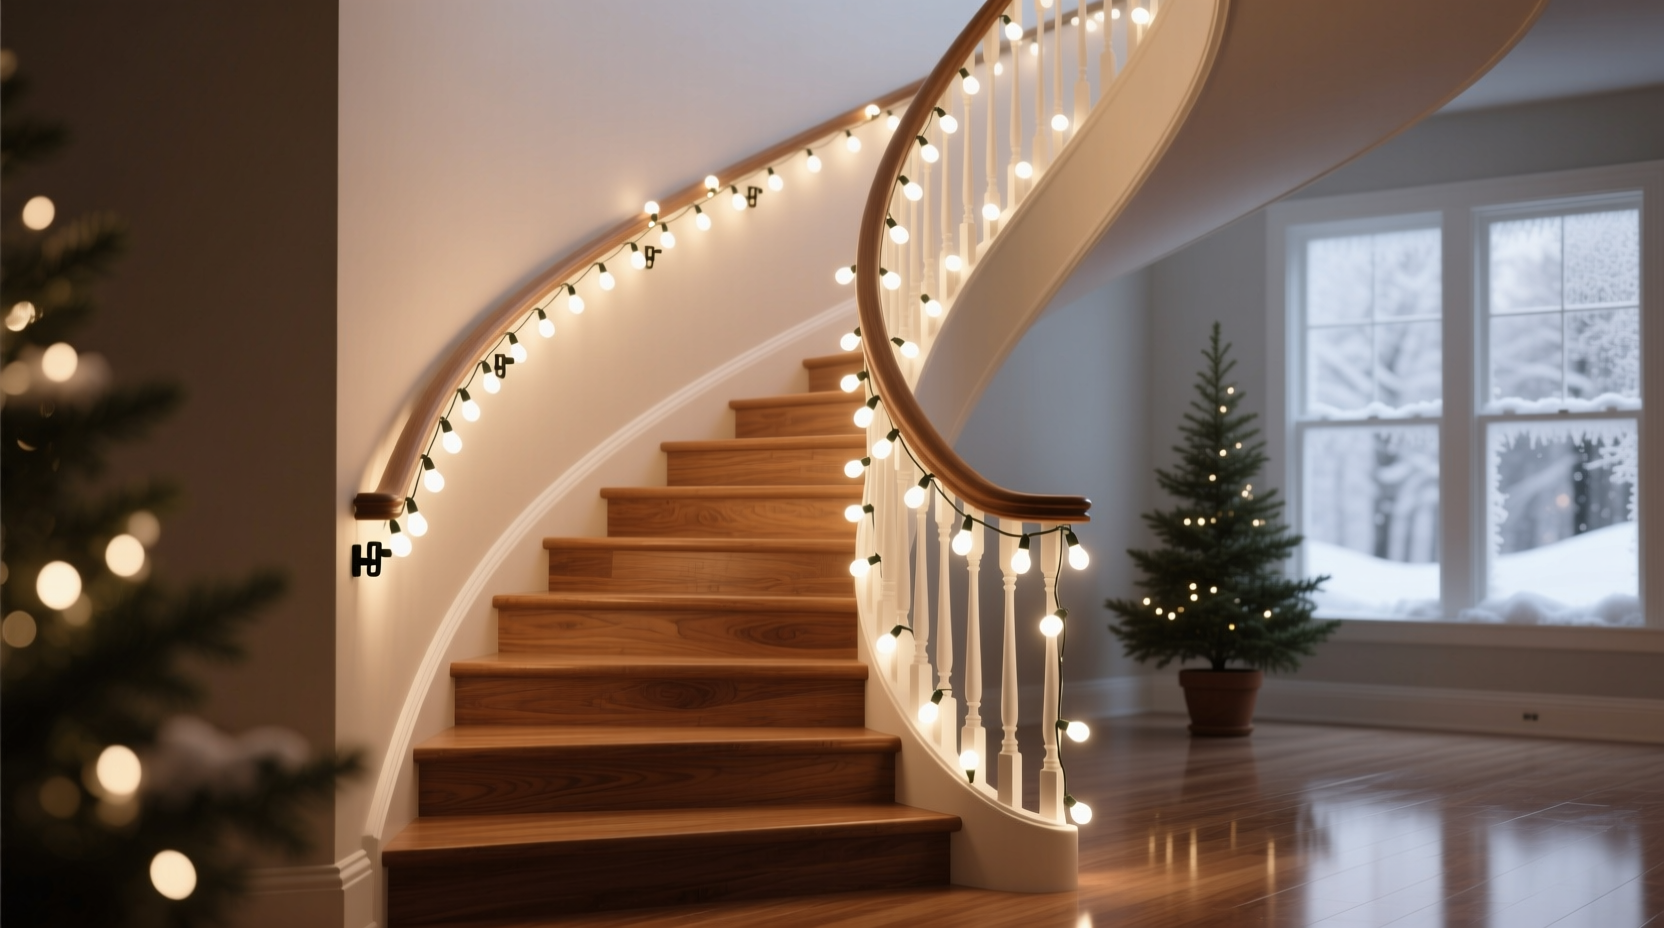
A staircase adorned with Christmas lights can instantly elevate the festive atmosphere of your home. When done right, it creates a cascading effect that draws the eye upward, evoking warmth and holiday magic. However, arranging lights on a staircase railing isn’t just about aesthetics—it’s also a matter of safety, durability, and long-term enjoyment. Poorly installed lights can become tripping hazards, overheat, or create uneven illumination that distracts rather than delights.
The key lies in balancing design intention with practical execution. This guide walks you through every phase: from choosing the right type of lights and planning your layout, to installation techniques that ensure both beauty and safety. Whether you live in a historic home with ornate banisters or a modern townhouse with minimalist railings, these principles apply universally.
Selecting the Right Type of Lights
Not all Christmas lights are created equal—especially when applied to staircases. The confined space, frequent foot traffic, and vertical orientation demand careful consideration of bulb type, cord length, and power source.
LED lights are overwhelmingly recommended for indoor stair applications. They produce minimal heat, reducing fire risk near wooden rails or fabric drapes. They’re also more energy-efficient and last significantly longer than incandescent bulbs. For a staircase, consider warm white LEDs (2700K–3000K) to mimic candlelight and complement traditional decor, or multicolor sets if you're aiming for a playful, family-friendly vibe.
String length is critical. Measure your railing before purchasing. Most standard light strings are 25 feet long with 50–100 bulbs. A typical two-story staircase may require 15–30 feet of coverage depending on turns and landings. Avoid daisy-chaining more than three strands unless they’re explicitly rated for it—overloading circuits increases electrical risks.
Planning Your Layout for Visual Flow
Visual flow refers to how the eye moves across a lit surface. On a staircase, this means guiding attention smoothly from bottom to top without abrupt stops, dark gaps, or distracting clusters. Achieving this requires thoughtful spacing, alignment, and rhythm.
Start by walking up and down your stairs several times, observing sightlines from multiple angles. Note where shadows fall and which sections naturally catch the eye. Use this insight to determine focal points—perhaps a carved newel post at the base or a landing window frame.
For consistent visual rhythm, wrap lights around the railing posts (balusters) at regular intervals. If your staircase has evenly spaced balusters, align one bulb per baluster. This creates a drumbeat-like pattern that feels natural and balanced. For irregular spacing, use smaller bulbs (like mini LEDs) to maintain uniformity even if distances vary slightly.
Consider directional lighting. Pointed-tip bulbs cast focused glows, ideal for highlighting architectural details. Round bulbs diffuse light more broadly, better for ambient warmth. Mix them strategically—use pointed bulbs near corners or carvings, round bulbs along straight runs.
“Lighting should enhance architecture, not compete with it.” — Daniel Reyes, Residential Lighting Designer
Step-by-Step Installation Guide
Installing lights safely and effectively requires preparation, precision, and patience. Follow this timeline-tested sequence for optimal results.
- Turn off power at the breaker – Even low-voltage LED strings connect to wall outlets. Shutting off nearby circuits prevents accidental shocks during adjustments.
- Clean and inspect the railing – Wipe down wood or metal surfaces to remove dust and grease. Check for loose balusters or splinters that could damage cords or pose hazards.
- Lay out your lights on the floor – Uncoil each strand and test them fully before mounting. Replace any flickering or dead bulbs now.
- Begin at the outlet – Position your first string so the plug reaches an accessible outlet, ideally with a ground-fault circuit interrupter (GFCI). Use extension cords rated for indoor use if needed, but avoid running them across high-traffic floor areas.
- Wrap clockwise or counterclockwise consistently – Pick a direction and stick to it. Wrap each baluster once, maintaining even tension. Use gentle loops—not tight coils—to prevent wire kinking.
- Secure with non-damaging clips – Never use nails, staples, or tape. Instead, use plastic railing clips designed for Christmas lights. These grip the cord without scratching finishes or pinching wires.
- Connect strings carefully – Plug only compatible sets together. Check manufacturer labels for max load limits. Conceal junctions behind posts or under handrails when possible.
- Test the full setup – Restore power and observe performance. Walk up and down while lights are on to check for glare, dark spots, or dangling sections.
- Add final touches – Incorporate garlands, pinecones, or ribbons after lights are secure. Ensure decorations don’t block visibility or add excessive weight.
Safety Considerations and Common Mistakes
Staircases are high-risk zones for accidents, especially during holidays when homes host guests of all ages. A poorly lit or improperly wired staircase increases fall risks and fire hazards.
Overloading outlets is one of the most common mistakes. Plugging too many strings into a single power strip or multi-plug adapter can cause overheating. Always follow the “three-strand rule” unless your product documentation states otherwise. Use smart plugs with built-in surge protection and timers to automatically shut off lights after bedtime hours.
Another issue is obstructed pathways. Lights should never hang below the level of the handrail or trail onto steps. Keep all cords elevated and secured tightly against the railing. If children or pets are present, opt for shatterproof bulbs and encased wiring.
| Do’s | Don’ts |
|---|---|
| Use GFCI-protected outlets | Run cords across stair treads |
| Install lights at least 4 inches above step edge | Use outdoor-rated lights indoors without ventilation checks |
| Check connections weekly for looseness | Leave lights on unattended for more than 8 hours |
| Label switches for easy control | Allow tangled cords to remain compressed under clips |
Real Example: Transforming a Narrow Victorian Staircase
In Portland, Oregon, homeowner Maria Tran faced a challenge: her 1890s home had a narrow, steep staircase with intricate spindle work. She wanted a festive look but worried about cluttering the tight space.
Maria measured the total linear footage (22 feet) and chose two 12-foot strands of warm white micro-LEDs with flexible copper wiring. Because the balusters were close together, she wrapped every other spindle, creating a rhythmic glow without overcrowding. She used clear plastic clips to anchor each loop, ensuring no pressure on the antique wood finish.
To solve the outlet problem, she installed a discreet USB outlet near the baseboard using a licensed electrician. This allowed her to run a low-voltage connection hidden behind a decorative molding cap. She added a timer set from 5 PM to 11 PM daily, conserving energy and preventing overnight burnout.
The result was a soft, inviting ascent that highlighted the craftsmanship of the staircase rather than overwhelming it. Neighbors commented on its elegance, and her toddler learned to hold the railing—now easier to see in dim evening light.
Expert Checklist for a Flawless Finish
- ✅ Measure total railing length and purchase appropriate string quantities
- ✅ Test all lights before installation
- ✅ Confirm outlet access and circuit capacity
- ✅ Use non-damaging clips or ties (no tape or nails)
- ✅ Maintain consistent wrapping direction and spacing
- ✅ Elevate cords above step edges and walking paths
- ✅ Install a timer or smart switch for automatic control
- ✅ Inspect weekly for fraying, flickering, or loosened connections
- ✅ Remove promptly after the holiday season to extend lifespan
Frequently Asked Questions
Can I use battery-powered lights on my staircase railing?
Yes, but sparingly. Battery-operated strings work well for accent pieces like wreaths or small sections where cords are hard to route. However, they’re less reliable for full-rail coverage due to inconsistent brightness as batteries drain and the need for frequent replacements. For primary lighting, plug-in options offer greater stability and brightness control.
How do I prevent lights from sagging between balusters?
Sagging occurs when cords aren’t properly supported. Use railing clips every 6–8 inches, especially on horizontal runs. For wide gaps, insert temporary support hooks (available at hardware stores) or use twist ties anchored to the underside of the handrail. Avoid over-tightening, which can damage insulation.
Is it safe to leave Christmas lights on a staircase overnight?
It’s not recommended. Even LED lights generate some heat over extended periods, and unattended operation increases fire risk. Use programmable timers to limit runtime to 6–8 hours per day, ideally during evening hours when someone is awake to monitor them.
Final Thoughts: Beauty Meets Responsibility
A beautifully lit staircase does more than decorate—it welcomes, guides, and inspires. But its true success lies not just in initial impact, but in how safely and sustainably it functions throughout the season. Thoughtful planning, quality materials, and adherence to electrical best practices ensure your display remains a source of joy, not concern.
Take pride in craftsmanship. Step back often during installation to evaluate symmetry and flow. Involve family members in testing visibility and ease of movement. And remember: the most memorable displays aren’t the brightest, but the ones that feel intentional, warm, and secure.


 浙公网安备
33010002000092号
浙公网安备
33010002000092号 浙B2-20120091-4
Comments
No comments yet. Why don't you start the discussion?