
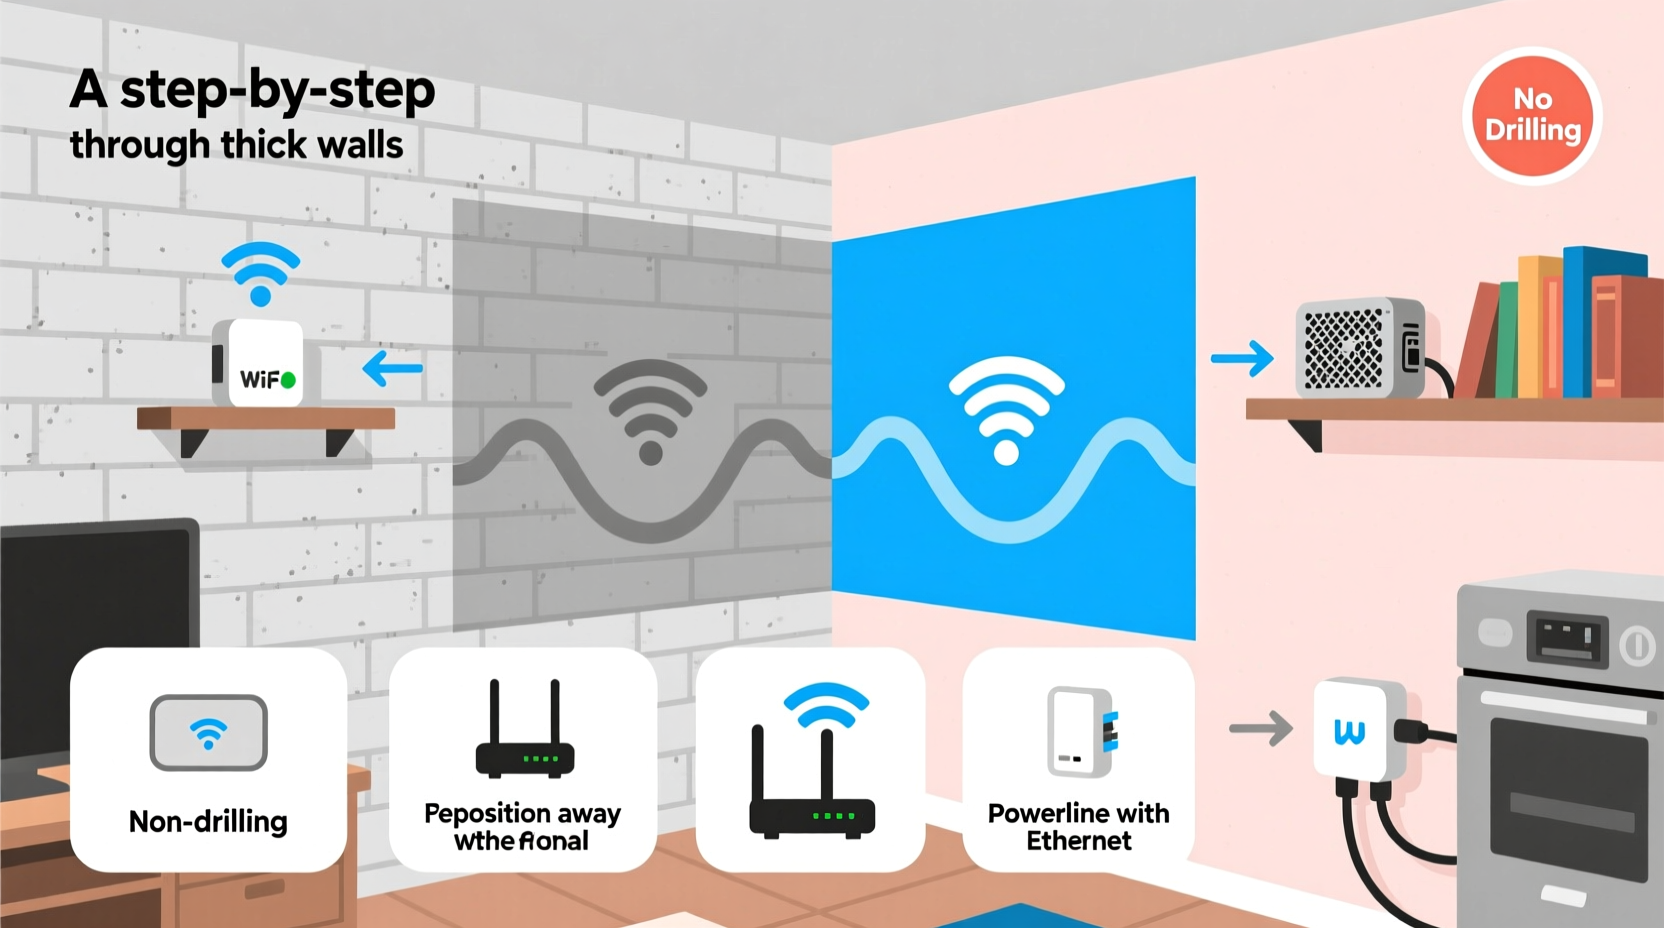
In modern homes, especially those built with brick, concrete, or stone, thick walls can severely degrade Wi-Fi performance. Dead zones in basements, back bedrooms, or garages are common frustrations. While many suggest drilling holes for Ethernet cables or installing access points, not everyone wants—or is allowed—to modify their living space permanently. The good news is that you don’t need to drill a single hole to improve coverage. With strategic placement, smart devices, and a few clever tricks, you can significantly enhance your Wi-Fi signal through even the densest walls.
Understanding Why Thick Walls Block Wi-Fi
Wi-Fi signals operate on radio frequencies—typically 2.4 GHz and 5 GHz. While these waves travel well through air, they weaken when passing through solid materials. The denser the material, the more signal loss occurs. Concrete, cinder block, brick, and plaster with metal lath are particularly problematic because they absorb or reflect radio waves.
For example:
- Concrete walls: Can reduce signal strength by up to 70% per wall.
- Metal framing or ducts: Reflect signals, causing interference and dead zones.
- Insulated drywall or foil-backed insulation: Designed to block heat also blocks Wi-Fi.
Even water plays a role—large fish tanks or plumbing within walls can scatter signals. Understanding this helps explain why simply boosting router power isn’t always effective. Instead, the solution lies in working with physics, not against it.
“Signal penetration isn’t just about strength—it’s about path optimization. A weaker signal on a clear path often outperforms a strong one blocked by obstacles.” — Dr. Alan Reyes, Wireless Network Engineer at MIT Lincoln Lab
Strategic Router Placement: The First Line of Defense
The location of your router has more impact than any booster or extender. Most people tuck routers into corners, behind TVs, or inside cabinets—locations that trap and scatter signals.
Optimal Router Positioning Tips
- Elevate the router: Place it on a shelf or desk, ideally above floor level. Signals radiate outward and downward from the antennas.
- Centralize if possible: Even if you can't move it perfectly central, shift it toward the middle of your home’s main floor.
- Keep away from obstructions: Avoid placing near microwaves, cordless phones, mirrors, or metal furniture.
- Angle antennas properly: If your router has external antennas, position one vertically and one horizontally to support multiple device orientations.
- Face antennas toward target areas: For directional reach, point antennas toward rooms with poor reception.
Using Wi-Fi Extenders Effectively
Wi-Fi extenders repeat your existing signal to expand coverage. They’re plug-and-play, require no drilling, and are ideal for renters or those avoiding construction.
However, poor placement can make them useless—or worse, create network congestion.
Best Practices for Extender Placement
- Place the extender within strong range of the router—not in the dead zone itself.
- Ideal spot: halfway between the router and the weak-signal area, where signal is still -60 dBm or better.
- Avoid placing extenders behind thick walls or large appliances.
- Use dual-band extenders to avoid bandwidth halving on single-band models.
Newer mesh-compatible extenders (like TP-Link RE series or Netgear EAX models) integrate seamlessly with modern routers and support seamless roaming.
| Device Type | Pros | Cons | Best For |
|---|---|---|---|
| Wi-Fi Range Extender | Inexpensive, easy setup, no wiring | Can halve bandwidth; tricky placement | Renters, quick fixes |
| Mesh Node (Satellite) | Seamless roaming, full-speed backhaul (on tri-band) | Higher cost, needs power outlet | Larger homes, consistent coverage |
| Powerline Adapter with Wi-Fi | Uses electrical wiring; stable connection | Performance varies by circuit quality | Older homes with poor wireless penetration |
Alternative Solutions Without Drilling
If extenders aren’t delivering the speed you need, consider these non-invasive alternatives.
1. Powerline Adapters with Built-in Wi-Fi
These devices use your home’s electrical wiring to transmit data. Plug one unit near your router (connected via Ethernet), and another in a distant room. The second unit broadcasts a new Wi-Fi network.
They work best when both adapters are on the same electrical circuit. Avoid using surge protectors—plug directly into wall outlets for optimal performance.
2. Upgrade to a Mesh Wi-Fi System
Unlike traditional extenders, mesh systems (like Google Nest Wifi, Eero, or TP-Link Deco) create a unified network. Nodes communicate intelligently, choosing the fastest path for data.
You can place nodes in different rooms—each connects wirelessly or via powerline—to blanket your home in reliable signal. No drilling, no cable runs, just strategic placement.
3. Use Directional Antennas or Reflectors
If your router has removable antennas, replace one with a high-gain directional antenna aimed toward the weak area. These focus signal like a spotlight instead of a bulb.
Alternatively, create a parabolic reflector from aluminum foil or a soda can cutout behind the antenna to bounce signal forward. DIY versions can boost directional reach by 20–30%.
4. Optimize Your Wi-Fi Settings
Software adjustments can yield noticeable gains:
- Switch to less congested channels: Use a Wi-Fi scanner to find the least crowded 2.4 GHz or 5 GHz channel.
- Enable Quality of Service (QoS): Prioritize video calls or gaming over background downloads.
- Update firmware: Manufacturers release performance and stability updates regularly.
- Use 5 GHz for speed, 2.4 GHz for range: Connect smart home devices to 2.4 GHz; laptops and TVs to 5 GHz when close to the router.
Real-World Example: Reviving Connectivity in a Historic Brownstone
Consider Sarah, who rents an apartment in a 100-year-old Brooklyn brownstone. Her bedroom, separated by two thick plaster-and-lath walls, had zero Wi-Fi. Streaming stalled, and video calls dropped daily.
She couldn’t drill or run cables. Instead, she tried this sequence:
- Moved her ISP-provided router from under the TV cabinet to a central hallway table.
- Upgraded to a TP-Link Deco X20 mesh system—keeping the main node connected to the router, placing the satellite in the hallway outside her bedroom.
- Connected the satellite via the 2.4 GHz backhaul initially, then upgraded to a tri-band model later for dedicated backhaul.
Result: Signal in her bedroom improved from -85 dBm (unusable) to -58 dBm (excellent). No holes drilled, no landlord complaints, and full HD streaming restored.
“Sometimes the best fix isn’t stronger hardware—it’s smarter placement and understanding how signals behave in real environments.” — Lena Patel, Home Networking Consultant, SmartDwell Solutions
Step-by-Step Guide: Boost Your Wi-Fi in 6 Non-Invasive Steps
Follow this timeline to improve your signal within a weekend:
- Day 1 – Assess and Map: Walk through your home with a Wi-Fi analyzer app. Note signal strength (dBm) in key rooms. Identify dead zones.
- Day 1 – Reposition Router: Move the router to a central, elevated, unobstructed location. Adjust antennas.
- Day 2 – Test Again: Re-measure signal levels. Check if problem areas improved.
- Day 3 – Add a Wi-Fi Extender or Mesh Node: Purchase and install a mesh satellite or extender in a mid-point location. Ensure it receives strong signal from the router.
- Day 4 – Optimize Settings: Log into your router. Update firmware, change to a less congested channel, enable QoS.
- Day 5 – Final Test: Run speed tests in previously weak areas. Compare before/after results.
This methodical approach avoids wasted spending and ensures each step adds measurable value.
Common Mistakes to Avoid
- Placing extenders too far from the router: They need a strong source signal to rebroadcast effectively.
- Ignoring interference sources: Cordless phones, baby monitors, and Bluetooth devices can disrupt 2.4 GHz bands.
- Using outdated equipment: Routers older than 3–4 years may lack MU-MIMO, beamforming, or WPA3 security, limiting performance.
- Assuming more power = better coverage: Increasing transmit power can cause signal reflection and interference, not improvement.
Frequently Asked Questions
Can I boost Wi-Fi through a basement concrete wall without drilling?
Yes. Use a mesh node or powerline adapter with Wi-Fi placed near the top of the basement stairs. The signal can then propagate downward. Alternatively, place a Wi-Fi extender on the main floor close to the basement entrance.
Do Wi-Fi extenders slow down internet speed?
Single-band extenders typically cut bandwidth in half because they use the same frequency to receive and transmit. Dual-band or tri-band models avoid this by using separate bands for backhaul, preserving speed. Mesh systems with dedicated backhaul channels offer the best performance.
Are there any free ways to improve signal through thick walls?
Yes. Repositioning your router, adjusting antenna angles, changing Wi-Fi channels, and reducing interference cost nothing. DIY reflectors made from household items can also help direct signal with minimal effort.
Final Checklist: Boost Wi-Fi Without Drilling
- ✅ Move router to a central, elevated, open location
- ✅ Reposition antennas for optimal coverage
- ✅ Use a Wi-Fi analyzer app to identify dead zones
- ✅ Install a mesh Wi-Fi node or extender in a mid-signal zone
- ✅ Consider powerline adapters with Wi-Fi for stable extension
- ✅ Update router firmware and optimize channel settings
- ✅ Test speeds before and after each change
Take Control of Your Home Network Today
Thick walls don’t have to mean spotty Wi-Fi. With thoughtful placement, modern technology, and a few low-cost tools, you can achieve strong, reliable coverage throughout your home—without altering its structure. Whether you're renting, preserving historic finishes, or simply avoiding the mess of drilling, the solutions outlined here deliver real results. Start with one adjustment today. Measure the difference. Build from there. A seamless, high-speed home network is closer than you think.


 浙公网安备
33010002000092号
浙公网安备
33010002000092号 浙B2-20120091-4
Comments
No comments yet. Why don't you start the discussion?