
Creating a dynamic light chase—where colors appear to “run” along a strand like a wave of light—is one of the most satisfying holiday lighting projects. Unlike static strings or basic twinkling modes, a well-designed chase sequence adds rhythm, depth, and visual storytelling to your display. Modern programmable LEDs—especially WS2812B (NeoPixel), SK6812, and APA102 strips—make this accessible without custom circuitry or expensive controllers. But success hinges less on hardware than on intentional sequencing logic, timing precision, and physical setup discipline. This guide walks through every layer: from selecting the right components and mapping your layout, to writing clean, maintainable code and troubleshooting real-world glitches like signal degradation or color bleed.
Understanding the Core Components
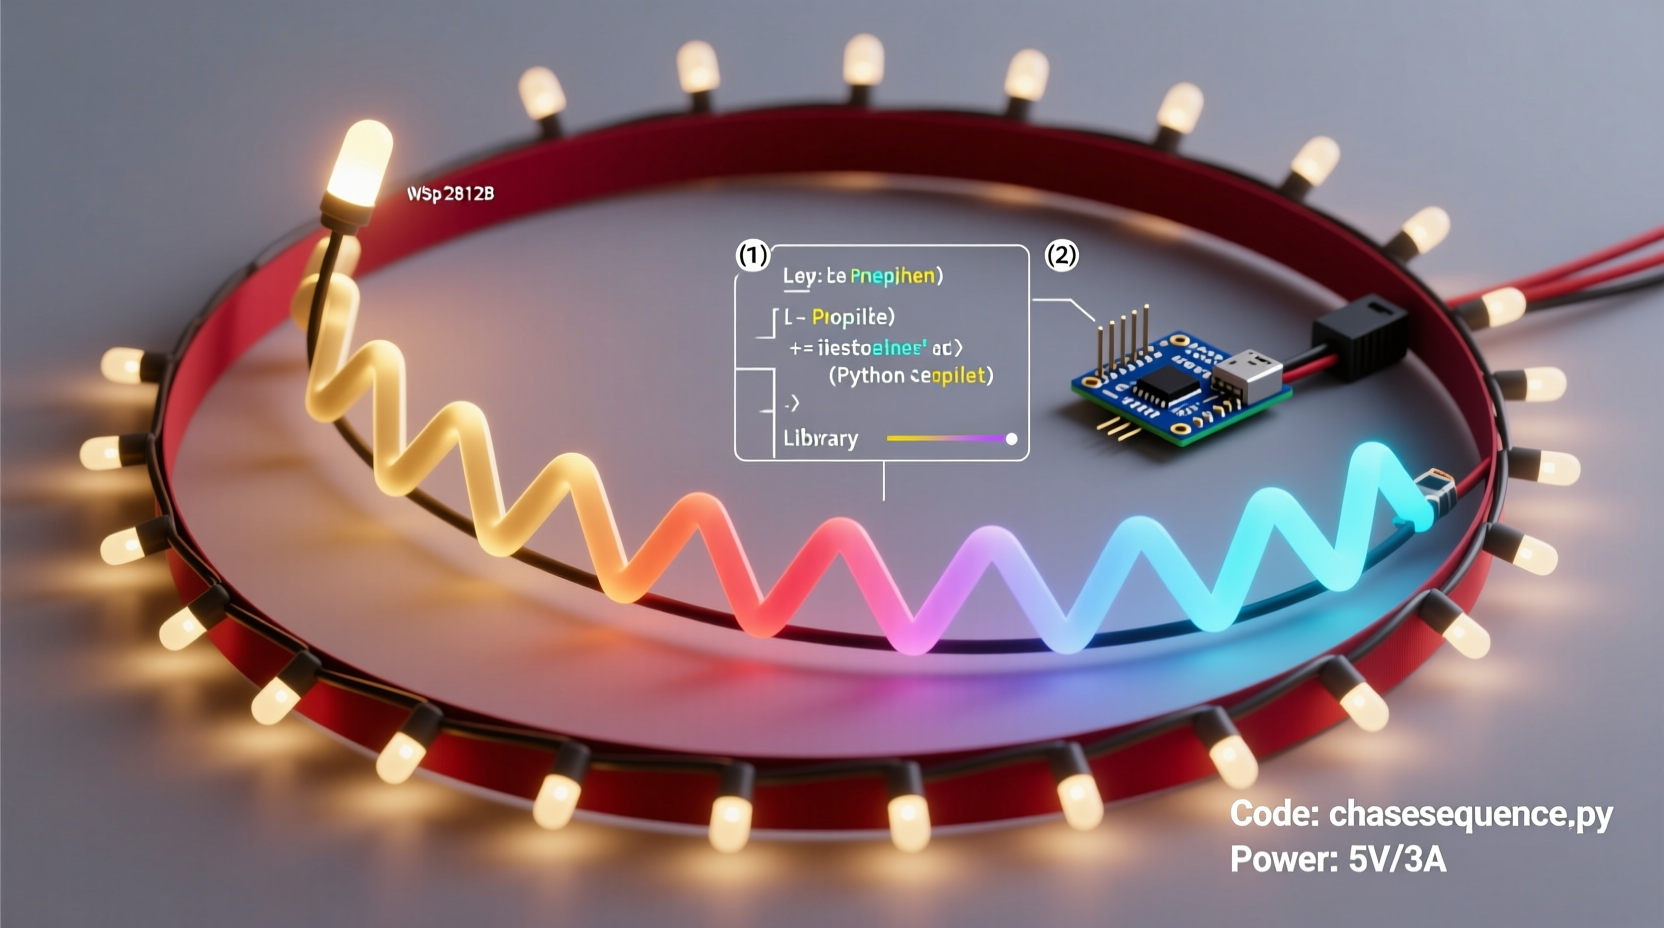
A functional chase sequence relies on three interdependent layers: hardware, firmware, and physical design. Skipping attention to any one layer leads to flickering, inconsistent speeds, or sequences that stall mid-run.
At the hardware level, you’ll need addressable LED strips (not standard AC-powered “chasing” bulbs), a microcontroller (Arduino Nano, ESP32, or Raspberry Pi Pico are ideal for beginners), a regulated 5V power supply rated for your total LED count, and appropriate wiring (22–24 AWG stranded copper). Crucially, avoid daisy-chaining more than 150–200 LEDs per data line without signal regeneration—a common cause of ghosting or dropped frames in longer runs.
Firmware is where the chase logic lives. Libraries like FastLED (for Arduino) or rpi_ws281x (for Raspberry Pi) abstract low-level timing so you focus on pattern behavior—not bit-banging. These libraries handle gamma correction, brightness scaling, and frame-rate management—critical for smooth motion.
Finally, physical design dictates how the sequence feels. A chase across a straight 10-foot porch rail reads differently than one wrapping a spiral staircase or bouncing between two parallel eaves. Map your layout first: note start/end points, directionality (left-to-right vs. top-to-bottom), and whether segments should run in unison or staggered phases.
Choosing Your Controller and Software Stack
Not all microcontrollers handle high-speed LED updates equally. For reliable chase sequences at 30+ FPS, prioritize boards with dedicated SPI peripherals or DMA support. The ESP32 stands out: its dual-core architecture lets one core manage WiFi (for remote control) while the other handles pixel updates without jitter. Arduino Nano works well for simpler setups but struggles beyond ~300 LEDs without frame-rate drops.
Software choice affects both development speed and long-term flexibility. FastLED remains the gold standard for Arduino-based builds—its addChase(), fill_rainbow(), and fadeToBlackBy() functions simplify complex animations. For networked displays, WLED (open-source firmware for ESP32/ESP8266) offers a browser interface, prebuilt chase effects, and MQTT integration—ideal if you plan to sync multiple zones or trigger sequences via smart home systems.
Below is a comparison of common platforms for chase sequencing:
| Platform | Max Reliable LEDs | Chase Customization | Remote Control | Learning Curve |
|---|---|---|---|---|
| Arduino + FastLED | 300 (with level shifter) | Full (code-level) | Requires added module (e.g., IR receiver or ESP-01) | Moderate |
| ESP32 + WLED | 1,200+ (with power injection) | High (UI presets + custom palettes) | Built-in (WiFi + web UI) | Low |
| Raspberry Pi Pico + MicroPython | 500 (with optimized PIO) | High (scriptable) | Yes (via USB serial or optional WiFi add-on) | Moderate-High |
| Commercial Controller (e.g., Light-O-Rama) | Unlimited (multi-channel) | Medium (timeline-based) | Yes (dedicated software) | Steep (licensing + hardware cost) |
Designing a Smooth Chase Sequence: Timing, Color, and Flow
A convincing chase isn’t just about moving pixels—it’s about perceptual continuity. Human vision blends rapid flashes into motion when frame rates exceed 24 FPS. Below that, chases feel jerky; above 60 FPS, diminishing returns set in and processing overhead increases.
For natural flow, use easing—not linear movement. A linear chase accelerates instantly, pauses, then decelerates. An eased chase begins slowly, peaks mid-segment, and slows gracefully at the end. In FastLED, this is achieved by mapping position to a sine or cubic-bezier curve:
“Professional light designers treat timing like musical phrasing—each chase has an ‘attack,’ ‘sustain,’ and ‘release.’ Ignoring easing makes sequences feel mechanical, not magical.” — Lena Torres, Lighting Designer & Founder of Lumina Labs
Color selection matters too. Avoid high-contrast jumps (e.g., red → blue → green) without intermediate hues—they create visual vibration. Instead, use palettes with gradual hue shifts: warm white → amber → soft orange → deep red, or cool white → pale blue → cerulean → violet. FastLED’s blend() and nblend() functions let you interpolate smoothly between colors over time.
Also consider segment length. A 5-pixel “chasing head” feels snappy on a 30-LED railing but disappears on a 200-LED roofline. Scale your head size proportionally: 2–5% of total pixels works best. For 100 LEDs, use a 3–5 pixel head; for 500 LEDs, try 10–15 pixels.
Step-by-Step Build: From Wiring to First Chase
- Plan your layout: Sketch your light path. Mark the data input point (always the *first* LED in your sequence) and note distances between power injection points (every 2–3 meters for 5V strips).
- Wire power correctly: Connect ground (GND) from your power supply to the controller’s GND *and* to the LED strip’s GND. Run separate 5V lines to each injection point—do not daisy-chain power from LED to LED.
- Connect data: Use a 330Ω resistor between controller data pin and strip DIN. Add a 100nF capacitor across 5V/GND near the first LED to suppress noise.
- Flash base firmware: Upload FastLED’s
ColorPaletteexample to verify all LEDs respond. If only part lights up, check polarity, voltage drop, or loose connections. - Implement a basic chase: Replace the example code with this minimal loop (FastLED syntax):
void loop() {
   static uint8_t hue = 0;
   fill_rainbow(leds, NUM_LEDS, hue, 7);
   hue += 1;
   FastLED.show();
   delay(20); // ~50 FPS
} - Refine timing: Adjust the
delay()value. Start at 20ms (50 FPS), then tweak: 15ms for urgency, 30ms for relaxed flow. Never usedelay()in production—replace it with non-blocking millis()-based timing for responsiveness.
Real-World Case Study: The Two-Story Porch Chase
Mark, a high school physics teacher in Portland, wanted a chase that “climbed” his front porch columns and “spilled” across the upper balcony rail. His initial attempt used a single 150-LED strip running vertically up one column, across the balcony, and down the second column—creating a figure-eight path. The result? A visible pause at the balcony corner where the data signal weakened, causing a 0.5-second stutter.
He solved it in three phases: First, he split the physical layout into three independent segments (left column, balcony, right column), each with its own data line connected to separate pins on his ESP32. Second, he programmed each segment to start its chase 120ms after the previous one—creating a seamless cascading effect. Third, he added local 5V power injection at the top of each column and midpoint of the balcony, eliminating voltage sag.
The final sequence uses WLED’s “Scan” effect with a custom palette (ivory → gold → crimson) and a 4-pixel head. It now runs at 42 FPS with zero stutters—and neighbors report it looks “like liquid light.” Mark’s key insight: chasing isn’t about one continuous path. It’s about choreographing multiple synchronized motions to create the illusion of a single, intelligent flow.
Common Pitfalls and How to Avoid Them
- Signal degradation over distance: Long runs (>5m) without buffering cause flicker or garbled colors. Fix: Add a 74HCT245 level shifter or SN74AHCT1G125 buffer chip at the 3–4m mark.
- Power starvation: Dimming at the far end of a strip indicates voltage drop. Fix: Inject 5V at multiple points—never rely on the strip’s copper traces to carry full current.
- Timing drift with WiFi or sensors: On ESP32, WiFi tasks can interrupt LED updates. Fix: Use WLED’s “Sync Mode” or assign LED updates to Core 0 exclusively in custom code.
- Overheating controllers: Running >500 LEDs at full brightness on an Arduino Nano can overheat the regulator. Fix: Use external 5V regulation and bypass the board’s onboard regulator.
- Color inconsistency across batches: Different LED reels may have slight binning variances. Fix: Calibrate with FastLED’s
CRGB::setRGB()and store per-strip gamma tables.
FAQ
Can I mix different LED types (e.g., WS2812B and SK6812) in one chase?
No. Each LED type uses distinct timing protocols—even minor differences in pulse width cause communication failures. Stick to one model per data line. You can run multiple types on separate pins with independent controllers, but they won’t share a unified chase sequence.
How do I make my chase respond to music?
Use a microphone module (e.g., MAX4466) feeding amplitude data to your controller. Sample audio levels every 20–50ms, then map peak values to chase speed (higher volume = faster movement) or head size (louder = larger “wave”). WLED supports built-in audio reactivity via its “Sound Reactive” mode—no extra coding needed.
Why does my chase reverse direction unexpectedly?
This usually stems from incorrect array indexing in your loop. If your strip starts at physical position 0 but your code assumes index 0 is the far end, the chase will appear backward. Verify your wiring matches your code’s leds[0] definition. Use a simple “walking dot” test (light pixel 0, then 1, then 2…) to confirm physical vs. logical order.
Conclusion
Building a Christmas light chase sequence is equal parts electrical craft, programming logic, and artistic timing. It’s not about complexity—it’s about intention. A five-LED chase executed with precise timing, thoughtful color transitions, and clean power delivery will outshine a thousand chaotic pixels. You don’t need a degree in embedded systems to get started; you need patience to measure voltage drop, curiosity to tweak easing curves, and the willingness to iterate on timing until the motion feels alive.
Your first chase might run at 25 FPS with a single hue. That’s perfect. Refine it next year: add multi-hue gradients, synchronize with weather data, or layer it with a gentle snowfall effect. Every iteration deepens your understanding—not just of LEDs, but of how light, time, and perception intersect.


 浙公网安备
33010002000092号
浙公网安备
33010002000092号 浙B2-20120091-4
Comments
No comments yet. Why don't you start the discussion?