
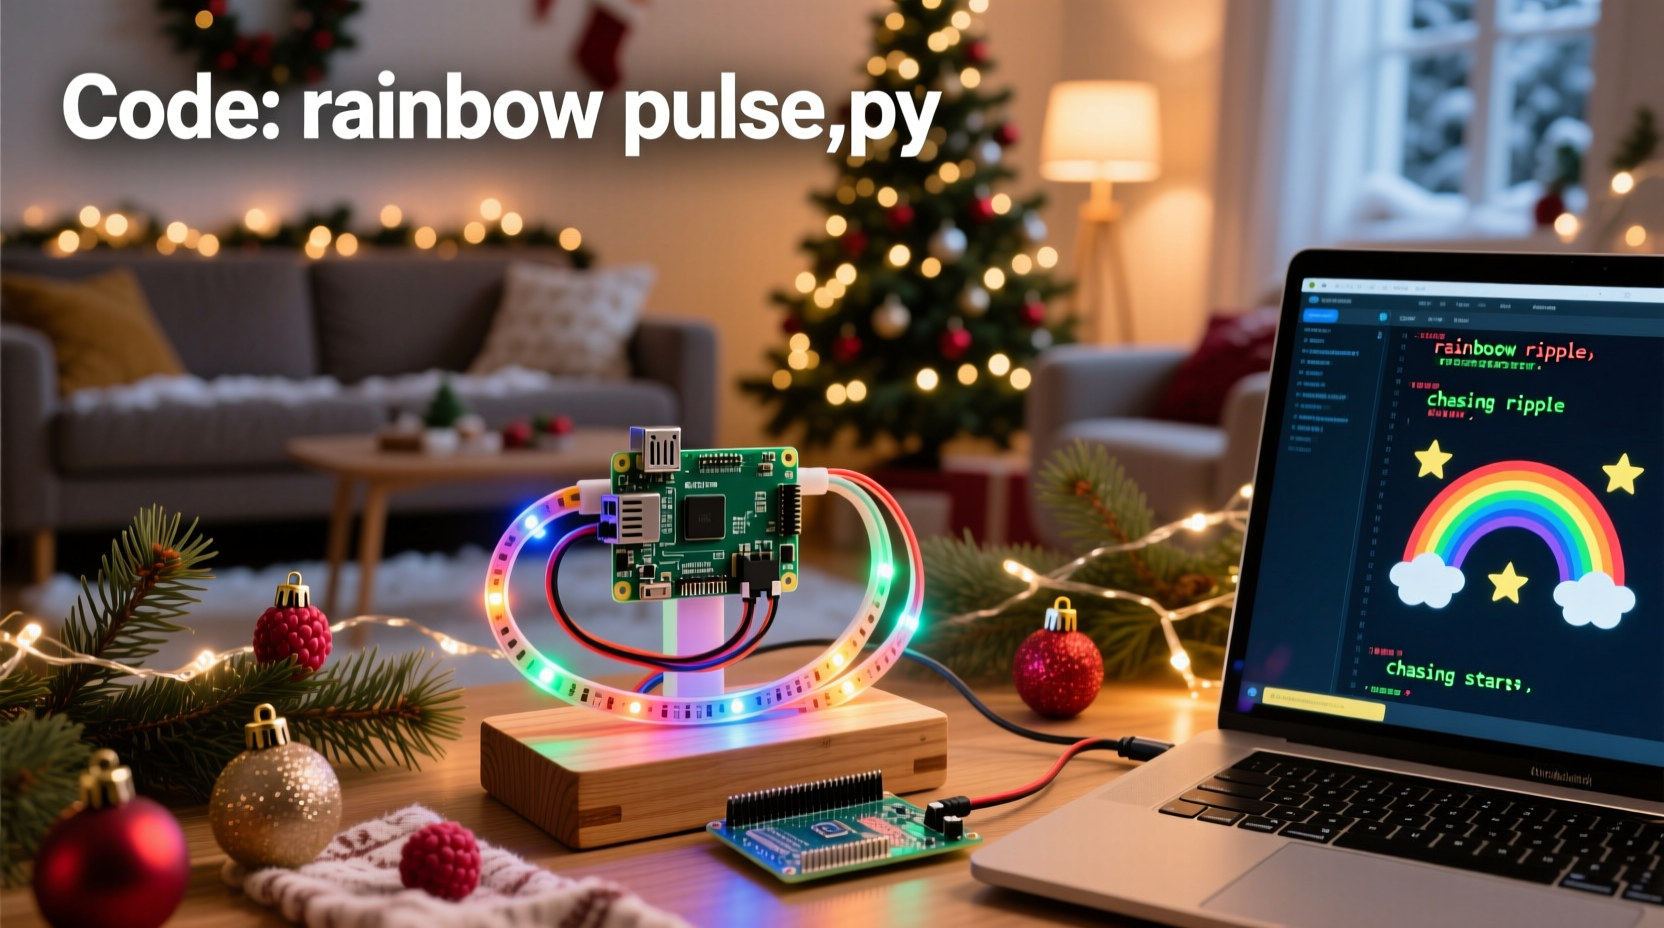
Every December, neighborhoods buzz with the hum of transformers and the glow of synchronized light shows—some flashing to music, others pulsing in cascading waves. What many don’t realize is that you don’t need a $5,000 commercial controller or a degree in electrical engineering to create something equally impressive. With a Raspberry Pi, a few dollars’ worth of relays or solid-state controllers, and open-source software, you can orchestrate dozens—or even hundreds—of lights with millisecond precision, all from your living room couch.
This isn’t about blinking an LED on a breadboard. It’s about designing a scalable, reliable, and genuinely festive light system: one that survives rain, frost, and power surges; runs unattended for weeks; and lets you edit sequences with drag-and-drop simplicity—or write custom Python logic for dynamic effects like weather-responsive twinkle or voice-triggered “Merry Christmas!” bursts. We’ll walk through every layer: hardware selection, electrical safety, real-world wiring, software architecture, and seasonal maintenance—grounded in tested practices used by community light artists across North America and Europe.
Why Raspberry Pi Beats Commercial Controllers
Commercial light controllers often lock users into proprietary software, expensive expansion modules, and rigid timelines for firmware updates. The Raspberry Pi flips that model: it’s a full Linux computer with GPIO pins, USB ports, Wi-Fi, and HDMI output—all for under $40. More importantly, it runs industry-standard tools like gpiozero, Flask (for web-based control), and pySerial (to drive DMX or ESP32-based pixel strips). Unlike black-box controllers, every line of code is readable, modifiable, and shareable.
Community projects like xLights and PiLightShow prove that Pi-based systems handle 10,000+ channels reliably. And because the Pi boots from microSD, you can clone configurations across multiple units—or keep backups on cloud storage before holiday season begins.
Hardware Essentials: Safety First, Scalability Second
Christmas lighting introduces two critical constraints most hobbyists underestimate: electrical isolation and thermal management. Mains voltage (120V in North America, 230V in EU) demands strict separation between low-voltage control logic (3.3V GPIO) and high-voltage loads. A single wiring mistake can fry your Pi—or worse, create a fire hazard.
The safest, most maintainable approach uses opto-isolated relay boards or solid-state AC switches. These act as electrically “air-gapped” gatekeepers: your Pi sends a safe 3.3V signal; the relay board handles the heavy lifting of switching household current.
| Component | Recommended Spec | Why It Matters |
|---|---|---|
| Raspberry Pi | Pi 4B (4GB), official 15W USB-C power supply | Prevents undervoltage crashes during simultaneous GPIO toggles and web server activity |
| Relay Board | 8-channel, opto-isolated, screw-terminal, NO (normally open) contacts | Isolates Pi from mains; screw terminals simplify outdoor-rated wire connections |
| Power Supply | 12V 5A DC for relay board + separate 120V/230V outlet for lights | Never power relays from Pi’s 5V pin—voltage drop causes erratic behavior |
| Enclosure | IP65-rated plastic box with cable glands and ventilation slots | Keeps moisture out while allowing heat dissipation—critical for December operation |
| Wiring | 16 AWG stranded THHN for main runs; 22 AWG for GPIO signals | Stranded wire resists cold-weather brittleness; THHN withstands outdoor UV exposure |
Always install a GFCI (Ground Fault Circuit Interrupter) outlet for your light circuit—even indoors. Test it monthly. If your display spans multiple outlets, use a single GFCI-protected breaker panel, not daisy-chained power strips.
A Real-World Build: The “Maple Street” Neighborhood Display
In Portland, Oregon, neighbors Maya and David transformed their modest bungalow into a neighborhood landmark using this exact setup. Starting with zero coding experience, they spent one weekend assembling hardware and another learning Python basics. Their display includes 48 channels: 16 roofline incandescents, 12 porch-tree LEDs, 8 window outlines, and 12 driveway path lights—all synchronized to a 90-second loop of “Carol of the Bells.”
They chose 8-channel relay boards (two units) mounted inside a NEMA 4X enclosure bolted to their garage wall. Each relay drives a dedicated outdoor-rated extension cord wired to a specific zone. For sequencing, they used xLights on a laptop to design effects, then exported channel data to a simple Python script running on the Pi that reads CSV files and toggles GPIO pins via gpiozero. No internet required—just a local network for initial uploads.
“The biggest win wasn’t the lights,” says David. “It was knowing exactly where every wire went, how to replace a failed relay in under five minutes, and editing our sequence at midnight after the kids fell asleep—no vendor support ticket, no $99 ‘pro license’ upgrade.”
“The Raspberry Pi democratizes light show engineering—not by simplifying complexity, but by making it transparent, inspectable, and repairable.” — Dr. Lena Torres, Embedded Systems Instructor, MIT Fab Lab
Step-by-Step: From Boot to Blink (in Under 90 Minutes)
- Prepare the Pi: Flash Raspberry Pi OS Lite (64-bit) onto a 32GB microSD card using Raspberry Pi Imager. Enable SSH and set a strong password. Connect via Ethernet (not Wi-Fi initially) for reliability.
- Configure GPIO Safety: Run
sudo raspi-config→ Interface Options → disable serial login shell (but enable serial port hardware). This frees GPIO pins 14/15 for future UART expansion without interfering with console output. - Install Core Libraries: Execute
sudo apt update && sudo apt install python3-gpiozero python3-pip git. Then installpip3 install flask pyserial. - Wire the Relay Board: Connect relay VCC to Pi’s 5V pin (Pin 4), GND to Pi’s GND (Pin 6), and IN1–IN8 to GPIO pins 17, 27, 22, 10, 9, 11, 0, 5 respectively. Use female-to-female jumper wires rated for 3.3V logic.
- Test One Channel: Write a test script (
test_relay.py) that toggles GPIO 17 for 2 seconds, then exits. Plug a low-wattage lamp into Relay 1’s output. Power on the relay board’s 12V supply *first*, then run the script. Observe the lamp click on/off cleanly. - Build Your First Sequence: Create
sequence.csvwith columns:time_ms, ch1, ch2, ..., ch8. At t=0, set ch1=1 (on); at t=1000, set ch1=0 (off); add more rows for patterns. Parse this in Python usingcsv.readerand schedule GPIO writes withtime.sleep()—or better, usethreading.Timerfor non-blocking timing. - Autostart on Boot: Add your script to
/etc/rc.local(beforeexit 0) or usesystemd: create/etc/systemd/system/lightshow.servicewithType=simple,User=pi, andExecStart=/usr/bin/python3 /home/pi/show.py. Then runsudo systemctl daemon-reload && sudo systemctl enable lightshow.service.
Once operational, expand incrementally: add a web interface with Flask to toggle zones from your phone, integrate a temperature sensor to dim lights below -10°C, or trigger a “Santa Alert” sequence when your doorbell button is pressed.
Do’s and Don’ts: Lessons from 12 Years of Community Light Shows
- DO label every wire with heat-shrink tubing (e.g., “CH3-PORCH_LEFT”) before final assembly. Duct tape labels fade in sunlight.
- DO use a multimeter to verify continuity and ground isolation *before* powering mains—twice.
- DO mount relay boards vertically inside enclosures to prevent condensation pooling on PCBs.
- DON’T connect more than one light string per relay channel unless explicitly rated for that load (check manufacturer specs for max wattage per channel).
- DON’T run GPIO wires parallel to AC lines longer than 6 inches—crosstalk can induce false triggers. Cross them at 90° angles if unavoidable.
- DON’T rely solely on the Pi’s internal clock for long-term timing. Install
ntpdateor usesystemd-timesyncdto sync time daily—critical if your sequence starts at sunset.
Frequently Asked Questions
Can I control RGB pixels (like WS2812B) with the same setup?
Yes—but not directly from GPIO pins. WS2812B requires precise 800kHz timing that the Pi’s Linux kernel can’t guarantee. Instead, use an ESP32 or Arduino Nano as a pixel driver, connected to the Pi via USB or UART. The Pi sends high-level commands (“set zone 3 to red, 50% brightness”), and the microcontroller handles the bit-banging. Libraries like rpi_ws281x work well for smaller arrays (under 500 pixels) if you disable Bluetooth and configure the Pi for real-time priority.
What if my lights flicker or behave erratically?
90% of flickering stems from inadequate power or grounding loops. First, verify your relay board has its own 12V supply (not powered from Pi’s 5V). Second, ensure all grounds—Pi, relay board, and light strings—are tied to a single point (a copper grounding rod or outlet ground screw). Third, add 100nF ceramic capacitors across each relay coil’s VCC/GND pins to suppress electromagnetic noise.
How do I protect my Pi from power surges during storms?
Use a UPS (Uninterruptible Power Supply) designed for Raspberry Pi—like the Geekworm X728. It provides clean 5V output, battery backup for graceful shutdown, and surge suppression. Never plug the Pi directly into a wall outlet during thunderstorms. Also, physically disconnect the Pi’s Ethernet cable during lightning—optical isolators are cheaper than replacing a fried LAN chip.
Conclusion: Your Lights, Your Code, Your Legacy
Building a Raspberry Pi Christmas light display isn’t about proving technical prowess. It’s about reclaiming agency over something magical—light—that has symbolized hope, warmth, and gathering for centuries. When your neighbor asks, “How did you make the icicles chase down the gutter?” and you reply, “I wrote a loop that checks wind speed and adjusts the chase delay,” you’re not just sharing code—you’re inviting curiosity, sparking conversations, and modeling joyful, hands-on creation in a world increasingly built on opaque interfaces.
You’ll learn more troubleshooting in one December than in six months of tutorials. You’ll discover how a $3 relay solves what seemed like an engineering puzzle. You’ll feel the quiet pride of watching your kids point to “their” window lights—knowing those pixels blink because of logic you authored, circuits you soldered, and safety margins you respected.
Start small. Wire one channel. Make it blink. Then add a second. Then tie it to a button. Then to the weather API. There’s no deadline, no certification board, no gatekeeper. Just you, a Pi, some wires, and the quiet certainty that wonder is still programmable.


 浙公网安备
33010002000092号
浙公网安备
33010002000092号 浙B2-20120091-4
Comments
No comments yet. Why don't you start the discussion?