
A dining room transformed by a custom Christmas light chandelier becomes the centerpiece of holiday cheer. Unlike standard fixtures, a handmade light installation offers personal flair, seasonal magic, and a conversation starter that glows as brightly as its bulbs. Modular LED kits have made this project accessible—even for those without electrical expertise. With plug-and-play components, flexible designs, and energy-efficient lighting, you can create a stunning centerpiece that elevates your decor while staying safe and removable.
This guide walks through the entire process: selecting the right kit, designing a structure that complements your space, assembling with precision, and installing it securely. Whether you’re aiming for a minimalist ring of warm white lights or an elaborate snowflake-inspired cascade, modular systems give you the freedom to experiment without permanent modifications.
Why Choose a Modular Kit?
Traditional chandeliers require hardwiring, ceiling reinforcement, and professional installation. In contrast, modular Christmas light kits are designed for temporary, DIY use. They typically include pre-wired nodes, connectors, mounting brackets, and controllers that snap together like building blocks. These systems allow scalability—you can start small and expand later—and most operate on low-voltage DC power, reducing fire risk and eliminating the need for an electrician.
Modular kits also support smart features such as color-changing LEDs, app-based scheduling, music synchronization, and remote dimming. Brands like LumiGlobal, Twinkly, and Holiday Coro offer compatible segments that let users mix lengths, shapes, and densities. This modularity means you can disassemble and store the chandelier after the holidays, then reconfigure it differently next year.
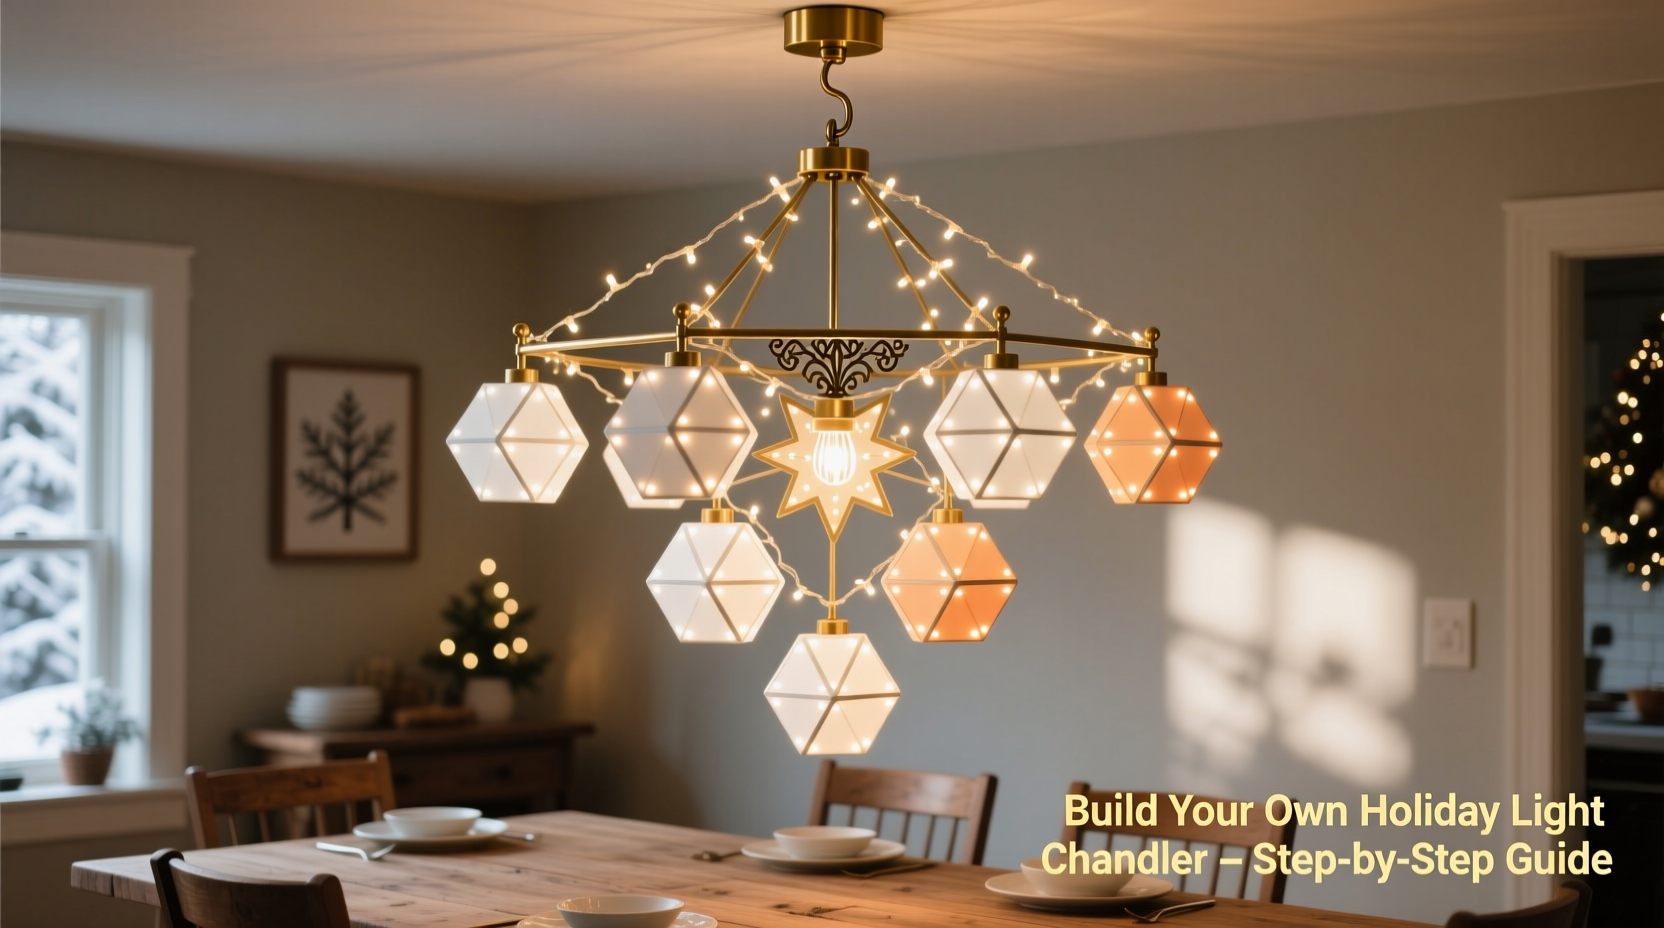
Designing Your Chandelier: Form Meets Function
The first step is envisioning the final look. Consider your dining table size, ceiling height, and existing decor. A general rule: the chandelier should be 12 inches narrower than the table on each side. For an 8-foot-long table, aim for a fixture no wider than 5.5 feet. Height-wise, suspend the bottom of the chandelier between 30 and 36 inches above the tabletop to ensure visibility and safety.
Next, choose a shape. Popular options include:
- Ring or halo: Circular or oval frames draped with strings of lights; ideal for modern spaces.
- Cascading tiers: Multiple horizontal rings stacked vertically, creating depth and drama.
- Geometric forms: Hexagons, stars, or snowflakes built from straight-line segments.
- Freeform cloud: A clustered arrangement mimicking a glowing cloud, using randomized node placement.
Sketch your idea on paper or use free 3D modeling tools like SketchUp Free to visualize proportions. Then calculate how many modules you’ll need. Most linear segments are 12–24 inches long and contain 10–20 LEDs. For a 4-foot diameter ring, you’d need approximately eight 24-inch curved or straight pieces connected end-to-end.
“Modular lighting allows homeowners to become designers. The best installations balance symmetry with surprise—like a spiral accent within a classic circle.” — Daniel Reeves, Lighting Designer & Holiday Installation Specialist
Step-by-Step Assembly Guide
Follow this timeline to build and install your chandelier safely and efficiently. Allow two evenings for completion: one for assembly, one for mounting and testing.
- Day 1 – Gather & Prepare (30–60 minutes)
- Unbox all components and verify contents against the manual.
- Lay out parts on a clean, flat surface—preferably a large table or floor area.
- Test each segment individually using the included power supply to confirm all LEDs function.
- Assemble the Frame (60–90 minutes)
- Begin connecting segments using manufacturer-supplied couplers. Twist-lock types are common; ensure they click securely.
- For curved designs, gently bend flexible strips only within their specified radius (usually 6+ inches).
- Use central hubs or cross-connectors if building multi-tiered structures. These distribute power evenly and reduce strain on individual joints.
- Integrate Wiring & Controller (30 minutes)
- Route wires neatly along the inner edge of the frame to keep them hidden from below.
- Connect all branches to the main controller via data cables. Avoid daisy-chaining too many units beyond the system’s recommended limit (typically 500 LEDs max per channel).
- Secure connections with twist ties or adhesive clips to prevent tugging during installation.
- Day 2 – Mounting & Final Setup (60 minutes)
- Attach mounting hooks to the ceiling joists using toggle bolts rated for at least 10 lbs each. Never rely on drywall anchors alone.
- Suspend aircraft cable or braided steel wire from the hooks, adjusting length so the chandelier hangs at the correct height.
- Fasten the frame to the suspension wires using adjustable clamps or custom 3D-printed brackets.
- Plug in the power adapter and test all functions—brightness, color changes, patterns—before finalizing placement.
Essential Safety Checklist
Safety is non-negotiable when hanging electrical fixtures over furniture. Follow this checklist before powering on your creation:
- ✅ Confirm all electrical connections are tight and insulated.
- ✅ Verify the total wattage does not exceed the transformer’s capacity.
- ✅ Ensure the mounting hardware supports at least four times the chandelier’s weight.
- ✅ Keep cords away from sharp edges or pinch points.
- ✅ Install a ground-fault circuit interrupter (GFCI) outlet or use a GFCI-protected extension cord, especially in older homes.
- ✅ Position the chandelier high enough to avoid contact with standing guests (minimum 7 feet from floor).
- ✅ Set timers to turn off lights after 6–8 hours to reduce heat buildup and energy use.
Do’s and Don’ts: A Quick Reference Table
| Do | Don't |
|---|---|
| Use UL-listed components designed for indoor decorative lighting. | Repurpose outdoor-only lights indoors without checking ventilation needs. |
| Balance weight evenly across multiple suspension points. | Hang the entire load from a single ceiling hook. |
| Group wires with fabric-covered sleeves for a cleaner look. | Allow loose cables to dangle visibly or tangle around structural elements. |
| Update firmware on smart controllers for optimal performance. | Ignore error codes or flickering patterns—address them immediately. |
| Take photos at each assembly stage for future reassembly. | Force-fit incompatible modules from different brands unless certified as interoperable. |
Real Example: The Urban Loft Transformation
In Denver, interior stylist Maria Tran wanted to add holiday warmth to her industrial-chic loft without cluttering the open space. Her dining area featured exposed beams and a 10-foot ceiling, making traditional decorations feel small and lost. She opted for a 5-foot hexagonal chandelier using a modular RGBW kit, combining cool white perimeter lights with warm amber accents at each corner.
Maria assembled the frame over a weekend, using laser-cut acrylic corners to maintain precise angles. She suspended it with black aircraft cable routed through a beam, allowing the fixture to appear “floating.” By programming a slow fade sequence through a mobile app, she created a dynamic glow that shifted subtly throughout dinner parties. After January, she disassembled the unit into three flat panels for storage behind a closet door.
“It wasn’t just decoration—it became part of the home’s rhythm,” she said. “Guests didn’t just compliment it; they asked how they could do something similar.”
Frequently Asked Questions
Can I use my chandelier outdoors temporarily?
Only if every component—including connectors and power supplies—is rated for outdoor use (IP65 or higher). Even then, avoid exposure to rain or snow. Most modular kits are intended for sheltered indoor applications only.
What if one section stops working?
First, isolate the faulty segment by testing adjacent modules. Many systems use digital signal protocols (like SPI or DMX) where a break in one node disrupts downstream lights. Replace or bypass the defective piece using spare connectors. Keep 10% extra nodes on hand for repairs.
How long can I leave the chandelier on?
Modern LED modules generate minimal heat and can run 24/7, but continuous operation shortens lifespan. For best results, limit daily use to 8–12 hours using a programmable timer. Smart systems often include auto-shutdown features based on schedule or ambient light.
Conclusion: Light Up Your Holidays with Confidence
Building a custom Christmas light chandelier isn’t just about decoration—it’s an act of creativity that transforms ordinary spaces into memorable experiences. With modular kits, the barrier to entry has never been lower. You don’t need advanced tools or certifications, just attention to detail, a respect for safety, and a vision for what your dining room can become during the most luminous time of year.
Your chandelier doesn’t have to be perfect. It just has to reflect your spirit—whether that’s playful, elegant, bold, or serene. Once installed, it will do more than illuminate a table; it will gather people beneath its glow, spark stories, and become part of your family’s holiday tradition.


 浙公网安备
33010002000092号
浙公网安备
33010002000092号 浙B2-20120091-4
Comments
No comments yet. Why don't you start the discussion?