
A Christmas light tunnel creates a magical, immersive experience—especially when used as a photo backdrop. Whether you're setting up for a holiday party, a family portrait session, or a pop-up event at a local market, a custom-built light tunnel draws attention and delivers stunning visual results. Unlike store-bought arches or flat backdrops, a tunnel offers depth, dimension, and an enchanting glow that elevates any photograph. Building one yourself allows full creative control over size, shape, color, and lighting effects, all while staying within budget.
This guide walks through the complete process of designing and assembling a durable, visually striking Christmas light tunnel. From structural planning to electrical safety and styling for photography, every element is covered to ensure professional-quality results without requiring advanced construction skills.
Selecting the Right Frame Design and Materials
The foundation of any successful light tunnel is its frame. It must be strong enough to support hundreds of lights and flexible enough to form smooth curves. The most practical designs use either PVC pipe, EMT (electrical metallic tubing), or fiberglass rods, depending on durability needs and portability requirements.
PVC is the most accessible and affordable option for DIYers. Schedule 40 half-inch or three-quarter-inch pipes are commonly used because they’re easy to cut, connect, and transport. For larger installations or outdoor setups exposed to wind, EMT conduit offers superior rigidity and can be bent into perfect arcs using a hand bender. Fiberglass rods are lightweight and ideal for temporary indoor tunnels but lack long-term stability.
For a standard walk-through tunnel (8 feet wide and 7 feet tall), plan for two vertical end supports connected by arched ribs spaced every 2–3 feet. Use T-joints or elbow fittings to secure connections. If building outdoors, anchor the base into sandbags or stakes to prevent tipping.
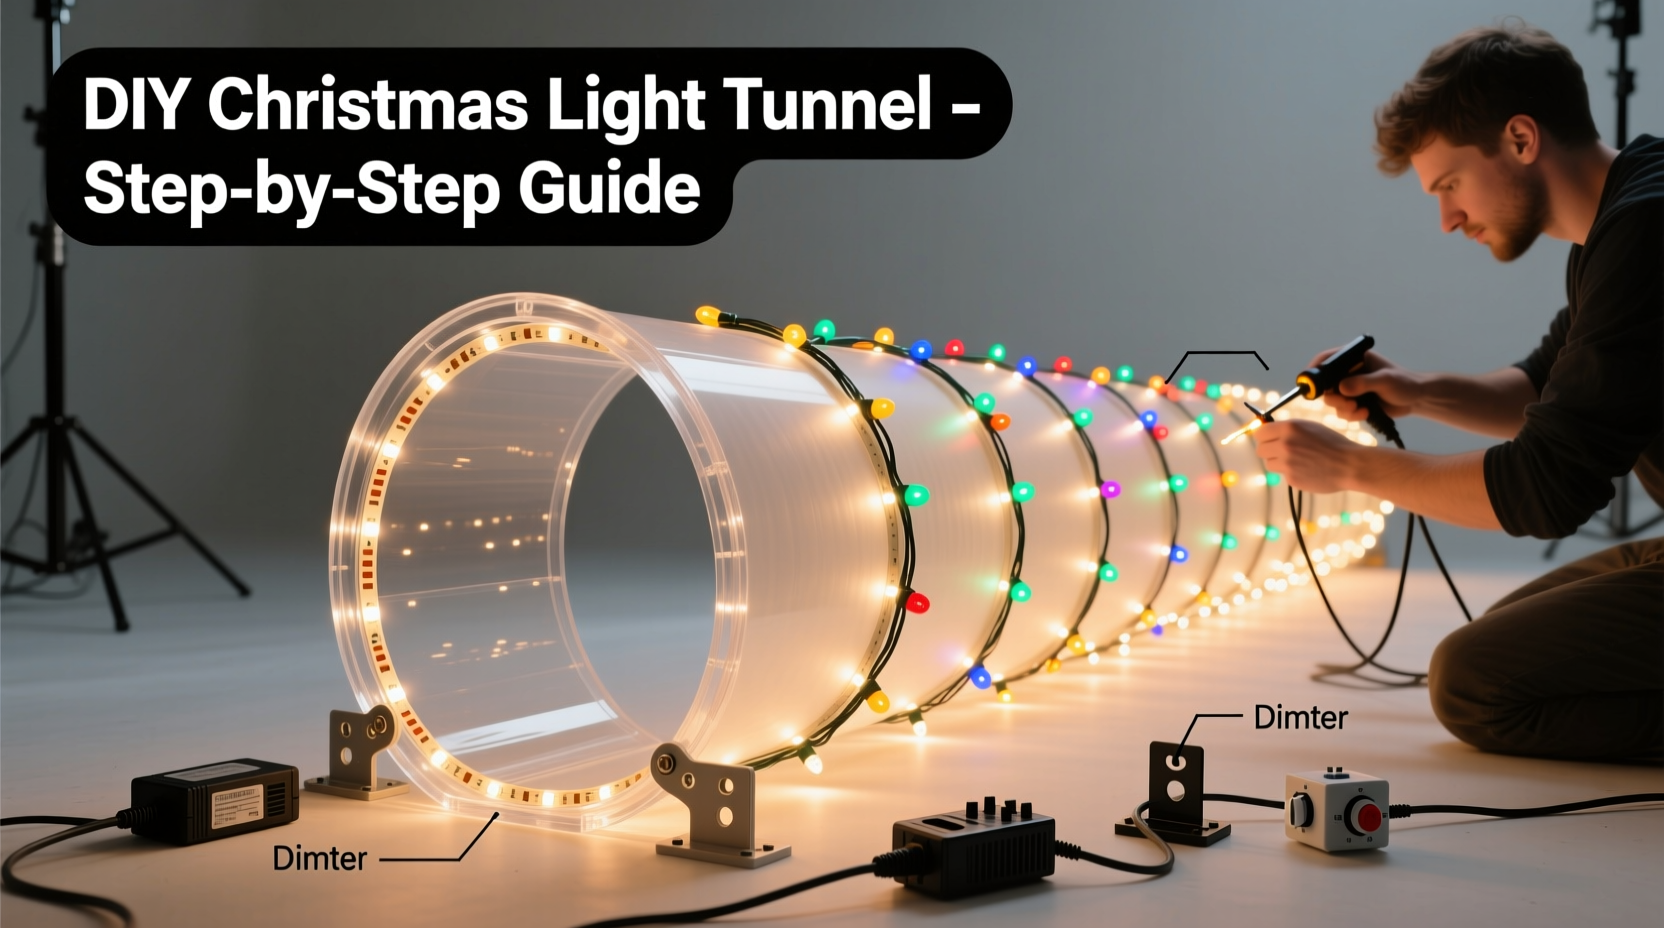
Choosing and Installing Lighting
Lights define the character of the tunnel. LED string lights are preferred due to their low heat output, energy efficiency, and longevity. Choose between warm white, cool white, multicolor, or programmable RGB options based on the desired mood. For photography, consistent color temperature is essential—warm white (2700K–3000K) produces a cozy, festive feel, while cool white (5000K–6500K) enhances clarity and vibrancy in images.
Determine total light length by measuring each rib and multiplying by the number of ribs. Add 20% extra for overlap and securing ends. Commercial-grade mini lights with replaceable bulbs last longer than disposable sets. Ensure all wiring is rated for indoor/outdoor use if applicable, and avoid daisy-chaining more than three strands unless using heavy-duty extension cords.
To install, start at the base of each rib and spiral the lights upward in even coils, spacing rows approximately 6–8 inches apart. Secure with zip ties or twist ties every 6–12 inches to prevent sagging. Overlap adjacent strands slightly to eliminate dark spots. At connection points, tuck excess wire neatly along the inner curve to maintain a clean look.
“Uniform spacing and consistent voltage distribution make the difference between a flickering mess and a seamless glow.” — Marcus Lin, Architectural Lighting Designer
Step-by-Step Assembly Timeline
Building a functional and attractive light tunnel typically takes one full day, including drying time for adhesive joints (if using PVC cement). Follow this timeline for efficient execution:
- Day 1 – Morning: Measure and Cut Frame Components
Using measurements from your design sketch, cut all pipes to length. Label each piece (e.g., “Left Rib 1,” “Center Support”) to streamline assembly. - Mid-Morning: Assemble Base Structure
Connect vertical posts to floor anchors or base plates. Attach horizontal crossbeams for stability. Dry-fit all joints first to verify alignment. - Lunch Break: Prepare Lighting Strands
Untangle and test all light strings. Replace any faulty bulbs or sections. Group them by color and length. - Afternoon: Build Arched Ribs
Bend or assemble curved ribs and attach them to the base structure. Use a template (like a large cardboard arc) to ensure uniform curvature across all ribs. - Late Afternoon: Install Lights
Begin wrapping lights around each rib, starting from the bottom. Use zip ties to fasten wires securely. Keep strands parallel and evenly spaced. - Evening: Electrical Testing and Adjustments
Plug in all circuits and inspect for flickering, dead zones, or overloaded outlets. Use a power strip with surge protection and individual switches for each section. - Final Step: Style and Photograph Test Shots
Place a neutral backdrop behind the tunnel (optional), adjust camera settings (low shutter speed, tripod), and take sample photos under actual lighting conditions.
Safety, Power Management, and Do’s & Don’ts
Electrical safety is non-negotiable when dealing with hundreds of lights. Even low-voltage LEDs can pose fire risks if improperly wired or overloaded. Always plug into grounded outlets and use GFCI-protected extensions outdoors. Never run cords under rugs or high-traffic areas where they may fray or overheat.
Limit the number of light strands per circuit to avoid tripping breakers. A standard 15-amp household circuit can safely handle about 1,440 watts. Most mini LED strings draw 4–10 watts per strand, allowing up to 100–150 strands per circuit—but factor in other devices sharing the line.
| Do’s | Don’ts |
|---|---|
| Use commercial-grade lights with UL certification | Use indoor-only lights outdoors |
| Space ribs no more than 3 feet apart for even coverage | Allow gaps between light rows exceeding 10 inches |
| Anchor frame securely, especially outdoors | Leave loose wires exposed at foot level |
| Test all lights before final installation | Daisy-chain more than three strands without consulting specs |
| Include a backup set of fuses and spare bulbs | Let children or pets access unattended wiring |
Real-World Example: Community Holiday Event Tunnel
In Portland, Oregon, a local photographer collaborated with a community center to create a 10-foot-wide, 8-foot-tall light tunnel for a public holiday celebration. Using ¾-inch PVC pipes and 12 arched ribs spaced 24 inches apart, the team constructed a semi-permanent frame anchored into wooden platforms. They wrapped 144 strands of warm white LED mini lights (each 25-light strand), totaling over 3,600 individual bulbs.
Power was distributed via four heavy-duty outdoor-rated power strips, each feeding three zones. A dimmer switch allowed adjustment based on ambient daylight. The result was a radiant, Instagram-ready tunnel that hosted over 200 photo sessions in a single weekend. Attendees reported feeling “like stepping into a snow globe,” and the organizer noted minimal maintenance throughout the event thanks to pre-testing and secure cabling.
The success hinged on meticulous planning: a full-scale mockup was tested two weeks prior, revealing the need for additional mid-span supports to prevent sagging. This proactive adjustment saved time and enhanced safety during live deployment.
Optimizing for Photography
A light tunnel isn’t just decorative—it’s a functional lighting tool. When used as a backdrop, it provides soft, omnidirectional illumination that flatters skin tones and reduces harsh shadows. To maximize photographic quality:
- Shoot during twilight or at night to enhance contrast between subject and glowing tunnel.
- Use a tripod and slow shutter speed (1/15s to 1s) to capture full light intensity without flash.
- Set white balance manually to match the light color (e.g., 3000K for warm white).
- Position subjects 3–5 feet in front of the entrance to avoid lens flare while still benefiting from ambient glow.
- Encourage movement—spinning, waving, or walking through—creates dynamic light trails in long-exposure shots.
For group photos, keep numbers manageable (4–6 people max) to prevent overcrowding the frame. Offer simple props like reindeer antlers or illuminated wands to enhance engagement without distracting from the tunnel’s effect.
Checklist: Building Your Light Tunnel
Follow this checklist to ensure nothing is overlooked during planning and execution:
- ☐ Determine tunnel dimensions (width, height, depth)
- ☐ Choose frame material (PVC, EMT, or fiberglass)
- ☐ Calculate number of ribs and spacing
- ☐ Purchase connectors, anchors, and fasteners
- ☐ Select LED string lights (color, length, wattage)
- ☐ Verify electrical load capacity and outlet access
- ☐ Cut and assemble frame with labeled parts
- ☐ Test all lights individually before installation
- ☐ Wrap lights evenly with zip ties every 6–8 inches
- ☐ Anchor structure securely to floor or ground
- ☐ Route cords safely away from traffic zones
- ☐ Conduct full electrical test with all strands powered
- ☐ Take test photographs under real conditions
- ☐ Prepare backup components (fuses, bulbs, extension cords)
Frequently Asked Questions
Can I leave the light tunnel up overnight?
Yes, provided all components are rated for continuous use and installed safely. Use timers to limit operation to event hours and reduce wear. Inspect wiring daily for signs of overheating or damage.
How do I store the tunnel after the season?
Disassemble the frame and coil lights carefully around cardboard spools or reels to prevent tangling. Store in labeled bins—keep metal and plastic parts separate to avoid scratching. Place desiccant packs inside containers to deter moisture buildup.
Are smart lights suitable for this project?
Yes, smart RGB LED strings add dynamic effects like color cycling, music synchronization, or app-controlled scenes. However, they require stable Wi-Fi or Bluetooth range and may increase setup complexity. Best used in controlled environments with reliable power sources.
Conclusion: Bring Holiday Magic to Life
Creating a custom Christmas light tunnel for photo backdrops blends craftsmanship, technical skill, and artistic vision. With thoughtful planning and attention to detail, you can produce a centerpiece that captivates guests, elevates photography, and becomes a signature feature of seasonal celebrations. More than just a decoration, it’s an experience—one that invites wonder, encourages connection, and leaves lasting memories captured in light.


 浙公网安备
33010002000092号
浙公网安备
33010002000092号 浙B2-20120091-4
Comments
No comments yet. Why don't you start the discussion?