
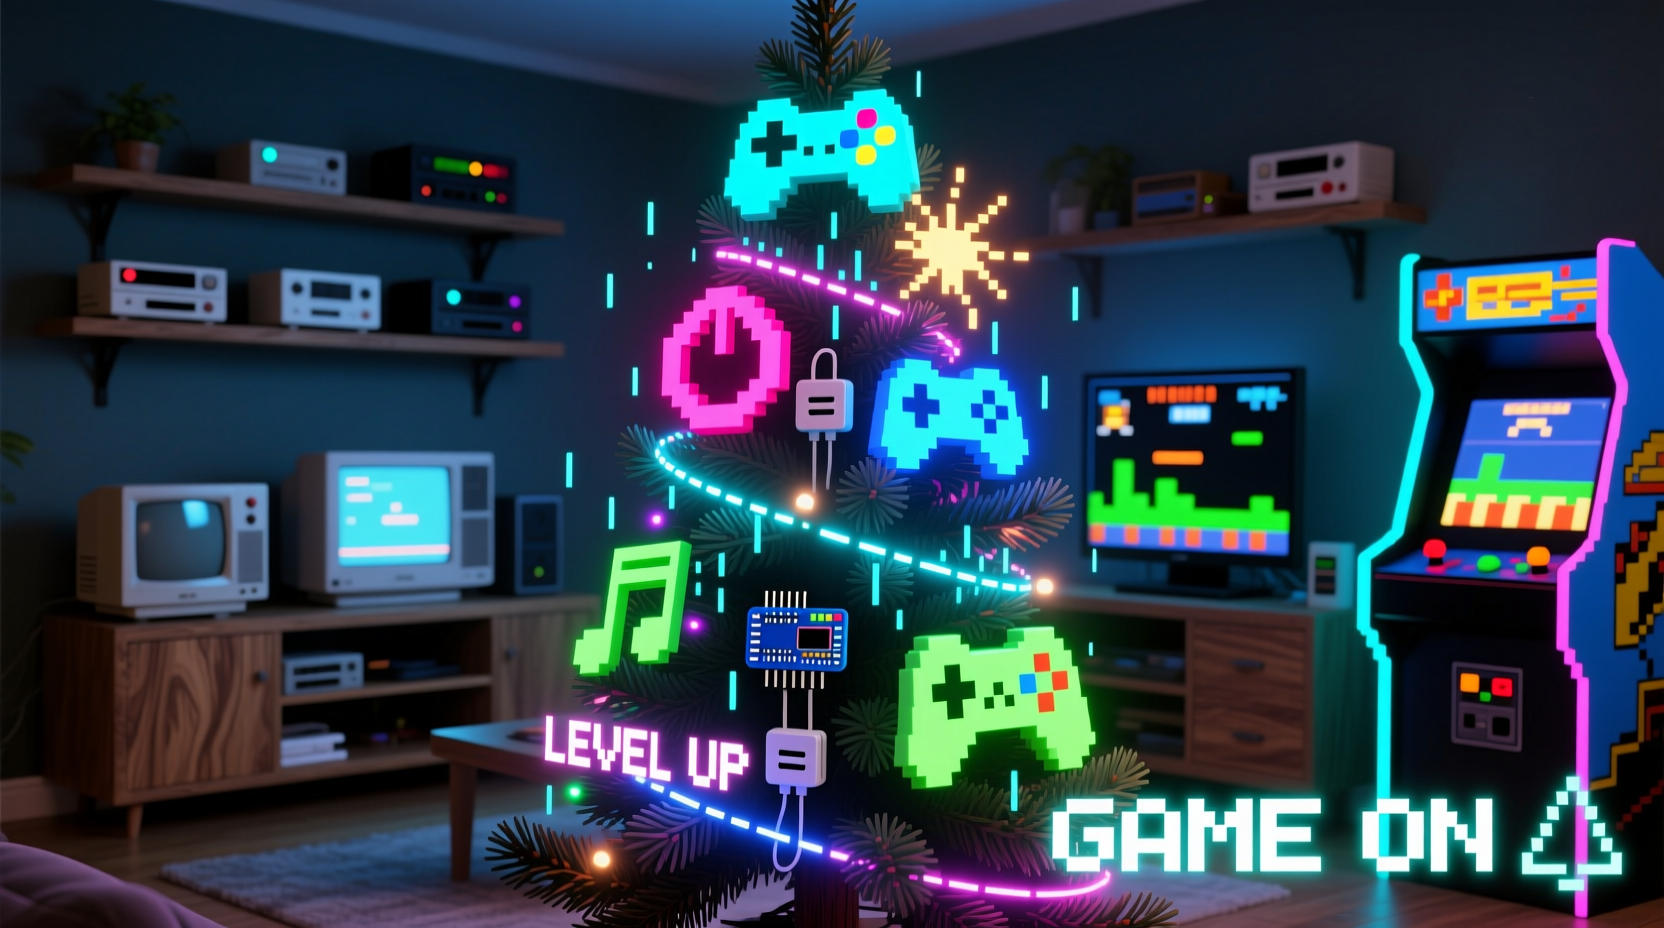
Transforming a traditional holiday centerpiece into an immersive experience starts with reimagining what a Christmas tree can be. For gamers and tech-savvy decorators, a gaming-themed Christmas tree offers the perfect opportunity to merge nostalgia, technology, and seasonal joy. At the heart of this transformation lies the custom light sequence—programmable, dynamic lighting that pulses to game soundtracks, mimics in-game effects, or responds to player actions. This guide walks through every step of designing and implementing a fully customized lighting display tailored to your favorite games.
Selecting the Right Lighting System
The foundation of any custom light sequence is the hardware. Not all Christmas lights are created equal—especially when it comes to programmability. To achieve complex patterns, color shifts, and synchronization, you’ll need addressable LED strips or smart bulbs capable of individual pixel control.
Popular options include WS2812B (NeoPixels), APA102, or commercially available smart strings like Philips Hue or Govee Wi-Fi LED strips. NeoPixels are widely used due to their affordability, compatibility with microcontrollers like Arduino or Raspberry Pi, and extensive community support.
For a full-sized tree (6–7 feet), plan for at least 300–500 individually addressable LEDs. More lights allow for higher resolution in animations and smoother gradients. Ensure your power supply matches the total current draw—typically 60mA per LED at full brightness—so a 500-LED strip could require up to 30 amps at peak white output. Use a dedicated 5V or 12V regulated power supply accordingly.
Designing Your Game-Inspired Light Themes
Before writing code, define the visual language of your tree. A gaming theme isn’t just about adding RGB—it’s about evoking specific experiences from beloved titles. Consider mapping different zones of the tree to represent different games or levels.
- Zelda Theme: Soft emerald glows that pulse like the Triforce activating, with occasional golden flashes.
- Portal Theme: Blue-to-orange swirls mimicking portal generation, paired with pulsing white rings resembling energy buildup.
- Mario Theme: Bright red and gold chases simulating coin collection, with sudden rainbow bursts on “1-Up” moments.
- Cyberpunk/Neon: Rapid magenta-cyan oscillations with randomized flickers to emulate cityscapes.
You can also incorporate ambient modes—calm breathing effects when no game is active—and trigger high-intensity sequences during gameplay events such as scoring points or completing challenges.
“Lighting isn't decoration—it's storytelling. When done right, each flash and fade recalls a memory from the game world.” — Lena Tran, Interactive Exhibit Designer at PixelForge Studios
Step-by-Step Guide to Programming the Sequence
With hardware selected and themes defined, it’s time to program the actual light behavior. The following steps outline how to create and deploy a custom sequence using an Arduino-compatible platform and FastLED library—a popular choice among DIY lighting enthusiasts.
- Assemble Components: Connect your LED strip to the microcontroller (e.g., Arduino Nano or ESP32). Wire VCC to 5V/12V, GND to ground, and data line to a digital pin (commonly Pin 6).
- Install Software: Download the Arduino IDE and install the FastLED library via Library Manager.
- Write Base Code: Start with a simple test pattern to confirm connectivity:
#include <FastLED.h>
#define NUM_LEDS 500
#define DATA_PIN 6
CRGB leds[NUM_LEDS];

void setup() {
  FastLED.addLeds<WS2812B, DATA_PIN, GRB>(leds, NUM_LEDS);
}

void loop() {
  fill_solid(leds, NUM_LEDS, CRGB::Red);
  FastLED.show();
  delay(1000);
  fill_solid(leds, NUM_LEDS, CRGB::Black);
  delay(500);
}
This flashes the entire tree red once per second. - Create Themed Animations: Replace the base loop with game-specific functions. For example, a “Zelda Triforce Charge” effect might involve three upward-traveling green waves converging at the top:
void triforceEffect() { for (int i = 0; i < 170; i++) { leds[i] = CRGB::Green; leds[170 + i] = CRGB::Green; leds[340 + i] = CRGB::Green; FastLED.show(); delay(20); } fadeToBlackBy(leds, NUM_LEDS, 255); delay(500); } - Add Music Synchronization: Use a microphone sensor (like MAX9814) connected to an analog pin to detect audio amplitude. Map volume peaks to brightness or animation speed:
int soundLevel = analogRead(A0);
int brightness = map(soundLevel, 0, 1023, 50, 255);
FastLED.setBrightness(brightness);
- Deploy and Test: Upload the sketch to your board and observe performance. Adjust timing, color balance, and transitions until they feel responsive and immersive.
Integrating Real-Time Game Events
To elevate the experience beyond pre-programmed loops, connect your lighting system to live gameplay. Using tools like Node-RED, OBS WebSockets, or game-specific APIs, you can trigger light effects based on real-time actions.
For instance, if you're playing Fortnite, set up a script that listens for kill notifications via streaming software overlays. When a kill occurs, send a signal to your microcontroller over serial or Wi-Fi to initiate a victory strobe—rapid white flashes with orange trails.
Similarly, use Discord bot integrations or Twitch chat commands to let viewers influence the tree. Type “!rainbow” in chat and watch the tree cycle through vibrant hues. This interactivity turns passive viewing into participatory celebration.
| Game Event | Light Response | Trigger Method |
|---|---|---|
| Player death | Red pulse downward from top | OBS Scene Detection |
| Level completed | Gold wave ascending trunk | Steam Achievement API |
| Boss defeated | Explosion ripple outward | Custom Overlay Monitor |
| Chat command \"!8bit\" | Pixelated chaser effect | Twitch IRC Bot |
Checklist: Building Your Gaming Tree Lights
Follow this checklist to ensure nothing is missed during planning and execution:
- ☐ Determine tree size and calculate required number of LEDs
- ☐ Purchase addressable LED strips and compatible power supply
- ☐ Select microcontroller (Arduino, ESP32, etc.) and necessary cables
- ☐ Install development environment (Arduino IDE, PlatformIO)
- ☐ Test basic LED functionality before mounting
- ☐ Design at least two distinct game-themed animations
- ☐ Implement brightness control and safety cutoffs
- ☐ Mount LEDs evenly around the tree using zip ties or adhesive clips
- ☐ Program idle mode and event-triggered sequences
- ☐ Integrate sound reactivity or external triggers (optional)
- ☐ Conduct full run-through overnight to check heat and stability
Real Example: The Super Smash Bros. Battle Tree
Derek M., a streamer from Austin, TX, built a 7-foot gaming tree synced to his Super Smash Bros. Ultimate matches. He divided the tree into four quadrants—each representing a fighter (Mario, Pikachu, Link, Samus). During matches, the active character’s section lit up with signature colors. When a stock was lost, their quadrant dimmed and flashed red. KOs triggered dramatic strobes across the whole tree, timed with announcer voice lines picked up by a microphone.
He used an ESP32 for Wi-Fi connectivity, allowing him to update animations remotely between sets. Viewers voted on stage themes via poll, which changed the background glow—green for Battlefield, purple for Final Destination. After three months of tweaks, the tree became a centerpiece of his December streams, boosting viewer engagement by 40%.
This project succeeded not because of complexity, but because each effect had meaning—tying light directly to emotion and action.
Common Pitfalls and How to Avoid Them
Even experienced makers encounter issues when blending electronics with decor. Here are frequent problems and proven solutions:
- Overheating Power Supplies
- Use a power supply rated for at least 125% of maximum expected load. Place it in a ventilated area away from flammable materials.
- Flickering or Random Resets
- Caused by voltage drop over long LED runs. Inject power at multiple points along the strip—every 100–150 LEDs—to maintain stable voltage.
- Lag Between Audio and Visuals
- Ensure your microcontroller isn’t overloaded. Offload non-essential tasks or upgrade to faster boards like ESP32 for better multitasking.
- Colors Don’t Match Expectations
- Calibrate white balance. Some LEDs render blue-heavy whites; adjust RGB values manually (e.g., reduce blue by 20%) for warmer tones.
FAQ
Can I use regular Christmas lights for custom sequences?
No—standard incandescent or non-addressable LED strings cannot be programmed for individual effects. You need digitally addressable LEDs (like NeoPixels) to control each bulb independently.
Do I need to know how to code?
Basic understanding helps, but many platforms offer drag-and-drop interfaces. Apps like xLights or WLED provide web-based editors where you can design animations without writing code. However, full customization requires some scripting.
Is it safe to leave the tree running overnight?
Yes—if properly wired. Use fused power supplies, avoid daisy-chaining too many strips, and monitor temperature during initial tests. Never cover components with fabric or flammable ornaments.
Conclusion
A gaming-themed Christmas tree with a custom light sequence bridges holiday tradition with interactive entertainment. It’s more than a decoration—it’s a dynamic canvas that reflects the excitement, rhythm, and personality of the games we love. By combining thoughtful design, reliable hardware, and expressive programming, you can bring iconic moments to life in shimmering color and motion.
Start small: one animation, one game, one quadrant of the tree. Then expand as confidence grows. Whether you’re celebrating solo or dazzling an audience online, this project invites creativity, technical growth, and joyful connection.


 浙公网安备
33010002000092号
浙公网安备
33010002000092号 浙B2-20120091-4
Comments
No comments yet. Why don't you start the discussion?