
Creating a custom animated Christmas display no longer requires commercial kits or expensive controllers. With an Arduino microcontroller, basic electronics, and a bit of creativity, you can design a synchronized light show that dances to music, blinks in patterns, or reacts to motion—all from your garage or workshop. This guide walks through the full process: planning, parts selection, circuit design, programming, and real-world deployment. Whether you're lighting up a porch, animating a nativity scene, or building a synchronized snowman dance troupe, this project blends holiday spirit with hands-on engineering.
Plan Your Display Layout and Animation Goals
Before touching a wire or writing code, define what you want your display to do. Will it be purely decorative, like twinkling stars on a tree? Or interactive, such as lights that respond to sound or movement? Consider scale: a small window display needs fewer components than a full yard setup. Sketch a rough layout showing where lights, motors, or servos will go. Assign functions—some LEDs might pulse slowly while others flash rapidly during a musical climax.
Think about animation sequences. A simple pattern could alternate between two strings of lights. A more advanced version might sync LED color changes with a melody using PWM (pulse-width modulation). If you plan to include moving parts—like a rotating star or nodding reindeer—you’ll need servos or stepper motors controlled by the Arduino.
Essential Components and Tools
The core of any Arduino-based display is the microcontroller itself. The Arduino Uno is ideal for beginners due to its reliability, wide community support, and sufficient digital pins. You'll also need power sources, output devices (like LEDs or relays), and possibly sensors if adding interactivity.
| Component | Purpose | Recommended Example |
|---|---|---|
| Arduino Uno | Main controller | Official board or clone |
| Breadboard & Jumper Wires | Prototyping connections | Full-size breadboard with male-male wires |
| LEDs (RGB or single-color) | Light effects | WS2812B (NeoPixel) strips for addressable control |
| Transistors or Relays | Control high-power loads | IRF520 MOSFET or 5V relay module |
| Servo Motors | Motion effects | SG90 micro servo for lightweight movements |
| Resistors (220Ω, 1kΩ) | Current limiting and signal protection | ¼W carbon film resistors |
| External Power Supply | Drive LEDs/motors safely | 5V/10A DC supply for large strips |
| USB Cable or Battery Pack | Power Arduino | 9V battery or USB power bank |
A multimeter, wire cutters, heat shrink tubing, and a soldering iron are helpful for durable builds. For outdoor use, seal all electronics in weatherproof enclosures and use waterproof connectors.
Step-by-Step Assembly and Wiring
Follow these steps to build a reliable, safe circuit:
- Set up the Arduino: Place it on a breadboard or mount it securely in a project box. Connect it to your computer via USB for initial testing.
- Wire the first LED strip: For NeoPixels, connect the +5V line to an external power supply (not the Arduino’s 5V pin), ground to both the supply and Arduino GND, and data input to a digital pin (e.g., Pin 6).
- Add transistors for high-current devices: If driving incandescent bulbs or long LED strands, use a MOSFET. Connect gate to an Arduino pin, source to ground, and drain to the load’s negative terminal.
- Integrate servos: Connect servo power (red) to 5V, ground (black/brown) to common GND, and signal (white/yellow) to a PWM-capable pin like Pin 9.
- Test each component individually: Upload simple test sketches to verify LEDs light up and servos move before combining everything.
- Finalize connections: Once tested, solder permanent joints, insulate exposed wires, and label key lines for future troubleshooting.
Programming the Animations
Arduino code runs in loops and responds to time-based triggers. The FastLED or Adafruit_NeoPixel libraries simplify controlling addressable LEDs. For example, to create a chasing effect:
#include <Adafruit_NeoPixel.h>
#define PIN 6
#define NUM_LEDS 30
Adafruit_NeoPixel strip = Adafruit_NeoPixel(NUM_LEDS, PIN, NEO_GRB + NEO_KHZ800);

void setup() {
  strip.begin();
  strip.show(); // Initialize all pixels to 'off'
}

void loop() {
  for (int i = 0; i < NUM_LEDS; i++) {
    strip.setPixelColor(i, strip.Color(255, 100, 0)); // Orange
    strip.show();
    delay(100);
    strip.setPixelColor(i, 0); // Turn off
  }
}
This creates a moving dot. To add complexity, use arrays to store color sequences or integrate millis() instead of delay() to run multiple animations concurrently without freezing the system.
For sound-reactive displays, connect a microphone module (like the MAX9814) and read analog values. When sound exceeds a threshold, trigger strobe patterns or activate motorized elements.
“We’ve seen hobbyists turn simple front-yard setups into neighborhood attractions by syncing lights to classic carols using just an Arduino and open-source libraries.” — Mark Tran, DIY Electronics Educator at MakerHub Labs
Real-World Example: The Dancing Snowmen Display
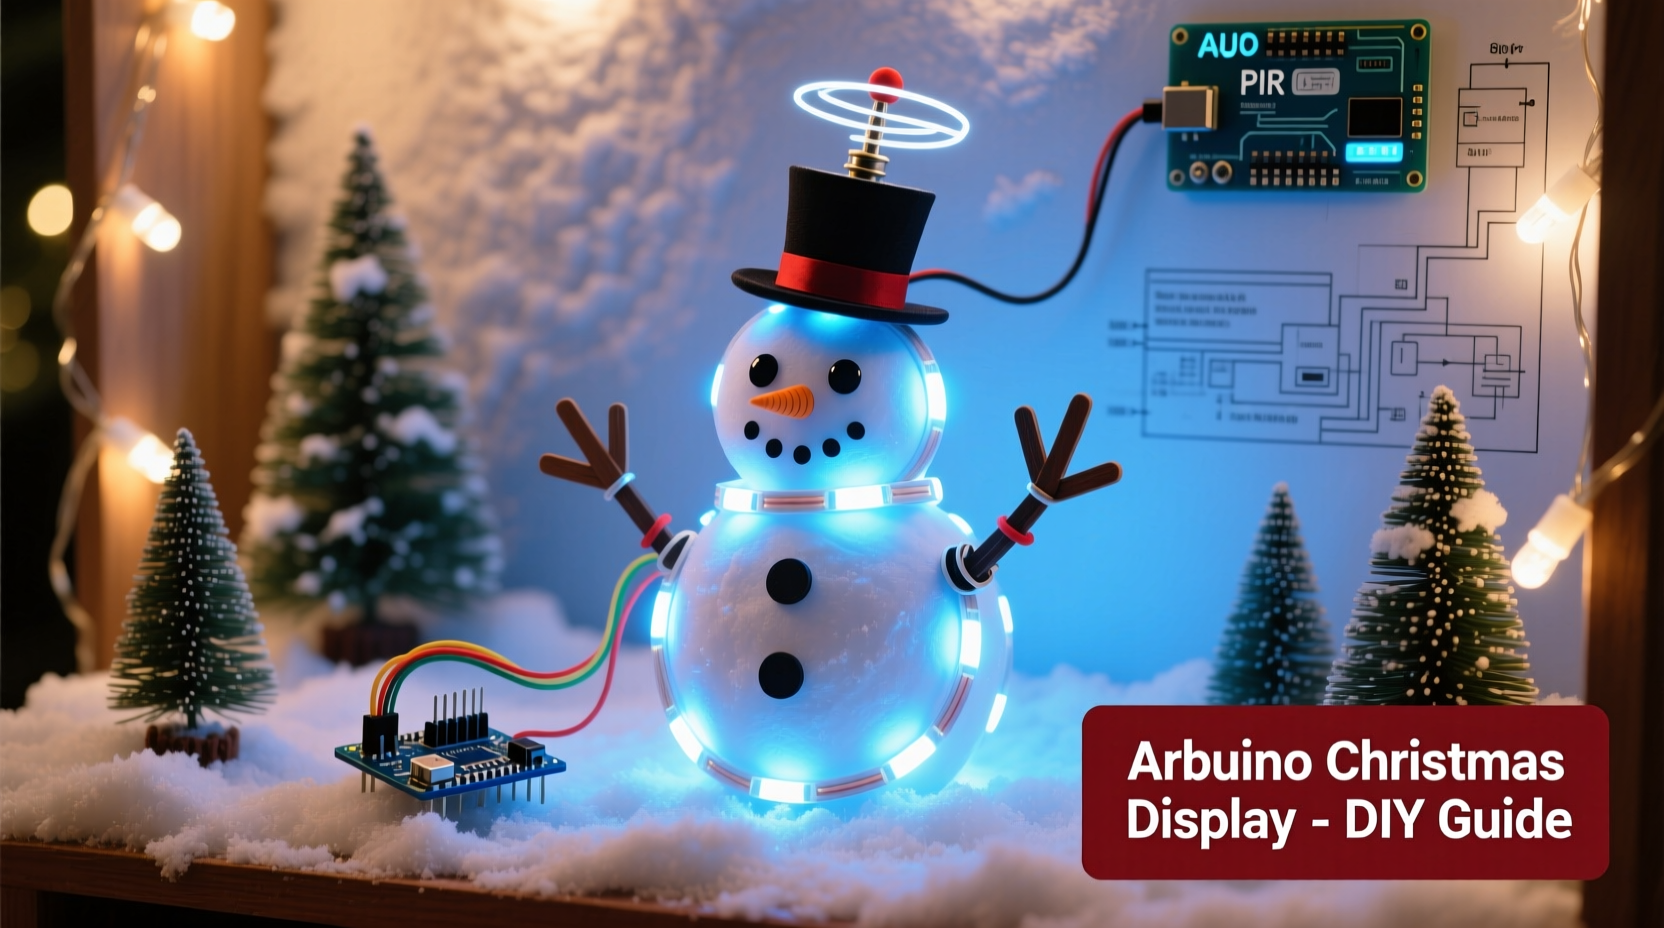
In Portland, Oregon, homeowner Luis Mendez built a three-snowman display using cardboard bodies wrapped in fiberglass insulation (for fluffiness) and painted faces. Each snowman had two arms made from dowels attached to SG90 servos inside the base. An Arduino Uno powered the servos and a string of 50 NeoPixels wrapped around their hats.
Luis programmed the servos to swing arms side-to-side in alternating patterns, mimicking dancing. Using the Tone library, he played “Jingle Bells” through a small speaker while the lights pulsed to the beat. He used a PIR motion sensor so the show only activated when someone approached, saving power and reducing light pollution.
The entire system ran on a 5V/6A wall adapter, with all electronics housed in a sealed plastic container under a tarp. After four holiday seasons, the display still works reliably—thanks to proper grounding, fused power lines, and silicone-sealed connections.
Checklist: Building a Functional Animated Display
- ☑ Define animation goals (static, dynamic, reactive)
- ☑ Choose appropriate components based on power and control needs
- ☑ Design and prototype the circuit on a breadboard
- ☑ Write and test code for individual components
- ☑ Integrate all elements and debug timing issues
- ☑ Secure wiring and protect against moisture
- ☑ Test outdoors under real conditions (temperature, wind, rain)
- ☑ Add safety features: fuses, isolation, secure mounting
Common Pitfalls and How to Avoid Them
Many DIYers underestimate power requirements. A 5-meter LED strip can draw over 3 amps at full brightness—more than the Arduino can provide. Always calculate total current draw: multiply the per-LED consumption (typically 60mA for NeoPixels at full white) by the number of LEDs.
Voltage drop is another issue over long wire runs. Use thicker gauge wire (18 AWG or lower) for power distribution and inject power at multiple points along long strips.
Timing conflicts arise when using delay() in code. Instead, adopt non-blocking techniques using millis(). This allows simultaneous actions—like fading one light while rotating a servo—without lag.
Frequently Asked Questions
Can I run this display outdoors?
Yes, but protect all electronics from moisture and temperature extremes. Use IP65-rated enclosures for controllers, seal wire junctions with silicone, and elevate components off wet surfaces. Avoid leaving lithium batteries outside in freezing conditions.
Do I need to know C++ to program Arduino?
Basic understanding helps, but many animation effects use pre-written examples. The Arduino IDE includes sample sketches for blinking, fading, and servo control. Copy, tweak, and combine them to build complex behaviors without deep coding knowledge.
How can I make lights sync to music?
Use a sound sensor to detect volume peaks and map those to light intensity or color changes. For precise synchronization (like a full song), pre-program the sequence using timestamps. Libraries like BeatDetector can identify beats per minute and adjust animations accordingly.
Conclusion: Bring Your Holiday Vision to Life
Building a DIY animated Christmas display with Arduino merges tradition with innovation. It’s not just about brighter lights or louder music—it’s about crafting something personal, responsive, and uniquely yours. From the first sketch on notebook paper to the moment your snowmen start dancing in unison, every step offers learning and satisfaction. These projects inspire neighbors, spark joy in children, and prove that meaningful holiday magic often comes from patience, tinkering, and a few well-placed lines of code.


 浙公网安备
33010002000092号
浙公网安备
33010002000092号 浙B2-20120091-4
Comments
No comments yet. Why don't you start the discussion?