
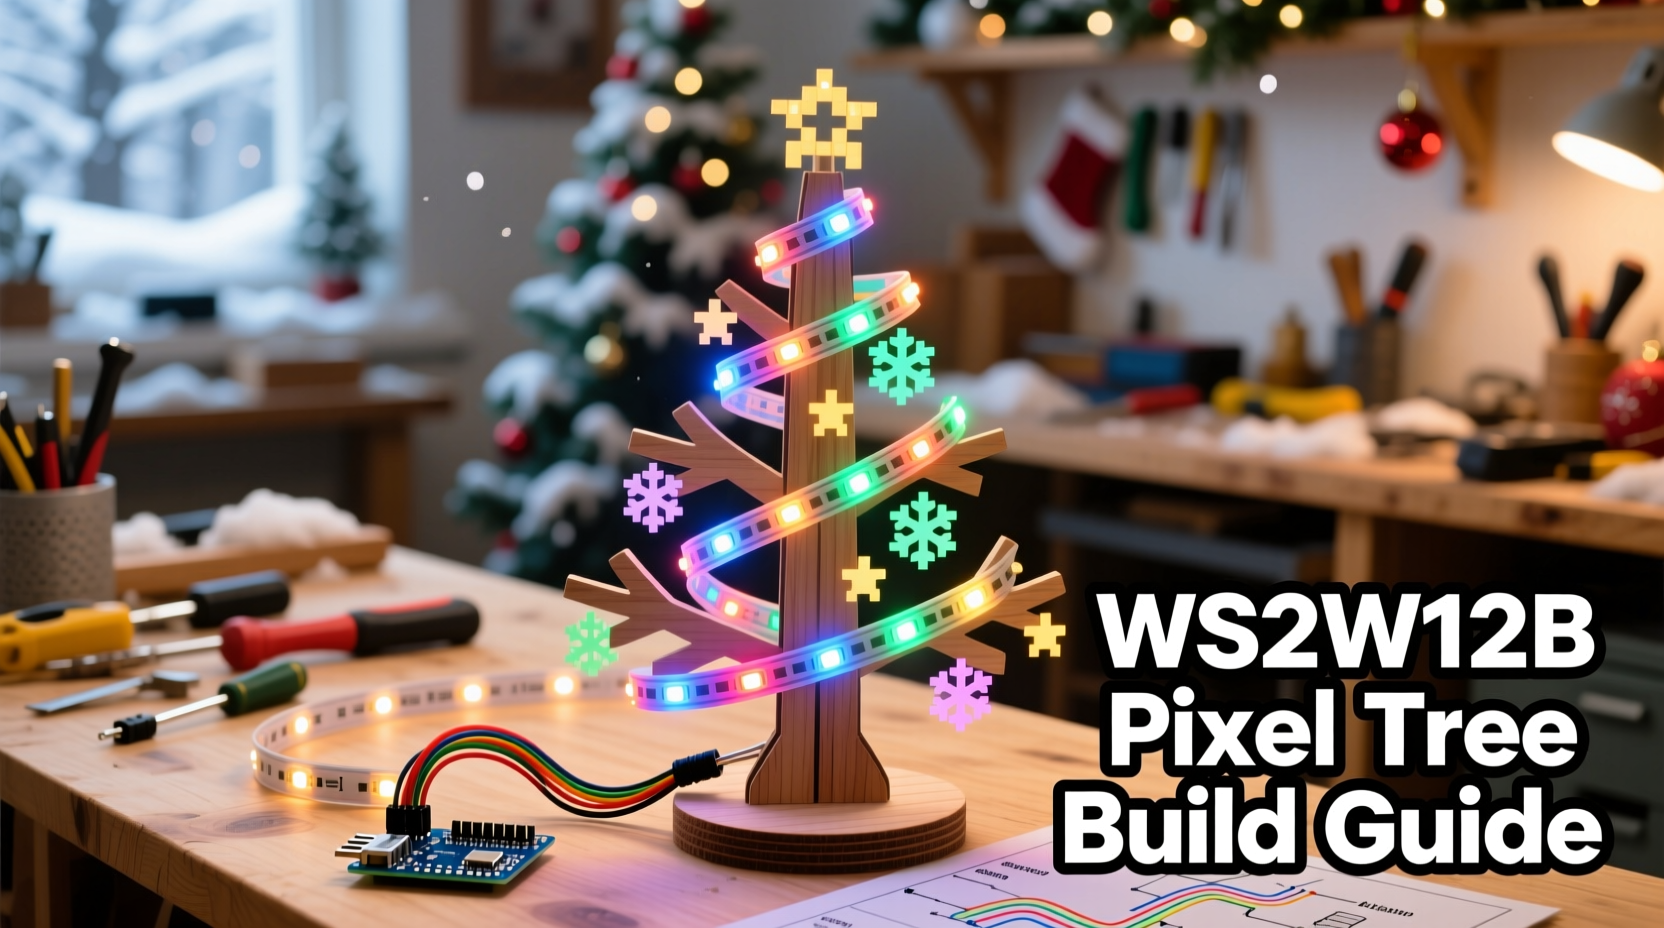
Creating a custom pixel Christmas tree is one of the most rewarding DIY electronics projects you can tackle during the holiday season. Unlike traditional string lights, a pixel tree made with WS2812B LEDs allows full control over each individual light—enabling dynamic color patterns, animations, music synchronization, and even interactive displays. With accessible components and open-source software, anyone with basic soldering skills and an interest in electronics can build a professional-looking centerpiece that becomes the talk of the holidays.
This guide walks through every stage: planning the structure, selecting components, assembling the physical frame, wiring the LEDs, programming the controller, and troubleshooting common issues. Whether you're aiming for a tabletop decoration or a floor-standing spectacle, this project blends creativity with technical craftsmanship.
Planning Your Pixel Tree Design
Before purchasing parts or cutting wood, define your vision. A pixel tree’s appearance depends on its height, number of LED nodes, spacing between pixels, and overall shape. Most DIY builds use a conical form resembling a classic evergreen, but some opt for flat 2D silhouettes or spiral helix designs.
Begin by deciding:
- Height: Common sizes range from 3 to 7 feet. Taller trees require more LEDs and sturdier support.
- Pixel density: Typically 1–2 inches between LEDs per vertical strand. Closer spacing gives smoother gradients.
- Number of strands: More strands increase coverage but add complexity in wiring and power management.
- Power source: Plan for sufficient amperage; underpowered setups cause flickering or brownouts.
A standard 5-foot tree might have 16 vertical strands with 60 pixels each (960 total LEDs), arranged evenly around a central pole. Each strand should maintain consistent spacing and alignment to avoid visual distortion when animated.
Required Components and Tools
Gathering the right materials ensures a smooth build. Below is a comprehensive checklist of hardware and software needed.
Hardware Checklist
- WS2812B addressable LED strips (individually addressable, 60/meter density recommended)
- Multiplexed diffusers (e.g., 3D-printed cones or frosted tubes to soften pixel glare)
- Microcontroller (ESP32 or Arduino Nano preferred for Wi-Fi and processing power)
- Logic level shifter (optional but advised—converts 3.3V signal to 5V for reliable data transmission)
- DC power supply (5V, high-current—calculate at 60mA per LED at full brightness)
- Power distribution rail or terminal blocks
- Wooden base and central support rod (PVC pipe, threaded rod, or wooden dowel)
- Jumper wires, heat shrink tubing, and connectors
- Soldering iron, wire cutters, multimeter
- Zip ties, hot glue gun, and mounting clips
Software & Libraries
- Arduino IDE or PlatformIO
- FastLED or NeoPixel library
- XLights (for advanced animation sequencing and music syncing)
- Optional: WLED firmware for web-based control via ESP32
“We’ve seen hobbyists transform simple LED strings into mesmerizing art pieces just by focusing on uniform spacing and clean code.” — David Lin, Open-Source Lighting Developer
Step-by-Step Assembly Process
Follow this sequence to construct a durable, visually balanced pixel tree.
1. Build the Base and Central Support
Cut a circular wooden base (12–18 inches in diameter) to anchor the structure. Drill a hole in the center to secure a vertical support rod—such as a ½-inch PVC pipe or metal conduit—using epoxy or set screws. Ensure it stands perfectly upright.
2. Attach Vertical Strands
Measure and cut your WS2812B strips into equal-length segments matching the tree height. Solder JST connectors or screw terminals to each strip’s input end. Securely mount them to the central rod using zip ties or adhesive-backed clips, spacing them evenly in a radial pattern. For a 16-strand tree, place each strand 22.5 degrees apart.
3. Install Diffusers
Raw WS2812Bs appear as bright dots. To achieve a soft \"glow,\" slide each LED into a diffuser. Options include 3D-printed mushroom-shaped caps, translucent plastic tubes, or even repurposed ping pong balls. This dramatically improves visual quality, especially in dark environments.
4. Wire Power and Data Lines
All data lines (DIN) connect in parallel to a single microcontroller output pin. Use a logic level shifter if driving from an ESP32 (3.3V) to prevent signal dropouts. Connect all ground lines together and link to the power supply’s negative terminal.
For power, avoid daisy-chaining along the strips. Instead, use a star topology: run heavy-gauge wire (18AWG or thicker) from the power supply to multiple points around the ring to prevent voltage sag at the top. Apply power injection at both ends and midpoint of long runs.
| LED Count | Max Current (Full White) | Recommended PSU |
|---|---|---|
| 300 | 18A @ 5V | 5V 20A |
| 600 | 36A @ 5V | 5V 40A |
| 960 | 57.6A @ 5V | Dual 5V 30A supplies |
5. Mount Controller and Finalize Connections
Secure the microcontroller and power supply near the base. Label each connection point clearly. Seal solder joints with heat shrink tubing. Double-check polarity—reversed connections can destroy entire strips instantly.
Programming and Animation Control
The magic happens in code. Using the FastLED library simplifies creating fluid animations without low-level bit manipulation.
Example Arduino sketch for a rainbow cycle:
#include <FastLED.h>

#define NUM_STRANDS 16
#define LEDS_PER_STRAND 60
#define TOTAL_LEDS (NUM_STRANDS * LEDS_PER_STRAND)

CRGB leds[TOTAL_LEDS];
CRGBPalette16 currentPalette;
TBlendType currentBlending;

void setup() {
  FastLED.addLeds<WS2812B, DATA_PIN, GRB>(leds, TOTAL_LEDS);
  currentPalette = RainbowColors_p;
  currentBlending = LINEARBLEND;
}

void loop() {
  static uint8_t startIndex = 0;
  startIndex = startIndex + 1;

  FillLEDsFromPaletteColors(startIndex);

  FastLED.show();
  FastLED.delay(20);
}

void FillLEDsFromPaletteColors(uint8_t colorIndex) {
  for (int i = 0; i < TOTAL_LEDS; i++) {
    leds[i] = ColorFromPalette(currentPalette, colorIndex, 255, currentBlending);
    colorIndex += 3;
  }
}
This code creates a smooth rainbow scroll across all strands. You can expand it with sound-reactive features using a microphone module, or integrate Wi-Fi control via MQTT using an ESP32.
For non-programmers, consider flashing WLED onto your ESP32. It provides a browser interface where you can select built-in effects, adjust speed, and sync to music—all without writing a single line of code.
Troubleshooting Common Issues
Even well-planned builds encounter hiccups. Here are frequent problems and solutions:
- Flickering or random colors: Caused by insufficient power or poor grounding. Add additional ground wires from controller to strip endpoints.
- Only first few LEDs work: Often due to failed data signal. Check solder joints, replace damaged segment, or use logic level shifter.
- One strand unresponsive: Verify continuity with a multimeter. Inspect for cold solder joints or reversed VCC/GND.
- Overheating power supply: Indicates overload. Reduce brightness in code (use
FastLED.setBrightness(100);) or upgrade PSU.
“Always start testing at 20% brightness. It’s easier to spot issues and reduces stress on components.” — Sarah Nguyen, Embedded Systems Engineer
Real Example: The Neighborhood-Winning 6-Foot Spiral Tree
Mark T., a hobbyist from Portland, built a 6-foot spiral pixel tree using 20 strands of 72 LEDs each (1,440 total). He used a threaded steel rod as the core and bent each strip into a helical path using flexible plastic guides spaced every foot. After initial flickering issues, he implemented dual 5V 30A power supplies with distributed injection and added a Raspberry Pi running XLights to synchronize lights with holiday music played over outdoor speakers.
The result? A jaw-dropping display that drew families from three blocks away. “People thought I bought it online,” Mark said. “But the pride comes from knowing every wire, line of code, and diffuser was placed by hand.”
FAQ
Can I use WS2811 instead of WS2812B LEDs?
Yes, but WS2811 chips typically have lower density (often 12 or 24 per meter) and may not provide the smooth gradient effect desired in pixel trees. WS2812Bs are preferred for their compact size and better color blending when diffused.
How do I make the tree weather-resistant for outdoor use?
Use waterproof-rated LED strips (IP65 or IP67), seal all connections with silicone, and house the controller and power supply in a weatherproof enclosure. Elevate the base off the ground and cover the top node to prevent water ingress.
Is it safe to leave the tree on overnight?
Yes, provided you use a properly rated power supply, avoid overloading circuits, and monitor for excessive heat during initial operation. Reduce maximum brightness to 50–70% for extended runtime and energy efficiency.
Conclusion: Bring Your Vision to Life
Building a DIY pixel Christmas tree isn’t just about lighting—it’s about merging engineering precision with seasonal creativity. From the careful alignment of each LED to the subtle pulse of a snowfall animation, every detail reflects personal effort and attention. Once powered on, your tree does more than illuminate a room; it sparks wonder, conversation, and lasting memories.


 浙公网安备
33010002000092号
浙公网安备
33010002000092号 浙B2-20120091-4
Comments
No comments yet. Why don't you start the discussion?