
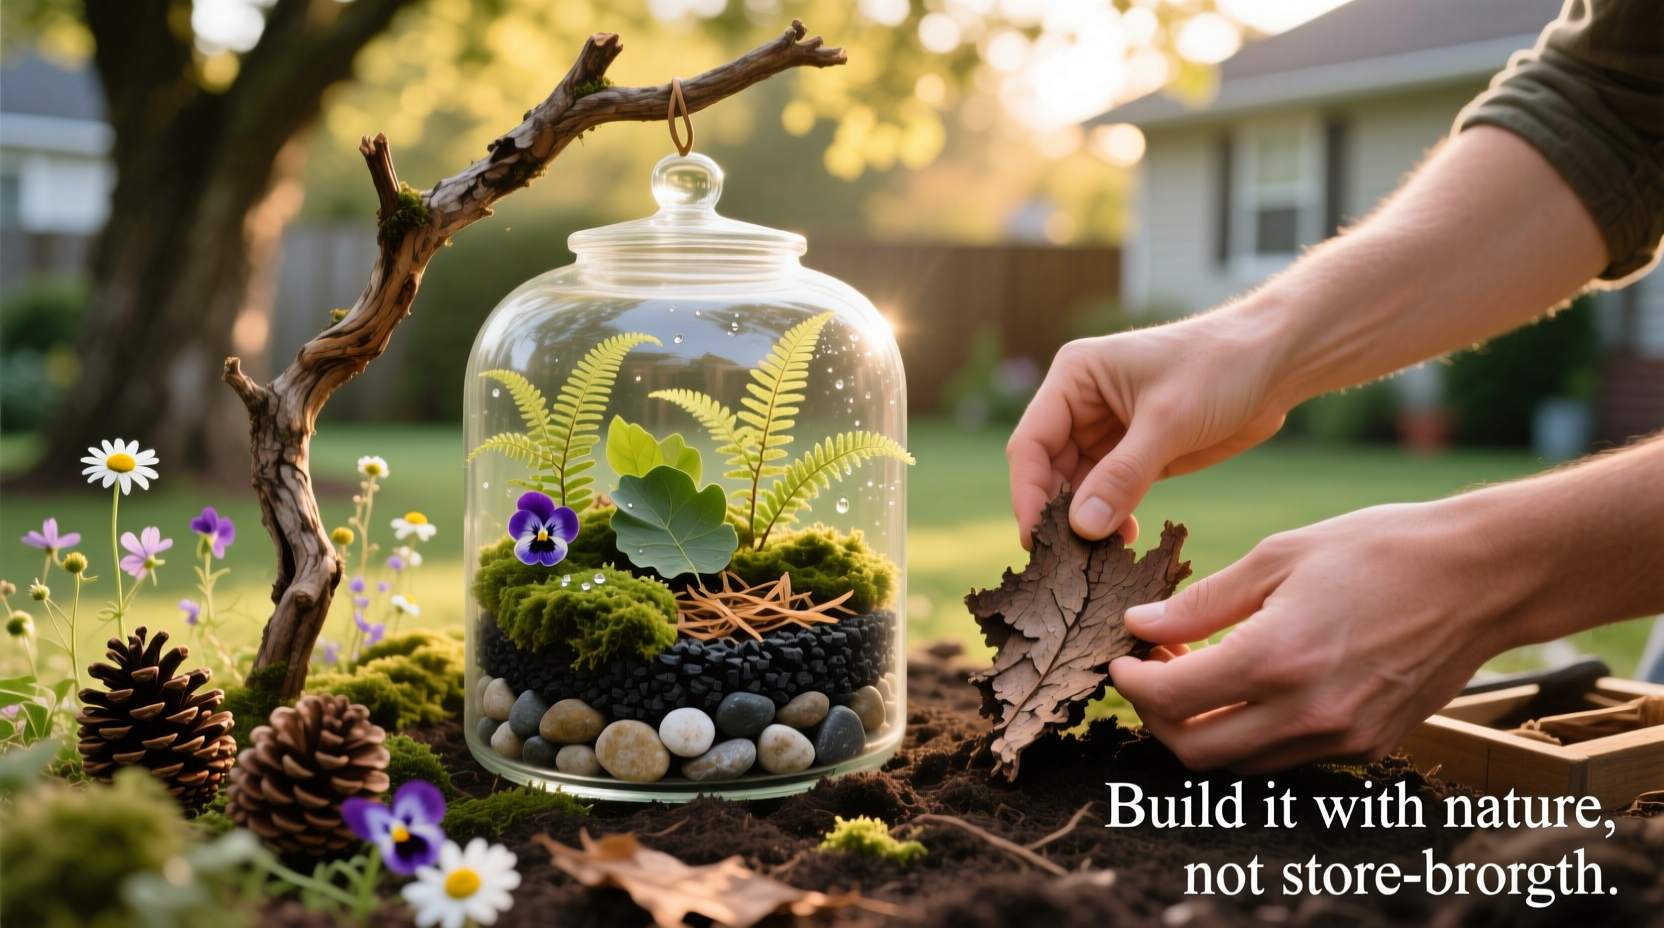
Creating a self-contained ecosystem in a glass container has long been a favorite pastime for plant lovers and nature enthusiasts. But what if you could build one without buying a single item? With a little observation and careful gathering, your backyard holds nearly everything you need to craft a thriving terrarium. From moss-covered rocks to leaf litter and native plants, the raw materials are already at your feet. This guide walks through how to responsibly harvest, assemble, and maintain a beautiful, sustainable terrarium using only what grows naturally around your home.
Why Build a Backyard Terrarium?
A terrarium is more than a decorative piece—it’s a miniature world that demonstrates the balance of moisture, light, and life. Building one from backyard materials connects you directly to your local ecology. It encourages mindfulness about native species, promotes sustainability, and reduces reliance on store-bought kits that often come in plastic packaging.
Additionally, collecting your own components fosters deeper appreciation for micro-environments. You begin to notice how moss clings to shaded tree bark or how certain ferns thrive in damp corners. These observations inform better design choices when constructing your closed ecosystem.
“Nature provides all the elements we need. The key is learning to see them not as weeds or debris, but as building blocks.” — Dr. Lila Nguyen, Urban Ecologist & Microhabitat Researcher
Essential Materials Found in Your Yard
The beauty of this project lies in its simplicity. Most required components can be found within a small outdoor area, provided you have access to even a modest garden or wooded edge. Below is a breakdown of what you’ll need and where to find it.
| Component | Natural Source | Harvesting Tips |
|---|---|---|
| Container | Reuse old jars, bottles, or aquariums | Clean thoroughly with vinegar and water; avoid containers with narrow necks if planting large specimens |
| Drainage Layer | Small stones, pebbles, or gravel | Gather from driveways, flower beds, or dry creek beds; rinse before use |
| Activated Charcoal (Optional) | Not typically found in yards | If unavailable, skip or substitute with crushed hardwood charcoal from a fireplace (unscented only) |
| Soil | Garden bed or forest floor | Use loose, organic-rich topsoil; avoid clay-heavy or chemically treated soil |
| Moss | Shaded, moist areas under trees or near foundations | Lift gently with a spoon or butter knife; include some root fibers |
| Plants | Small ferns, violets, sedges, or groundcovers | Select low-growing, shade-tolerant species; take cuttings rather than uprooting entire plants |
| Decorative Elements | Twigs, bark, pinecones, acorns | Dry completely before adding to prevent mold |
Step-by-Step Assembly Guide
Building your terrarium follows a layered approach, mimicking natural strata found in forests. Each layer serves a purpose: drainage, filtration, root support, and surface cover. Follow these steps carefully to ensure longevity and health.
- Prepare the Container: Wash the glass with warm water and white vinegar. Rinse well and let air dry. Avoid soap residues that can harm delicate plants.
- Add Drainage Layer (1–2 inches): Place clean pebbles or small stones at the bottom. This prevents water from pooling around roots and causing rot.
- Add Charcoal Layer (optional, ½ inch): A thin layer of activated or hardwood charcoal helps filter impurities and reduce odors in closed systems.
- Layer Soil (2–3 inches): Add sifted topsoil, ensuring it’s free of pests and large debris. Gently press down to remove air pockets but don’t compact too tightly.
- Plant Your Specimens: Use a pencil or chopstick to dig small holes. Insert moss patches or tiny plants, then pat soil lightly around their base. Space them to allow growth.
- Add Natural Decor: Tuck in twigs, bark pieces, or stones to create visual interest and mimic woodland terrain.
- Mist Lightly: Using a spray bottle, lightly mist the interior until the soil feels damp—not soaked. Overwatering is the most common cause of failure.
- Seal or Leave Open: If using a lidded jar, close it partially at first. Monitor condensation levels over the next few days before fully sealing.
Terrarium Placement After Assembly
Place your finished terrarium in bright, indirect light—near an east-facing window or under sheer curtains. Direct sunlight will overheat the glass and cook the plants. Rotate the container occasionally to promote even growth.
Real Example: Sarah’s Woodland Jar in Portland, OR
Sarah, a teacher in Portland, transformed an old pickle jar into a thriving mini-forest using only materials from her shaded backyard. She collected sword fern cuttings, sheet moss from beneath a Douglas fir, and river stones from her garden path. After assembling the layers, she added a fallen birch twig and two acorns as decorative accents.
Within three weeks, new moss fronds began spreading across the soil surface. A tiny fungal fruiting body even appeared—a sign of healthy decomposition at work. “I didn’t expect anything to grow,” she said. “But now I check it every morning like it’s a pet.” Her terrarium has lasted nine months with only monthly misting and occasional ventilation.
Do’s and Don’ts of Backyard Harvesting
To protect both your terrarium and the environment, follow these guidelines when gathering materials.
| Do | Don't |
|---|---|
| Take small samples to minimize impact | Strip entire patches of moss or uproot mature plants |
| Collect after rain when soil is soft and roots intact | Harvest during drought or extreme heat |
| Inspect for insects or eggs before bringing indoors | Introduce invasive species or pesticide-treated plants |
| Let organic materials dry if prone to mold (e.g., bark) | Add wet wood or uncomposted leaves directly |
| Wear gloves when handling unknown plants | Touch eyes or face while collecting—some plants cause irritation |
Common Challenges and How to Solve Them
Even well-built terrariums encounter issues. The closed environment amplifies problems quickly, so early detection is crucial.
- Mold on Soil: Caused by excess moisture or decaying matter. Scrape off visible mold and increase airflow. Add a pinch of cinnamon—it’s a natural fungicide.
- Yellowing Leaves: Indicates overwatering or poor drainage. Remove affected foliage and leave the lid off for 24 hours.
- No New Growth: May mean insufficient light. Move to a brighter spot but avoid direct sun.
- Pests (gnats, mites): Often introduced via soil. Isolate the terrarium and place sticky traps inside temporarily.
Maintenance Checklist
- Check condensation weekly—adjust ventilation as needed
- Mist only when soil feels dry (every 2–4 weeks)
- Remove dead leaves promptly to prevent decay
- Rotate container for even light exposure
- Prune overgrown plants with fine scissors
- Observe for signs of stress: wilting, spotting, or discoloration
Frequently Asked Questions
Can I use tap water to mist my terrarium?
Yes, but filtered or distilled water is better. Tap water contains minerals and chlorine that can build up over time and damage sensitive mosses and seedlings. If using tap water, let it sit uncovered for 24 hours to allow chlorine to evaporate.
How long do backyard terrariums last?
With proper care, they can thrive for years. Closed terrariums are particularly resilient because they recycle moisture. Some enthusiasts report ecosystems lasting over five years with minimal intervention. Success depends on balanced initial construction and attentive monitoring during the first month.
Are there plants I should never put in a terrarium?
Avoid succulents, cacti, or any plant that prefers dry conditions—they thrive in arid environments and will rot in high humidity. Also steer clear of fast-growing vines or tall plants that outgrow the space quickly. Stick to slow-growing, shade-loving species like fittonia, baby tears, or woodland ferns.
Final Thoughts and Encouragement
Building a terrarium from backyard materials isn’t just a craft—it’s an act of ecological awareness. It teaches patience, observation, and respect for the intricate web of life in even the smallest patch of earth. Every stone, blade of moss, and speck of soil tells a story of place and season.
You don’t need exotic supplies or expensive tools. What matters most is intention and attention. Start small: pick up a jar, walk outside, and look closely. See what’s already growing in the shadows and corners. Then bring a piece of that quiet magic indoors.


 浙公网安备
33010002000092号
浙公网安备
33010002000092号 浙B2-20120091-4
Comments
No comments yet. Why don't you start the discussion?