
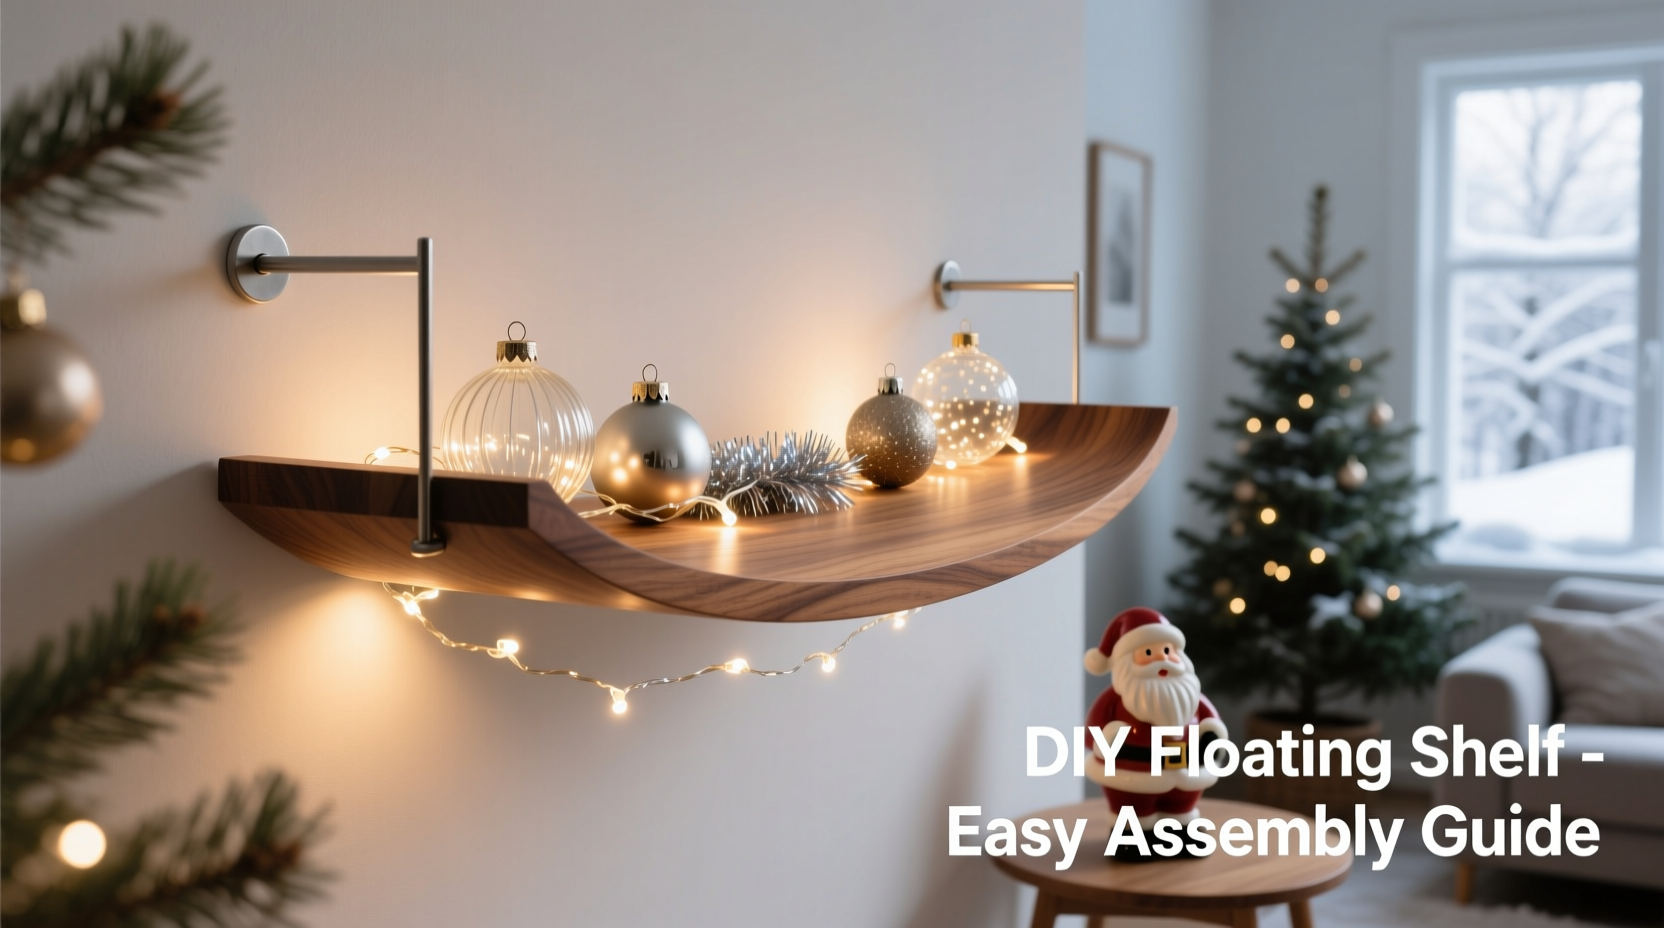
A floating Christmas shelf brings holiday charm into your home without taking up floor space or cluttering existing furniture. Mounted securely to the wall, it offers an elegant platform to display miniature ornaments, fairy lights, seasonal figurines, and even small potted plants. Unlike traditional shelves that rely on visible brackets, a floating design creates the illusion of levitation—adding modern sophistication to your festive décor. This guide walks you through every phase of building one yourself, from selecting materials to final decoration, ensuring both safety and visual appeal.
Why Choose a Floating Shelf for Holiday Display?
Floating shelves are ideal for seasonal displays because they blend functionality with minimalist aesthetics. In homes where space is limited—especially during the holidays when tables fill with gifts and decor—a wall-mounted solution keeps precious items visible but out of the way. A Christmas-themed floating shelf can become a focal point in a living room, hallway, or even above a mantel.
Beyond utility, these shelves offer creative freedom. You control the size, finish, and placement, allowing integration with your existing color scheme and architectural style. Whether your taste leans toward rustic farmhouse, Scandinavian minimalism, or vintage glam, a custom-built shelf enhances the atmosphere while showcasing heirloom ornaments or new favorites.
Materials and Tools You’ll Need
Building a sturdy floating shelf requires more than just a piece of wood. The structure must support decorative weight safely over time, especially if placed high on a wall. Below is a comprehensive list of recommended supplies.
| Item | Purpose | Suggested Specs |
|---|---|---|
| Hardwood board (e.g., poplar, pine, oak) | Visible shelf surface | 1” thick × 6”–8” wide × 24”–36” long |
| Support cleat or French cleat | Hidden mounting system | Same thickness as shelf, cut at 35°–45° angle |
| Wood screws (2.5” and 1.25”) | Securing cleat to wall and shelf | Coarse thread for wood; use drywall anchors if no stud access |
| Wall anchors and toggle bolts | Secure mounting into drywall | 50 lb+ capacity per anchor |
| Sander (orbital or hand) | Smooth edges and surfaces | 120–220 grit sandpaper |
| Stain, paint, or sealant | Finish protection and style | Matte or satin finish preferred |
| Level, tape measure, drill | Installation accuracy | Digital level increases precision |
The choice of wood affects both durability and appearance. Pine is affordable and easy to work with but may dent easily. Oak or maple provides greater strength and grain character, ideal for stained finishes. For a wintry look, consider painting the shelf white, silver, or soft gold to complement holiday lighting.
Step-by-Step Construction Guide
Follow this timeline-based process to build and install your floating Christmas shelf safely and accurately.
- Cut the shelf and cleat: Using a miter saw or circular saw, cut your hardwood to desired length (common sizes range from 24” to 36”). Cut a second identical piece for the cleat base, then make a 45-degree diagonal cut along its entire length to form a French cleat. One side attaches to the wall, the other to the back of the shelf.
- Sand all surfaces: Begin with 120-grit paper to remove roughness, then switch to 220-grit for a silky finish. Pay attention to corners and edges to prevent splinters, especially important in homes with children or pets.
- Apply finish: Stain or paint the shelf and cleat pieces before assembly. Use a brush or lint-free cloth for even application. Allow 24 hours to fully cure. If using water-based products, lightly sand between coats with 320-grit paper for smooth layering.
- Locate wall studs: Use a stud finder to identify vertical studs behind the drywall. Mark their center positions with a pencil. Ideally, the cleat should span at least two studs for maximum load-bearing capacity.
- Mount the wall cleat: Align the flat side of the angled cleat against the wall, ensuring it’s perfectly level. Drive 2.5” screws through the cleat into each stud. Double-check alignment with a level after each screw.
- Attach shelf-side cleat: Position the matching cleat piece to the back of the shelf, flush with the top edge. Secure with 1.25” wood screws driven through the angled face into the shelf. Pre-drill holes to prevent splitting.
- Hang the shelf: Lift the shelf and slide the cleat on its back down onto the wall-mounted cleat. The interlocking angles will lock it in place. Gently tug downward to test stability.
- Touch up and decorate: Conceal screw heads with matching wood filler if needed. Once secure, begin arranging ornaments, battery-powered string lights, pine sprigs, or mini wreaths.
Safety, Stability, and Load Limits
While decorative, a floating shelf still carries physical risk if improperly installed. Most holiday items are lightweight—small glass balls, LED lights, felt animals—but cumulative weight matters. As a rule, do not exceed 15 pounds on a standard 30-inch shelf unless reinforced with metal brackets or anchored into multiple studs.
If mounting outside stud locations, use heavy-duty toggle bolts rated for at least 50 pounds each. Hollow-wall anchors like plastic sleeves are insufficient for long-term loads. Also, avoid placing shelves above heat sources such as radiators or fireplaces, which can warp wood and degrade adhesive finishes.
“Even light decorations require robust mounting. I’ve seen shelves fail simply because someone used the wrong anchors.” — Daniel Reeves, Residential Carpenter & DIY Instructor
For added peace of mind, periodically inspect the shelf for signs of sagging, loosening screws, or wall separation. Re-tighten fasteners annually, preferably before the holiday season begins.
Design Ideas and Real-World Example
In Portland, Oregon, interior stylist Maria Tran built three floating shelves in her dining area to highlight a collection of vintage Czech glass ornaments passed down from her grandmother. Each shelf measures 30 inches long and is finished in matte white paint to contrast with deep green walls.
She spaced them vertically above a sideboard, creating a cascading effect. The top shelf holds flickering LED candles in mercury glass holders, the middle features delicate icicle-shaped ornaments suspended slightly off the edge with clear fishing line, and the bottom displays a row of tiny lit reindeer figures. Warm-white string lights run along the back edge of each shelf, casting a soft glow onto the wall.
Maria emphasized balance and rhythm: “I arranged items in odd numbers—three candles, five icicles, seven reindeer—to create visual interest without symmetry.” Her setup draws guests’ eyes upward and transforms a blank wall into a storytelling canvas of family tradition and seasonal warmth.
Checklist: Building Your Floating Christmas Shelf
- ☐ Measure available wall space and determine optimal shelf dimensions
- ☐ Purchase hardwood board and compatible cleat material
- ☐ Cut shelf and French cleat pieces using accurate angle guides
- ☐ Sand all components thoroughly, starting coarse and finishing fine
- ☐ Apply chosen stain, paint, or protective sealant; allow full drying
- ☐ Locate wall studs and mark positions with a level
- ☐ Secure wall-mounted cleat with screws driven into studs or heavy-duty anchors
- ☐ Attach mating cleat to back of shelf
- ☐ Hang shelf by sliding cleats together; verify level and stability
- ☐ Style with ornaments, greenery, and low-heat lighting options
- ☐ Inspect annually for wear, warping, or loose fasteners
Frequently Asked Questions
Can I use command strips instead of screws?
No. Command strips are designed for very light objects (under 5 lbs) and cannot support a wooden shelf plus decorations. Over time, adhesive failure could cause the shelf to fall, risking damage or injury. Always use mechanical fasteners anchored into studs or rated wall hardware.
What kind of lights are safest for a wooden shelf?
LED string lights are ideal—they produce minimal heat, consume little energy, and come in battery-operated or plug-in styles. Avoid incandescent bulbs, which generate noticeable warmth and increase fire risk when placed near flammable materials like dried pinecones or fabric ribbons.
How high should I mount the shelf?
Mount the shelf so its center is at or slightly above eye level—typically 57 to 60 inches from the floor. This height maximizes visibility and complements most room layouts. If placing above furniture like a console table or sofa, leave 6 to 10 inches of vertical clearance.
Final Thoughts and Call to Action
Building a floating Christmas shelf isn’t just a DIY project—it’s a lasting addition to your holiday traditions. With careful planning and attention to detail, you create more than storage; you craft a curated moment of joy that welcomes family and guests each December. The satisfaction of seeing your handmade shelf adorned with twinkling lights and cherished ornaments makes the effort worthwhile.
Now that you have the knowledge and steps laid out, gather your tools and start measuring. Whether you build one shelf or a set, your creativity can shine as brightly as the LEDs you choose to display. Share photos of your finished shelf online, tag friends who love seasonal crafts, or pass the idea along to younger family members eager to learn hands-on skills.


 浙公网安备
33010002000092号
浙公网安备
33010002000092号 浙B2-20120091-4
Comments
No comments yet. Why don't you start the discussion?