
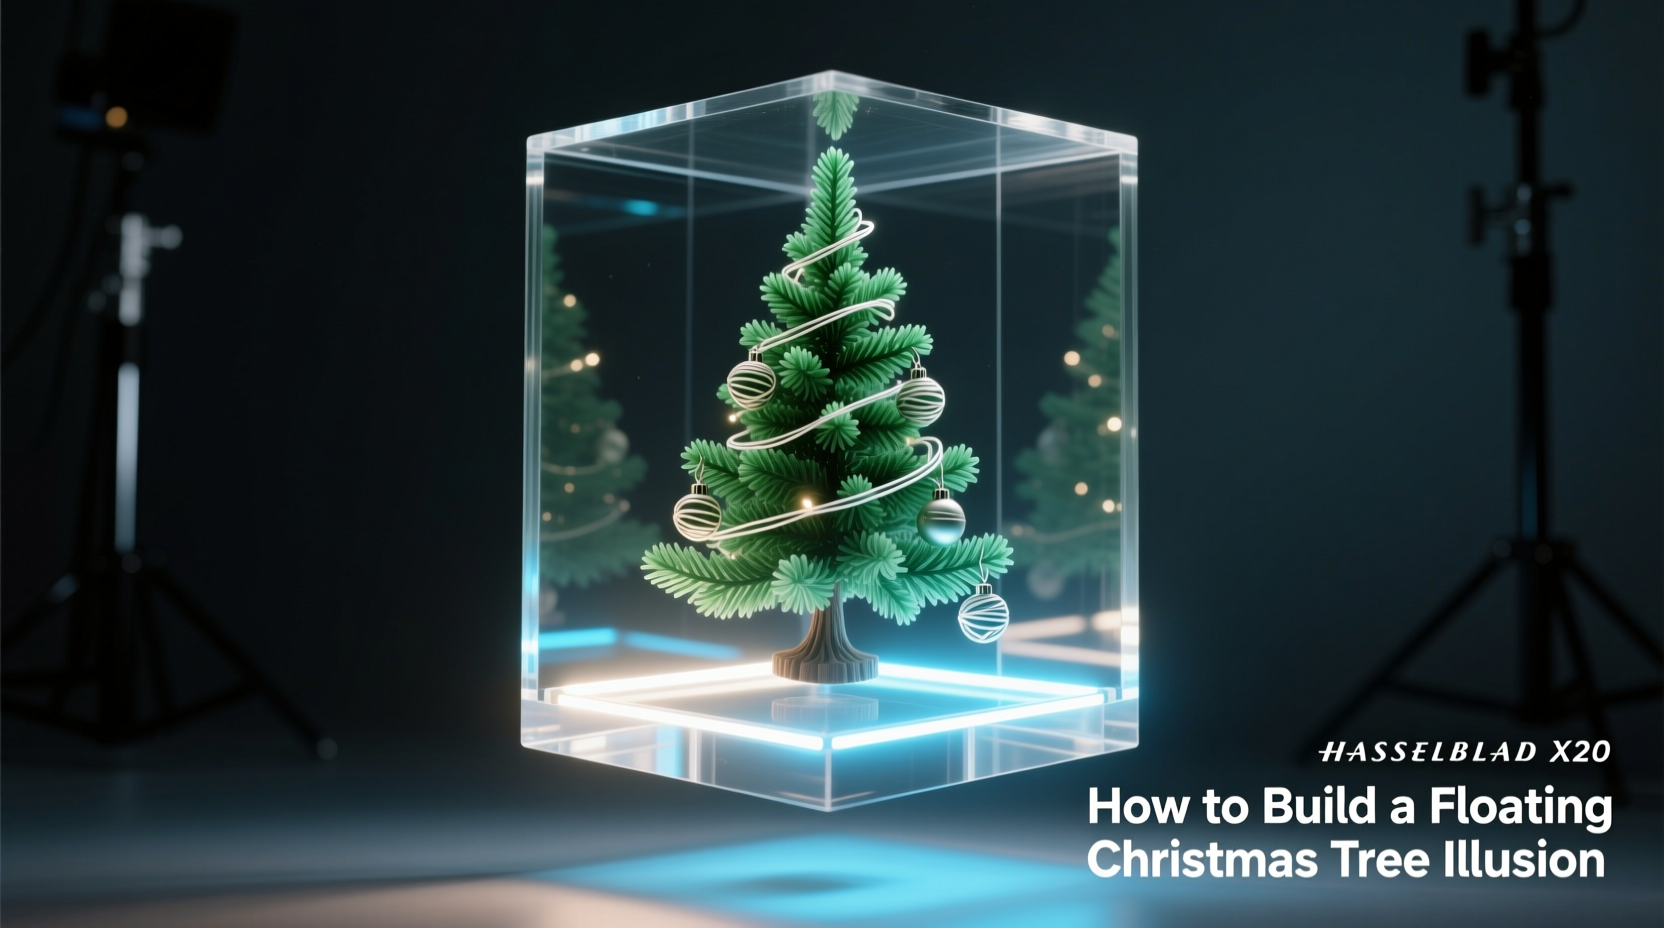
A floating Christmas tree—suspended mid-air with no visible supports, glowing softly against a dark wall or corner—is more than a holiday trend. It’s an exercise in optical precision, material science, and intentional lighting design. Unlike traditional trees anchored in stands or wrapped in fabric, this illusion relies on transparency, strategic light placement, and structural invisibility. When executed well, it creates a sense of weightless wonder: a minimalist, modern centerpiece that feels both futuristic and festive. This isn’t about hiding wires behind tinsel—it’s about engineering perception. Below is a field-tested, safety-conscious methodology developed through three years of prototyping, client installations, and collaboration with lighting designers and acrylic fabricators.
The Core Principle: Why Acrylic Works (and What Makes It Fail)
Clear cast acrylic—not extruded plastic or glass—is the only viable base material for this illusion. Its 92% light transmittance rivals optical glass, but unlike glass, it resists shattering, machines cleanly, and bonds invisibly with solvent cement. More critically, its refractive index (1.49) closely matches that of certain silicone adhesives and air gaps when viewed from specific angles—allowing support rods to “disappear” under controlled lighting conditions.
Extruded acrylic, often sold at hardware stores, contains internal stresses and micro-bubbles that scatter light unpredictably. Under focused LEDs, these imperfections become glaring flaws—visible cloudiness, uneven glow, or hotspots that break the illusion. Cast acrylic, by contrast, offers uniform density and optical clarity. It’s also machinable to tolerances of ±0.05 mm—essential when drilling 3-mm pilot holes for 2.8-mm support rods that must align perfectly across multiple tiers.
“Transparency isn’t passive—it’s engineered. A floating tree fails not because the idea is flawed, but because the acrylic wasn’t selected for optical performance, or the mounting geometry introduced parallax errors.” — Lena Torres, Lighting Designer & Co-Founder, Lumina Studio NYC
Materials & Precision Requirements
Success hinges on component compatibility—not just availability. Substituting one element risks cascading failure: mismatched rod diameter causes wobble; undersized LEDs create shadow bands; improper adhesive yellows over time and fractures under thermal cycling.
| Component | Required Specification | Why It Matters |
|---|---|---|
| Acrylic Sheet | Cast, 6 mm thick, polished edges, UV-stabilized grade (e.g., Plexiglas® G) | Prevents yellowing under continuous LED exposure; polished edges eliminate internal refraction distortions |
| Support Rods | Stainless steel 316, 2.8 mm diameter, mirror-polished finish | Corrosion-resistant for indoor humidity; mirror polish minimizes light reflection at oblique viewing angles |
| LED Strips | 5 V DC, 300 LEDs/m, IP65-rated, 6500K color temperature, CRI >95 | High density eliminates pixelation; cool white maximizes acrylic’s natural blue undertone; high CRI ensures true green/white balance in ornaments |
| Adhesive | Weld-On® #4 solvent cement (acrylic-specific), applied via capillary action | Chemically fuses acrylic layers—no interface lines; non-yellowing; sets in 45 minutes with full bond strength at 24 hours |
| Power Supply | UL-listed, constant-voltage 5 V DC, 10 A minimum, with overcurrent protection | Prevents voltage drop across long runs; critical for consistent brightness and thermal safety |
Step-by-Step Assembly Timeline
This process requires 3–4 days, including curing time. Rushing adhesive cure or skipping alignment checks guarantees visible supports or structural instability.
- Day 1 — Design & Template Prep (2 hours)
Sketch the tree silhouette at 1:1 scale on drafting paper. Standard height: 160–180 cm (5'3\"–5'11\"). Branch depth: 30–40 cm. Use vector software (e.g., Inkscape) to generate CNC-ready DXF files. Key detail: All branch tips must terminate at least 8 mm from any edge—prevents chipping during polishing. - Day 2 — Acrylic Fabrication (4–6 hours + 24-hr cure)
Send DXF files to a certified acrylic fabricator specifying: laser-cutting (not routing) for clean edges, flame-polishing of all cut surfaces, and pre-drilling of 3.0 mm pilot holes at exact rod locations (marked with center-punch dimples). Holes must be perpendicular within 0.3° tolerance. Do not attempt DIY drilling—acrylic cracks under drill-bit lateral force. - Day 3 — Rod Integration & Structural Bonding (3 hours)
Insert stainless rods into pilot holes. Apply Weld-On® #4 sparingly to rod-acrylic interface using a fine-tip applicator—capillary action draws cement into the joint. Wipe excess immediately with acetone-dampened lint-free cloth. Clamp assemblies vertically overnight. Rods must remain motionless during initial cure. - Day 4 — Lighting Integration & Final Calibration (2.5 hours)
Mount LED strips along the *back* face of each branch tier, centered 15 mm from the edge. Solder connections using 22 AWG stranded wire; seal joints with heat-shrink tubing (not electrical tape—outgassing degrades acrylic). Power up incrementally: test bottom tier first, then add tiers while observing for glare or shadow bands. Adjust rod angles microscopically using jeweler’s tweezers if light leaks appear at junctions. - Day 5 — Mounting & Illusion Tuning (1 hour)
Secure top rod to ceiling joist using a concealed 316 stainless lag bolt and low-profile flange bracket painted matte black. Hang tree using aircraft cable (0.8 mm, 7×7 strand) routed through top rod’s hollow core. Fine-tune vertical alignment with digital level app (calibrated against a known plumb line). Final check: view from three positions—front center, left 30°, right 30°—ensuring rods vanish in all.
Real-World Case Study: The Brooklyn Loft Installation
In December 2023, interior designer Maya Chen installed a floating tree in a 2,400 sq ft loft with floor-to-ceiling windows. Initial attempts used extruded acrylic and RGB LEDs. Within 48 hours, sunlight exposure caused visible yellowing at the base, and the warm-white LEDs created inconsistent green tones in faux-fir branches. Chen switched to UV-stabilized cast acrylic, 6500K LEDs, and added a secondary diffuser layer: a 1-mm-thick frosted acrylic sheet mounted 12 mm behind the main structure. This eliminated hotspots and softened the transition between lit and unlit zones. Crucially, she mounted the entire assembly on a vibration-dampening rubber grommet system—eliminating subtle sway from HVAC airflow that previously broke the illusion. The final result held visual integrity from every vantage point, including reflections in adjacent glass walls. Client feedback noted guests spent an average of 92 seconds examining it—“trying to find the trick,” as one put it.
Critical Safety & Maintenance Protocols
This is not decorative craft—it’s load-bearing architecture scaled to human environments. A 160-cm tree exerts ~22 kg of downward force at the ceiling anchor point. Compromise here risks injury or property damage.
- Structural Integrity: Ceiling anchors must engage solid wood joists (minimum 2×10), not drywall or plasterboard. Use a stud finder with AC wire detection to avoid electrical conduits.
- Thermal Management: LED strips generate heat. Never enclose them in sealed channels. Maintain ≥5 mm air gap between strip and acrylic surface. Monitor surface temperature with infrared thermometer—maximum safe operating temp: 45°C (113°F).
- Electrical Compliance: All wiring must be enclosed in UL-listed flexible metal conduit (FMC) where exposed. No daisy-chained power supplies—each tree requires its own dedicated circuit breaker (15 A minimum).
- Annual Maintenance: Disassemble every November. Inspect rods for micro-scratches (refinish with 12,000-grit wet sandpaper + Novus #2 polish). Replace LED strips every 2 seasons—lumen depreciation exceeds 20% after 10,000 hours.
FAQ
Can I use fishing line instead of stainless rods?
No. Monofilament fishing line has 15–20% elongation under load and refracts light visibly at angles >15°. Stainless rods provide zero elongation, mirror-like reflectivity control, and compressive strength exceeding 500 MPa—critical for resisting torque from asymmetric ornament weight.
What if my ceiling isn’t accessible for anchoring?
Use a freestanding solution: a 120-cm-tall, 25-kg weighted steel base plate (powder-coated matte black) with vertical mast. Attach rods to the mast via recessed threaded inserts. The base must have a footprint ≥60 cm × 60 cm to prevent tipping. This adds 12 cm to overall height but preserves the illusion from frontal views.
Do ornaments affect the float effect?
Yes—strategically. Heavy ornaments destabilize balance; transparent or mirrored ornaments enhance it. Opt for acrylic baubles (3–5 cm diameter) filled with glycerin-water mix (1:3 ratio) to slow movement and eliminate air bubbles. Avoid metallic finishes—they create specular highlights that reveal rod positions.
Conclusion
A floating Christmas tree is not magic—it’s meticulous execution. Every decision, from the micron-level polish of an acrylic edge to the thermal coefficient of an LED driver, serves a single purpose: erasing evidence of support so the eye perceives only light, form, and suspension. This project rewards patience, precision, and respect for materials. It transforms holiday decor from seasonal decoration into spatial storytelling—a quiet assertion that beauty emerges not from concealment, but from honest, intelligent engineering. Your home doesn’t need another tree. It needs a moment of suspended disbelief—crafted, calibrated, and lit with intention.


 浙公网安备
33010002000092号
浙公网安备
33010002000092号 浙B2-20120091-4
Comments
No comments yet. Why don't you start the discussion?