
In the realm of holiday decor, few displays capture attention like a floating Christmas tree. Suspended in midair as if defying gravity, this illusion creates wonder and conversation. The secret lies not in magic but in clever physics, reflective surfaces, and discreet engineering. By combining mirrored bases with concealed support structures, you can craft a tree that appears to hover above the floor—perfect for modern homes, retail displays, or festive events. This guide walks through the science, materials, and precise steps to build your own floating illusion tree safely and stylishly.
The Science Behind the Floating Illusion
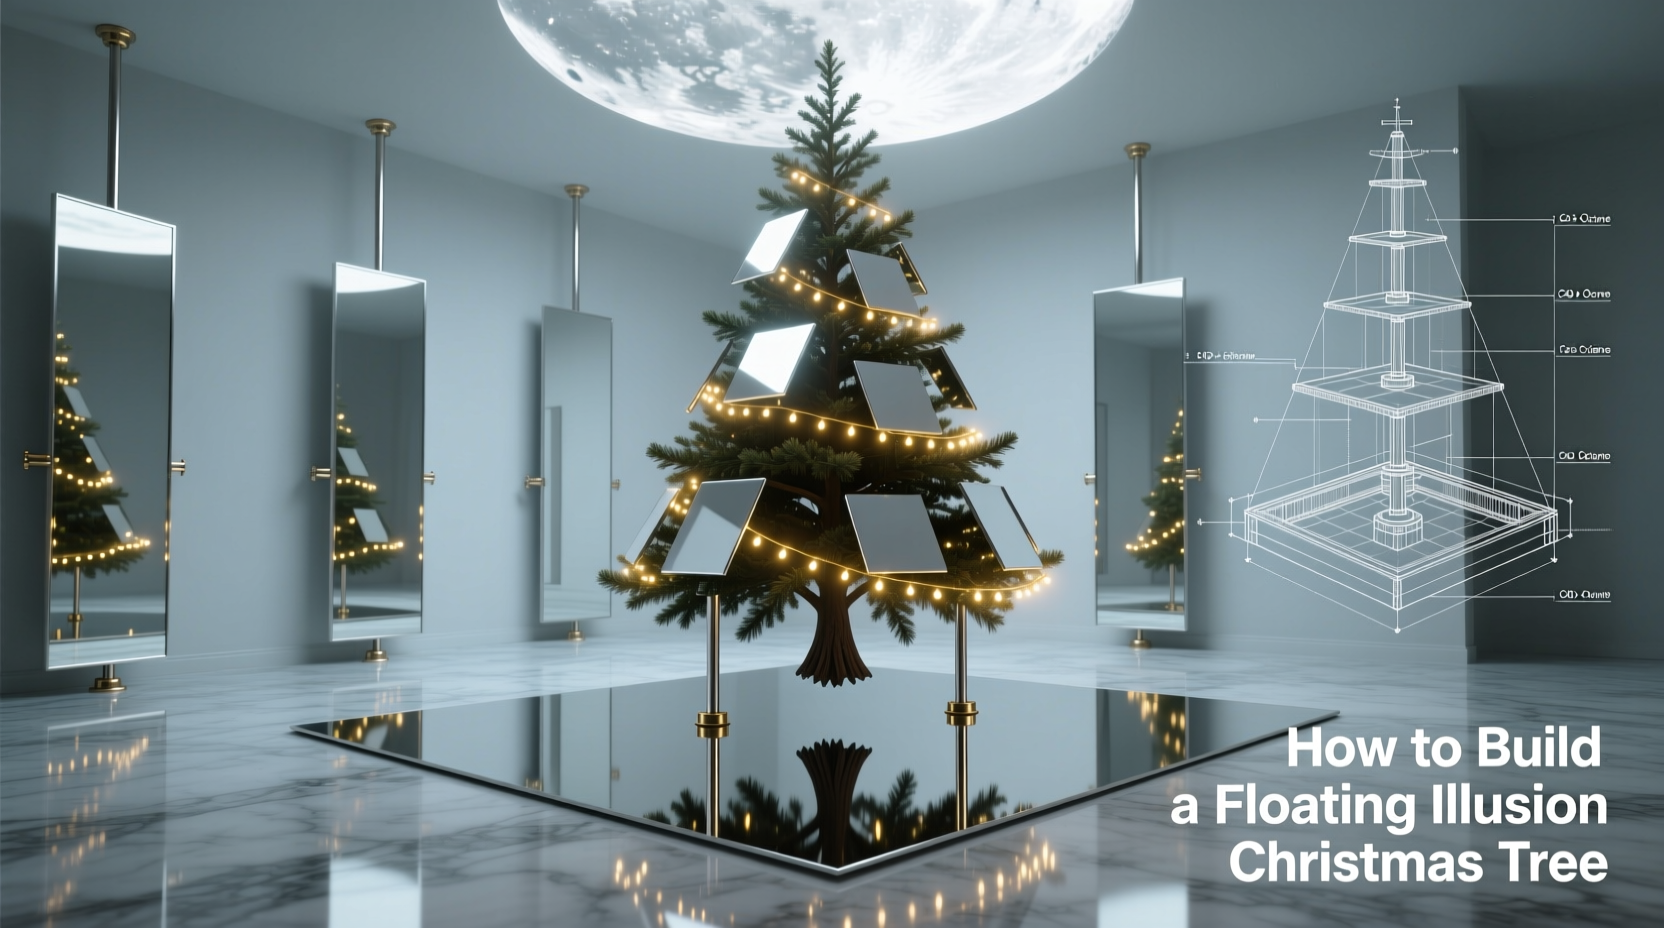
The floating effect relies on visual deception. When an object is placed over a mirror at the right angle and height, its reflection merges seamlessly with the actual item, creating continuity. For a Christmas tree, this means placing the lower portion—typically the trunk and bottom branches—just above a mirror so their reflection extends downward, mimicking a full base. The brain interprets the combined image as a single, unsupported tree.
This technique, known as \"Pepper's Ghost\" in theatrical illusions, has been adapted for home use with modern materials. The key is eliminating visual cues that would break the illusion: visible supports, gaps between the tree and mirror, or inconsistent lighting.
For maximum effect, position the tree so only the top 70–80% is visible above the mirror. The rest should be obscured by the reflective surface. With proper alignment, viewers won’t notice where the real tree ends and the reflection begins.
Materials and Tools Required
Building a convincing floating tree requires precision and quality components. Below is a comprehensive checklist of what you’ll need before beginning construction.
Checklist: What You’ll Need
- Artificial Christmas tree (slim profile, uniform shape)
- Tempered glass or acrylic mirror (at least 24\" x 24\", thicker for stability)
- Clear acrylic rod or black powder-coated steel pole (for central support)
- Base platform (wood or metal, heavy enough to stabilize the structure)
- Drill with glass/metal bits
- Level and measuring tape
- Silicone adhesive or industrial epoxy
- Decorative skirt or fabric (optional, to hide edges)
- LED string lights (battery-powered preferred for safety)
- Ornaments (lightweight to reduce stress on support)
The choice of tree matters significantly. Opt for a pre-lit artificial model with evenly spaced branches and minimal bulk at the base. Trees with a “shear” design—where branches flare outward from a narrow center—work best because they create a clean silhouette when reflected.
Step-by-Step Construction Guide
Follow these steps carefully to assemble a stable, visually convincing floating tree. Allow at least 3–4 hours for setup, including drying time for adhesives.
- Prepare the Base Platform: Cut a square or circular wooden platform (minimum 24 inches in diameter). This will anchor the entire structure. Ensure it’s level and sturdy.
- Secure the Mirror: Affix the mirror to the top of the platform using silicone adhesive. Press firmly and allow 24 hours to cure. Avoid silicone that yellows over time.
- Install the Support Rod: Drill a centered hole through the platform and mirror. Insert a clear acrylic rod (1/2 inch diameter) from below. Secure it with epoxy on the underside. The rod should extend 12–18 inches above the mirror surface.
- Modify the Tree: Remove the original stand from the artificial tree. Carefully drill a hole into the bottom of the trunk just large enough to slide onto the support rod. Test fit to ensure a snug, wobble-free connection.
- Mount the Tree: Slide the tree trunk onto the rod until it sits flush with the mirror. Use a level to confirm vertical alignment. If needed, add a small rubber washer between trunk and mirror to prevent scratching.
- Add Lighting and Decor: String battery-powered LED lights first, working from bottom to top. Add lightweight ornaments, avoiding heavy items near the base that could destabilize the structure.
- Final Visual Check: View the tree from multiple angles at eye level. Adjust positioning if gaps appear between the tree and its reflection. Drape a decorative scarf around the mirror edge if needed to mask any seams.
Do’s and Don’ts: Key Considerations
Avoid common pitfalls that compromise both safety and appearance. The table below outlines essential guidelines.
| Do | Don't |
|---|---|
| Use a tempered or shatter-resistant mirror for safety | Use thin, flimsy mirrors that may crack under weight |
| Balance the tree’s center of gravity over the support rod | Load one side with heavy ornaments, causing tilt |
| Anchor the base to the floor if in a high-traffic area | Place near doorways or walkways without securing |
| Test the structure before adding final decor | Skip stability checks once assembled |
| Use battery-powered lights to eliminate cords | Run extension cords across floors near the display |
Weight distribution is critical. Even a slight imbalance can cause the tree to lean, breaking the illusion and posing a hazard. Always recheck alignment after decorating.
Real-World Example: A Boutique Holiday Display
A small gift shop in Portland sought a standout centerpiece for their holiday window. They built a 5-foot floating tree using a brushed steel base, a 30-inch square mirror, and a transparent polycarbonate rod. The tree, adorned with silver snowflakes and soft white lights, appeared to hover over a bed of faux snow.
“We wanted something elegant but unexpected,” said owner Lena Tran. “The mirror setup cost less than $200, and we assembled it in one afternoon. Customers stop to take photos every day.”
The display remained stable throughout the season, even with frequent vibrations from passing foot traffic. The team used museum putty to secure the base to the floor and avoided glass ornaments to minimize risk.
“Optical illusions in decor work best when simplicity meets precision. A clean design fools the eye more effectively than complex mechanisms.” — Marcus Bell, Exhibit Designer & Visual Artist
Alternative Designs and Creative Variations
While the classic floor-mounted mirror works well, other configurations can enhance the illusion:
- Ceiling-Suspended Version: Hang a tree upside-down from the ceiling with a mirrored floor beneath. The reflection completes the upright image.
- Wall-Mounted Illusion: Mount a half-tree on a wall directly above a horizontal mirror. The reflection creates a full symmetrical shape.
- Miniature Tabletop Model: Use a small potted tree or artificial sprig on a mirrored tray for mantel displays.
For larger installations, consider using one-way mirrored glass in a darkened room. When lit from the front and kept dark behind, the reflection becomes dominant, deepening the illusion.
Frequently Asked Questions
Can I use a real tree for a floating illusion?
No, fresh trees are too heavy, shed needles, and dry out quickly. Their irregular shape also makes consistent reflection difficult. Artificial trees offer control, durability, and safety.
Is the mirror strong enough to support the tree?
The mirror itself does not bear the tree’s weight—it’s purely visual. The load is carried by the internal support rod anchored to the base. The mirror only needs to withstand light pressure from the trunk.
How do I clean the mirror without disturbing the tree?
Remove the tree annually before cleaning. Use a microfiber cloth and ammonia-free glass cleaner. Reinstall only when the surface is completely dry to prevent slipping.
Conclusion: Bring Wonder Into Your Space
A floating illusion Christmas tree isn’t just decoration—it’s an experience. It invites curiosity, sparks joy, and transforms ordinary spaces into something extraordinary. With careful planning, the right materials, and attention to detail, you can achieve this stunning effect at home without professional help.
The principles of reflection, balance, and concealment are timeless in design. Mastering them empowers you to innovate beyond the holidays—imagine floating shelves, vanishing furniture, or illusionary art displays. Start small, test thoroughly, and let creativity rise.


 浙公网安备
33010002000092号
浙公网安备
33010002000092号 浙B2-20120091-4
Comments
No comments yet. Why don't you start the discussion?