
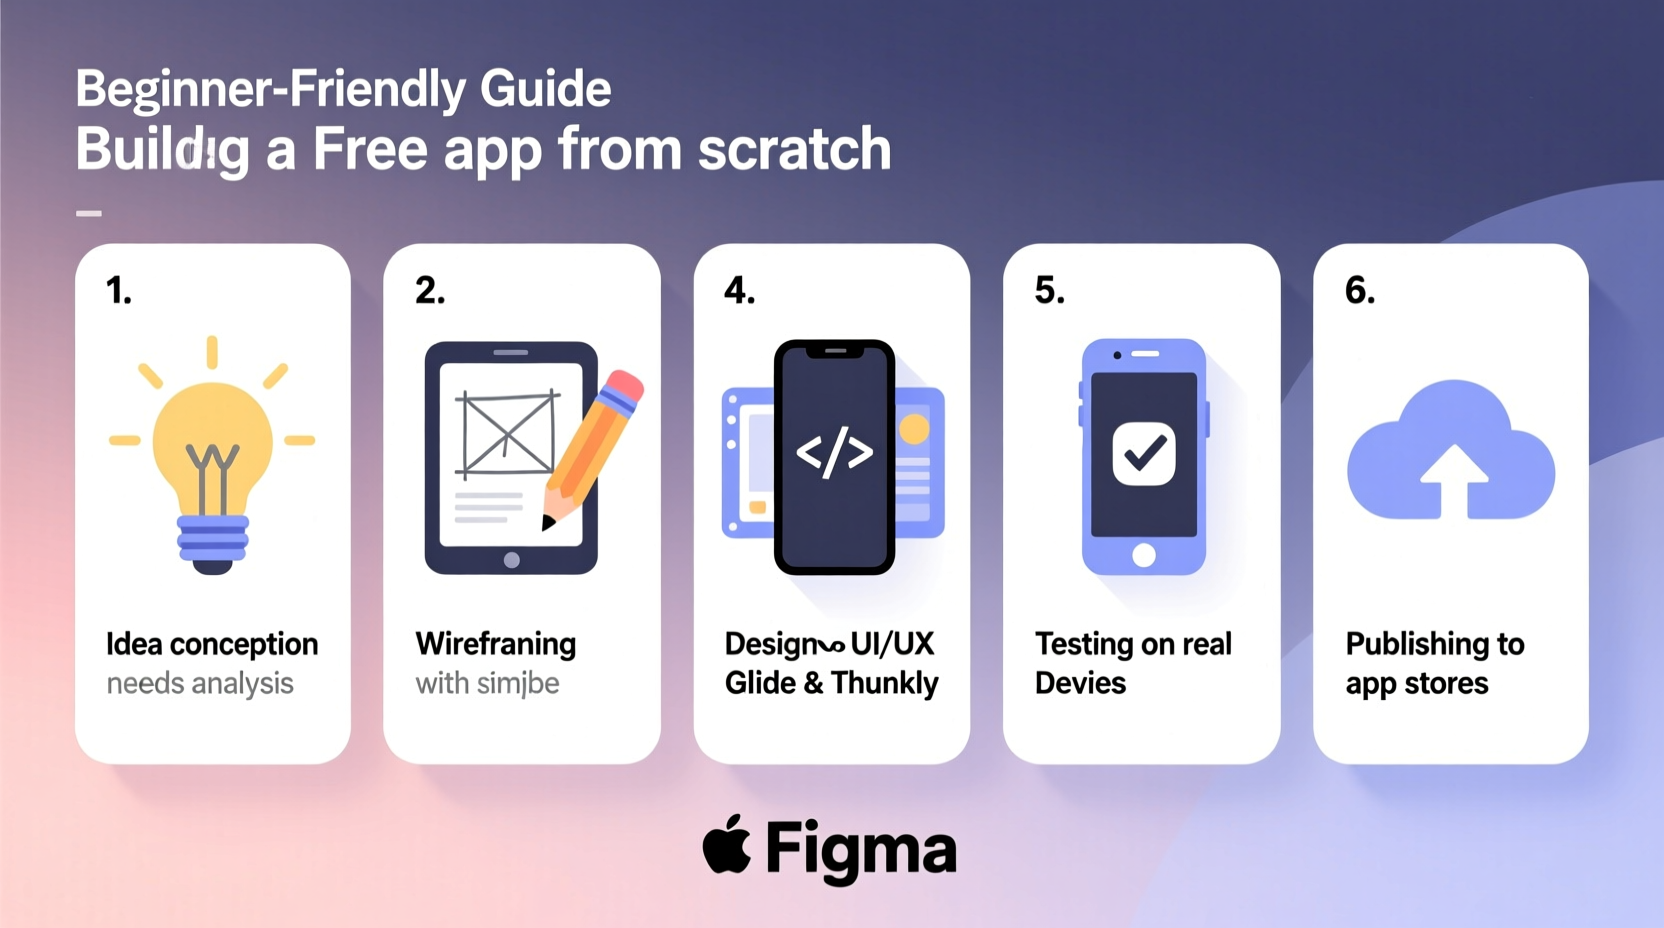
Creating an app no longer requires a computer science degree or a six-figure budget. With the right tools and approach, anyone can build a functional, user-friendly mobile application—even without prior coding experience. The rise of no-code and low-code platforms has democratized app development, making it accessible to entrepreneurs, educators, and hobbyists alike. This guide walks you through each stage of building a free app from idea to launch, using only free resources and intuitive tools.
1. Define Your App’s Purpose and Audience
Every successful app starts with a clear purpose. Ask yourself: What problem does your app solve? Who will use it? Is it meant to organize information, connect people, track habits, or provide entertainment?
For example, imagine you're creating a daily water intake tracker. The goal is simple: help users stay hydrated. The target audience includes fitness enthusiasts, busy professionals, or anyone looking to improve their health habits.
Write down your app’s core features in plain language. Avoid technical jargon. For the water tracker, key features might include:
- Add water intake with a single tap
- View daily progress toward a hydration goal
- Receive reminders at set times
This clarity will guide your design and development decisions later.
2. Choose the Right No-Code Platform
You don’t need to write code to build an app. Modern no-code platforms let you create fully functional apps using drag-and-drop interfaces. These tools are ideal for beginners and often offer free tiers suitable for launching a minimum viable product (MVP).
| Platform | Best For | Free Tier Available? | Learning Curve |
|---|---|---|---|
| Adalo / Glide | Data-driven apps (trackers, directories) | Yes | Low |
| Thunkable | Native mobile apps with sensors | Yes | Moderate |
| AppGyver | Complex logic and workflows | Yes | Moderate to High |
| FlutterFlow | Clean UI, scalable apps | Yes (with limitations) | Moderate |
For beginners, **Glide** is often the easiest starting point. It turns Google Sheets into interactive apps instantly. If you want more control over design and functionality, **Thunkable** offers native iOS and Android support with visual programming blocks.
“Most first-time app creators underestimate how fast they can go from idea to prototype. With no-code tools, that timeline shrinks from months to hours.” — Sarah Lin, Product Designer at TechStart Collective
3. Design Your App’s Structure and Flow
Before building, sketch your app’s layout. Think about navigation: How do users move between screens? What buttons will they tap?
For the water tracker, you might have three main screens:
- Home Screen: Displays current intake, goal, and a “+” button to add water.
- History Screen: Shows daily consumption over the past week.
- Settings Screen: Lets users set goals and reminder times.
Use pen and paper or a free tool like Figma or Canva to create rough wireframes. This helps visualize the user journey before you start building.
4. Build Your App Step by Step
Let’s walk through building a basic version of the water tracker using Glide, a free no-code platform that connects to Google Sheets.
Step 1: Set Up Your Data
Create a Google Sheet with columns like:
- User ID
- Date
- Water Amount (oz)
- Daily Goal
Enter sample data to test the app later.
Step 2: Connect to Glide
Go to glideapps.com, sign in with Google, and import your sheet. Glide automatically detects your data and suggests screen layouts.
Step 3: Customize the Interface
Edit the default screen to show:
- A progress bar for daily goal completion
- A button labeled “Add 8 oz” that logs water to the sheet
- A chart showing weekly intake (using Glide’s built-in chart component)
Step 4: Add Functionality
Configure the “Add 8 oz” button to submit a new row to your Google Sheet. You can also set up conditional formatting—like turning the progress bar green when the goal is met.
Step 5: Test and Share
Preview your app on your phone using the Glide app (available on iOS and Android). Once satisfied, generate a shareable link. Users can access your app instantly—no download required.
As you grow comfortable, explore advanced features like user authentication, push notifications, or syncing with calendars.
5. Launch and Improve Based on Feedback
Your first version doesn’t need to be perfect. Launch it to a small group—friends, family, or an online community—and ask for honest feedback.
Common questions to ask:
- Is the purpose of the app clear within 10 seconds?
- Did you encounter any confusing steps?
- What feature would make you use this every day?
“We launched our habit-tracking app to just 20 beta testers. Their feedback helped us simplify the onboarding process, which increased retention by 70% in the next version.” — Marcus Reed, Founder of DailyPulse App
Use this input to refine your app. Iterate quickly. Most successful apps evolve based on real user behavior, not initial assumptions.
Checklist: Building Your First Free App
- ✅ Define a single, clear problem your app solves
- ✅ Identify your target audience and their needs
- ✅ Choose a free no-code platform (e.g., Glide, Thunkable)
- ✅ Sketch your app’s main screens and navigation
- ✅ Set up data (Google Sheets or built-in database)
- ✅ Build and customize the interface using drag-and-drop tools
- ✅ Test the app on a real device
- ✅ Share with a small group for feedback
- ✅ Update based on user suggestions
- ✅ Publish and promote via social media or communities
Frequently Asked Questions
Can I really build an app for free?
Yes. Platforms like Glide, Adalo, and Thunkable offer free plans that allow you to build and share functional apps. While premium features exist, the free versions are powerful enough for most beginner projects.
Do I need to know how to code?
No. No-code tools handle the technical backend. You focus on design, logic, and user experience. Think of it like building with digital LEGO blocks—each piece represents a function or screen element.
How long does it take to build a simple app?
A basic app can be built in as little as 2–5 hours once you’re familiar with the platform. Your first attempt may take longer as you learn the interface, but each subsequent project will go faster.
Conclusion
Building an app from scratch is no longer reserved for tech elites. With free tools and a structured approach, anyone can turn an idea into a working application. Start small, focus on solving a real need, and embrace iteration. Your first app doesn’t have to change the world—it just has to work for someone. That someone might even be you.


 浙公网安备
33010002000092号
浙公网安备
33010002000092号 浙B2-20120091-4
Comments
No comments yet. Why don't you start the discussion?