
Transforming a cluttered garage into a functional home gym doesn’t require a massive footprint or a luxury budget. With thoughtful planning, the right equipment choices, and efficient use of vertical and floor space, even the smallest garage can become a powerful fitness hub. Whether you're working with 50 square feet or managing around parked cars, this guide delivers practical, real-world solutions for building a compact yet effective workout environment.
Assess Your Space and Define Goals
The first step in creating a usable home gym is understanding your actual available space and what you want to achieve. Measure the dimensions of your garage, noting permanent obstacles like water heaters, shelves, or parked vehicles. Determine whether you need full-time access or if the space must be foldable and storable during non-workout hours.
Your fitness goals shape everything from equipment selection to layout. Are you focused on strength training, cardio, mobility, or a mix? A powerlifter will need different tools than someone training for endurance or general wellness. Being clear about your primary objectives helps eliminate unnecessary purchases and keeps the design focused.
Maximize Efficiency with Smart Layout Planning
Efficiency is critical when space is tight. The goal is to create zones that support smooth transitions between exercises without requiring constant repositioning of gear. Consider dividing your garage into three micro-zones:
- Strength Zone: Dumbbells, resistance bands, or a foldable bench.
- Cardio Corner: A compact treadmill, jump rope, or stationary bike.
- Mobility Area: Floor space for yoga, stretching, or bodyweight circuits.
Arrange these zones so movement between them feels natural. For example, place your mat near the center for easy access, and store frequently used items within arm’s reach. If you park a car in the same garage, prioritize foldable or wall-mounted gear that can be tucked away after use.
“Small-space gyms succeed when every item has a purpose and a designated place. Clutter kills motivation.” — Jordan Lee, Certified Personal Trainer and Home Gym Designer
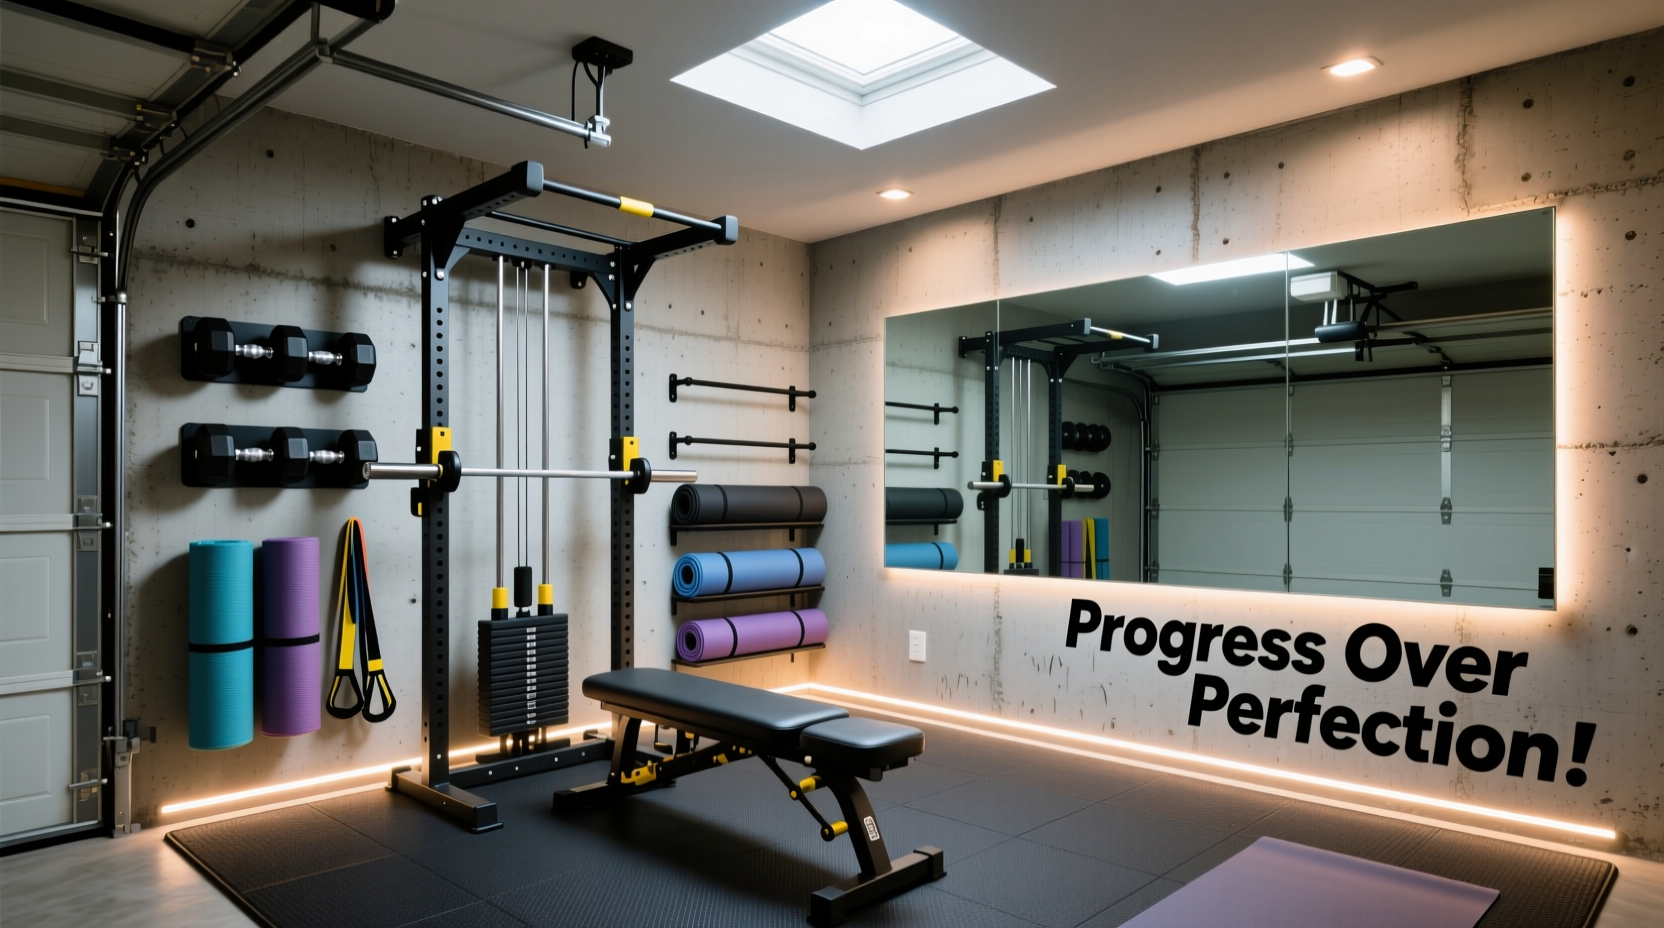
Select Space-Saving, Multi-Functional Equipment
In a limited area, versatility trumps specialization. Avoid single-use machines that dominate floor space. Instead, invest in tools that deliver maximum exercise variety with minimal footprint.
| Equipment | Space Impact | Key Benefits | Budget Tier |
|---|---|---|---|
| Adjustable Dumbbells | Low (replaces full rack) | Saves 80%+ space vs. fixed weights | $$$ |
| Foldable Exercise Bench | Medium (when stored upright) | Supports strength & core work | $ |
| Resistance Bands Set | Negligible | Portable, full-body workouts | $ |
| Wall-Mounted Pull-Up Bar | Zero floor use | Builds upper body, no footprint | $$ |
| Folding Treadmill | High (when in use), Medium (stored) | Compact cardio option | $$$ |
| Power Rack (Compact) | High | Enables squats, pull-ups, barbell work | $$$$ |
If budget allows, a compact power rack offers incredible value by supporting barbell training, pull-ups, and accessory attachments. Look for models under 48 inches wide. Otherwise, resistance bands and adjustable dumbbells provide 90% of functionality at a fraction of the cost and space.
Optimize Storage and Vertical Space
The garage is often a catch-all for tools, holiday decorations, and seasonal gear. To make room for fitness, you must get creative with storage. Wall space is your greatest ally.
Install heavy-duty pegboards or slat walls to hang kettlebells, jump ropes, resistance bands, and foam rollers. Use floating shelves for smaller items like gloves, towels, or tracking journals. Magnetic strips can hold metal dumbbells or barbell collars safely off the floor.
Ceiling-mounted racks—commonly used for kayaks or ladders—can suspend folding treadmills, exercise bikes, or even weight benches. These systems keep bulky items accessible but out of the way during daily use.
For flooring, interlocking rubber tiles are ideal. They protect concrete floors, reduce noise, and provide grip. Choose ¾-inch thickness for heavy drop zones or lighter ½-inch mats for bodyweight and band training. Outline your workout zone clearly to avoid encroaching on vehicle space.
Real Example: Sarah’s 7x10 Garage Gym
Sarah, a remote worker and mother of two in Portland, converted one corner of her two-car garage into a daily-use gym. Her space measures just 7 by 10 feet, shared with her husband’s workshop tools.
She installed a wall-mounted pull-up bar above a folding bench, which she stores vertically against the wall. Her adjustable dumbbells (20–90 lbs) sit on a low shelf, and resistance bands hang from S-hooks. A 4x6-foot rubber mat defines her workout zone. When not in use, all equipment fits within a 2-foot depth along one wall.
Her routine includes strength circuits, HIIT, and stretching—all possible without moving a car or disrupting family flow. “I used to dread going to the gym,” she says. “Now I do 20-minute workouts between meetings. It changed my consistency.”
Step-by-Step Guide to Building Your Garage Gym
Follow this logical sequence to turn your garage into a functional fitness space without overspending or overcomplicating:
- Measure and Map: Sketch your garage layout, marking fixed objects and parking areas. Identify a dedicated workout zone (minimum 6x6 ft).
- Declutter: Remove unused items, donate duplicates, and relocate non-essential storage to sheds or attics.
- Plan Zones: Assign areas for strength, cardio, and mobility based on usage frequency and space needs.
- Choose Core Equipment: Start with 2–3 multi-functional tools (e.g., adjustable dumbbells + mat + bands).
- Install Storage: Mount wall racks, pegboards, or ceiling lifts before bringing in gear.
- Lay Flooring: Install rubber tiles or mats to define the workout area and protect surfaces.
- Add Lighting and Ventilation: Ensure bright LED lighting and open windows or add a fan for airflow.
- Test and Adjust: Perform a sample workout. Can you move freely? Is storage intuitive? Refine as needed.
This phased approach prevents costly mistakes and ensures each addition serves a clear purpose.
Avoid Common Pitfalls
Even well-intentioned garage gyms fail when they ignore practical realities. Here are frequent missteps and how to avoid them:
- Buying too much too soon: Start small. Test routines before investing in large equipment.
- Ignoring climate: Garages can be hot in summer and cold in winter. Dress in layers and consider a portable heater or fan.
- Poor lighting: Dim spaces reduce motivation and increase injury risk. Install bright, shadow-free lighting.
- Noisy equipment at odd hours: Be mindful of neighbors. Use vibration-absorbing mats and avoid loud drops late at night.
- Skipping organization: Without a system, gear piles up and discourages use. Label shelves and return items immediately after workouts.
Frequently Asked Questions
Can I build a home gym in a garage with a car parked inside?
Yes. Many people share their garage with vehicles. Use foldable, wall-mounted, or mobile equipment that can be stored in under 2 minutes. Designate a consistent workout corner and establish a routine for setting up and putting away gear.
What’s the minimum space needed for an effective home gym?
You need at least 6x6 feet of clear floor space for basic movements like squats, lunges, and push-ups. Add 2–3 extra feet if including cardio equipment. Vertical storage maximizes usability in narrow areas.
Are there affordable alternatives to expensive gym machines?
Absolutely. Resistance bands, suspension trainers (like TRX), and adjustable dumbbells replicate most machine-based exercises. Bodyweight training combined with progressive overload builds strength efficiently without machinery.
Essential Checklist for Your Garage Gym Build
Use this checklist to stay organized and ensure nothing is overlooked:
- ☐ Measure available floor and wall space
- ☐ Define primary fitness goals (strength, cardio, flexibility)
- ☐ Clear and declutter the designated area
- ☐ Purchase a high-quality workout mat or rubber flooring
- ☐ Choose 2–3 core pieces of multi-functional equipment
- ☐ Install wall or ceiling storage solutions
- ☐ Add adequate lighting (LED preferred)
- ☐ Improve ventilation (fan, open windows, or dehumidifier)
- ☐ Create a simple cleaning and maintenance routine
- ☐ Schedule your first week of workouts to test usability
Final Thoughts and Next Steps
A functional home gym in a small garage isn’t about having the most equipment—it’s about designing a space that supports consistent effort. By prioritizing versatility, smart storage, and personal relevance, you create an environment where workouts feel effortless, not burdensome.
The best gyms are the ones you actually use. Start small, stay organized, and let your fitness evolve alongside your space. Every rep in a self-built garage gym carries extra meaning: it’s not just exercise, it’s commitment made visible.


 浙公网安备
33010002000092号
浙公网安备
33010002000092号 浙B2-20120091-4
Comments
No comments yet. Why don't you start the discussion?