
Every year, millions of households unpack holiday ornaments with excitement—only to face tangled wires, broken baubles, and hours spent untangling delicate decorations from storage boxes. The cycle repeats: careful packing in January, chaos in December. But it doesn’t have to be this way. A well-designed magnetic ornament system transforms holiday decorating from a chore into a seamless ritual. By combining smart materials, thoughtful design, and simple engineering principles, you can create a reusable, durable system that preserves your ornaments and simplifies seasonal setup. This guide walks you through every step—from planning to long-term maintenance—so your holiday spirit stays bright, not buried in bubble wrap.
The Problem with Traditional Ornament Storage
Most people store ornaments in compartmentalized boxes, relying on cardboard dividers and plastic trays. While these offer some protection, they come with critical flaws. Over time, the compartments warp, foam degrades, and lids crack. Ornaments shift during storage, leading to chips and cracks. Retrieval becomes a puzzle: finding the right box, removing layers, remembering where each piece was placed. Even worse, many traditional systems don’t support quick display—they’re built for storage, not reuse.
A magnetic ornament system flips this model. Instead of passive storage, it enables active organization. Ornaments are mounted securely using magnetic force, allowing them to be transferred directly from storage panels to tree branches or display areas with minimal handling. The result? Less breakage, faster setup, and consistent placement year after year.
Core Components of a Magnetic Ornament System
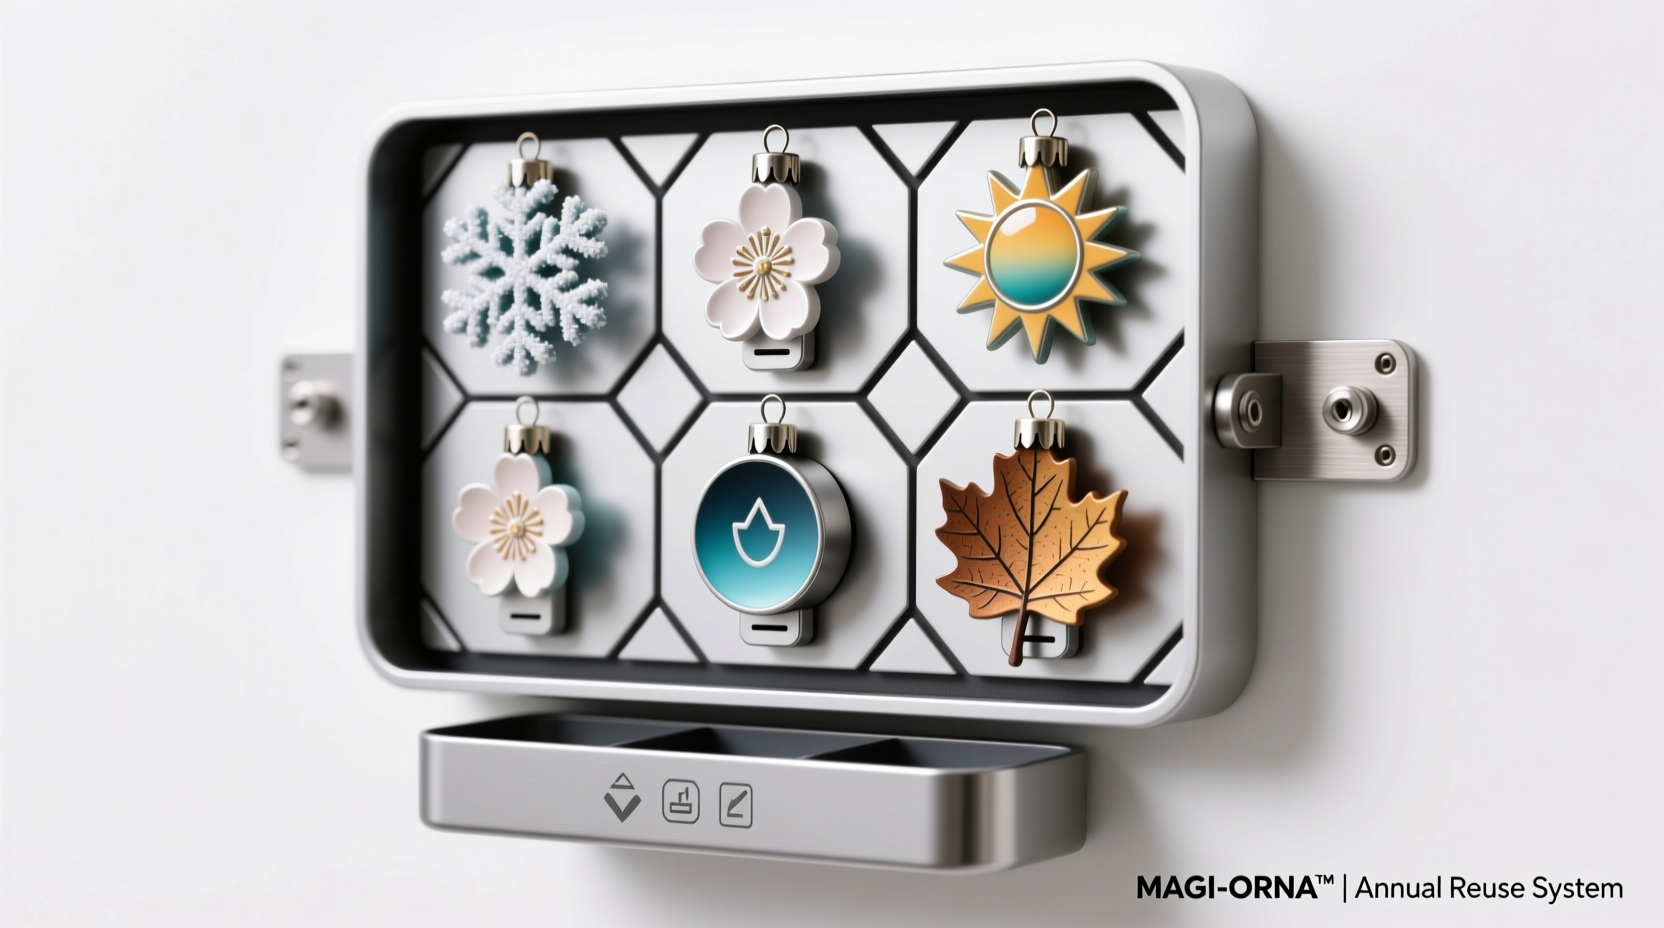
Building an effective system requires four essential elements: magnets, backing surfaces, attachment points on ornaments, and protective housing. Each plays a role in durability, ease of use, and safety.
1. Magnets
Neodymium (rare earth) magnets are ideal due to their high strength-to-size ratio. For most ornaments under 4 ounces, a 6mm x 3mm disc magnet provides ample hold. Larger or heavier pieces may require 10mm x 5mm or rectangular block magnets. Always choose nickel-plated versions for corrosion resistance, especially if stored in basements or garages where humidity fluctuates.
2. Backing Surfaces
Magnetic backing can be rigid or flexible. Rigid options include steel sheets cut to fit inside cabinets, closet doors, or dedicated storage panels. Flexible alternatives like magnetic paint or peel-and-stick magnetic film work well on walls or furniture. Steel is superior for strong, reliable adhesion; avoid aluminum or wood unless reinforced with embedded steel plates.
3. Ornament Attachment Points
Each ornament needs a counter-magnet or steel disc attached securely. Epoxy resin glue works best for bonding magnets to glass, ceramic, or wood. For delicate items, embed the magnet within a custom 3D-printed cap that fits over the existing hook. This avoids altering the original piece while adding magnetic functionality.
4. Protective Housing
Even with secure mounting, physical protection matters. Use shallow cabinets with soft lining or construct framed enclosures with acrylic covers. These prevent dust accumulation and accidental impacts while keeping the system accessible.
“Magnetic mounting reduces ornament handling by up to 70%, which directly correlates to fewer damages over time.” — Dr. Lena Torres, Materials Conservation Specialist, Holiday Preservation Institute
Step-by-Step Guide to Building Your System
Follow this eight-step process to assemble a fully functional, reusable magnetic ornament system tailored to your collection.
- Inventory Your Ornaments: Sort all decorations by size, weight, and fragility. Group them into categories: lightweight (under 3 oz), medium (3–6 oz), heavy (over 6 oz). Note any with sentimental value requiring extra care.
- Determine Mounting Locations: Identify where the backing surface will go—inside a closet door, garage wall, or dedicated cabinet. Ensure the area is dry, temperature-stable, and out of reach of children or pets.
- Install the Magnetic Surface: Cut a steel sheet or panel to fit the space. Secure it with screws or heavy-duty adhesive. If using magnetic paint, apply at least six coats with sanding between layers for optimal performance.
- Select and Prepare Magnets: Purchase neodymium magnets based on your weight categories. For lighter ornaments, use smaller discs; reserve larger magnets for heavier pieces. Attach epoxy-compatible adhesive to one side if not pre-glued.
- Attach Magnets to Ornaments: Using two-part epoxy, bond the magnet to the top or back of each ornament. Hold in place with masking tape until cured (usually 24 hours). For vintage or fragile items, use non-adhesive cradles instead.
- Test Adhesion Strength: Before full deployment, test each magnet pair on the installed surface. Gently tug downward to simulate movement. If slippage occurs, upgrade to a stronger magnet or increase contact area.
- Organize by Theme or Frequency: Arrange ornaments on the panel by usage—everyday tree decor, special occasion pieces, heirlooms. Leave space between groups for easy removal.
- Create a Digital Map: Photograph the layout and label each ornament digitally. Store the image in cloud storage with notes on care instructions. This becomes your annual reference guide.
Do’s and Don’ts: Best Practices Table
| Do | Don’t |
|---|---|
| Use epoxy resin for permanent magnet bonding | Use hot glue—it weakens over time and fails under stress |
| Store in climate-controlled environments | Leave near heaters or in unheated sheds |
| Pair magnets with steel discs for balanced pull | Attach magnet directly to another magnet—this causes chipping |
| Clean steel surfaces annually with a dry microfiber cloth | Use water or cleaning sprays—moisture leads to rust |
| Rotate heavy ornaments seasonally to prevent fatigue | Leave the same large pieces mounted year-round without inspection |
Real-World Example: The Thompson Family System
The Thompsons of Portland, Oregon, inherited over 120 family ornaments spanning five generations. Every December, setting up the tree took two full days due to sorting, testing, and repairing damaged pieces. In 2021, they invested in building a magnetic system. They installed a 4’x3’ galvanized steel panel inside a linen closet, painted it forest green, and labeled sections: “Vintage,” “Kids’ Crafts,” “Glass Baubles,” and “Outdoor Lights.”
Each ornament received a small neodymium magnet epoxied to its cap. Heirloom pieces were fitted with removable magnetic adapters. Within three weekends, the entire collection was converted. Setup time dropped from 48 hours to under 6. More importantly, breakage ceased entirely. After three seasons, not a single ornament has been damaged. “It feels like we’ve reclaimed our holidays,” says Sarah Thompson. “We spend time together now, not untangling tinsel.”
Maintenance and Long-Term Care
A magnetic system isn’t set-and-forget. Annual upkeep ensures longevity. At the end of each season, inspect every magnet connection. Look for signs of epoxy degradation, especially on ornaments exposed to heat or sunlight. Clean steel surfaces with a dry cloth to remove dust and prevent reduced magnetic efficiency. For homes in humid climates, consider applying a light coating of machine oil to the steel once a year, wiping off excess immediately.
If an ornament must be stored separately (e.g., during a move), keep its paired magnet in a labeled bag clipped to the storage container. This prevents mismatching and lost components. Never store loose magnets in bulk—they can snap together violently and shatter.
Frequently Asked Questions
Can I use this system for non-metallic trees?
Yes. If your artificial tree isn’t metal, attach small steel discs to the tips of branches using zip ties or floral wire. Then mount ornaments magnetically. Alternatively, use magnetic hooks that grip PVC or coated wire branches.
Are neodymium magnets safe around electronics?
Generally, yes—but with caution. Keep strong magnets at least 6 inches away from phones, laptops, credit cards, and pacemakers. While brief exposure is unlikely to cause damage, prolonged contact can interfere with magnetic strips or sensors.
What if I have very large or heavy ornaments?
For pieces over 8 ounces, combine magnetic mounting with mechanical support. Use a hybrid approach: a magnet holds the ornament in place, but a thin clear line or hidden bracket bears the weight. This prevents strain on the adhesive bond while maintaining visual appeal.
Checklist: Building Your Magnetic Ornament System
- ☐ Take inventory of all ornaments by weight and type
- ☐ Choose a stable, dry location for the backing surface
- ☐ Install steel panel or apply magnetic paint in layers
- ☐ Purchase neodymium magnets and steel discs by size category
- ☐ Bond magnets to ornaments using epoxy resin
- ☐ Test adhesion strength before final placement
- ☐ Organize ornaments on panel by theme or frequency
- ☐ Photograph and digitally archive the layout
- ☐ Perform annual inspection and cleaning
- ☐ Label spare magnets and store with corresponding ornaments
Conclusion: Reclaim Your Holidays
A magnetic ornament system isn’t just about convenience—it’s about preserving memories. Every ornament carries history, emotion, and tradition. Protecting them shouldn’t depend on luck or perfect packing. With a thoughtful, engineered solution, you can ensure that your family’s holiday legacy remains intact, year after year. The initial effort pays exponential dividends in saved time, reduced stress, and lasting joy. Start small: convert ten ornaments this season. Next year, expand. Soon, you’ll wonder how you ever managed without it.


 浙公网安备
33010002000092号
浙公网安备
33010002000092号 浙B2-20120091-4
Comments
No comments yet. Why don't you start the discussion?