
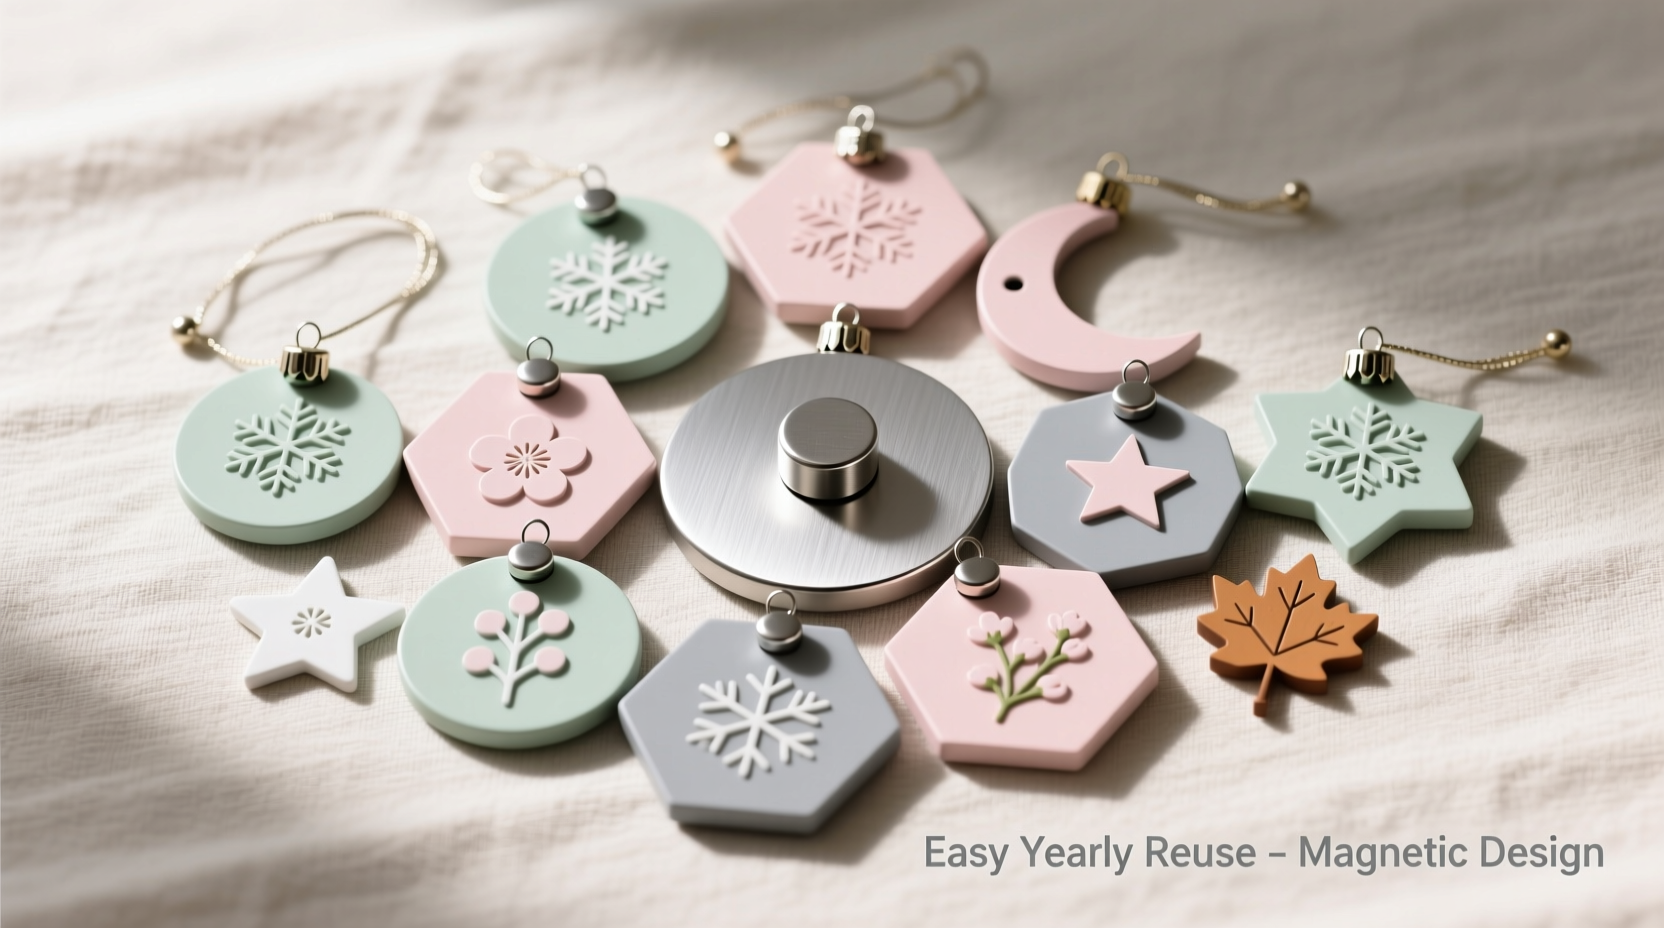
Every December, millions of households wrestle with tangled wires, broken hooks, scratched glass, and ornaments that refuse to stay upright on modern tree branches. The problem isn’t the ornaments—it’s the mounting method. Traditional hooks, clips, and adhesive strips degrade, slip, or damage delicate surfaces. A magnetic ornament system solves this at the root: it transforms hanging from an act of compromise into one of precision, safety, and repeatability. Unlike seasonal hacks that get discarded after New Year’s, a well-engineered magnetic system is built once and used year after year—without wear on your ornaments, your tree, or your patience. This isn’t about buying novelty magnets off a holiday shelf. It’s about designing a purpose-built, scalable, and heirloom-grade infrastructure that treats ornaments as curated objects—not disposable decor.
Why Magnets Outperform Traditional Hanging Methods
Most people assume magnets are only for metal surfaces—or worse, that they’re too weak for vertical applications like tree branches. Neither is true. Modern neodymium (rare-earth) magnets deliver astonishing holding force relative to size: a 6mm-diameter N52-grade disc magnet can hold over 3.5 lbs vertically on clean steel. When paired with ferromagnetic backplates embedded in ornaments or mounted discreetly on branches, the result is silent, vibration-resistant, and fatigue-free adhesion. Unlike plastic hooks that snap under weight or twist wire that cuts into bark, magnetic coupling introduces zero mechanical stress to fragile stems, ceramic glazes, or hand-blown glass. Conservation professionals have long used magnetic mounts in museums for precisely this reason—zero contact, zero residue, zero risk of micro-scratching.
“Magnetic suspension eliminates point-load pressure entirely. That’s why we use it for 18th-century porcelain displays—no adhesive, no clamps, no compromise on preservation.” — Dr. Lena Torres, Senior Conservator, Museum of Decorative Arts
Crucially, a magnetic system also decouples ornament from support. You don’t need to match each ornament to a specific hook type or branch thickness. One standardized mount works across glass, wood, resin, felt, and even lightweight metal ornaments—regardless of shape or weight distribution. That universality is what makes annual reuse effortless: no sorting, no re-threading, no inventory of mismatched hangers.
Core Components & Material Specifications
A robust magnetic ornament system rests on three interdependent components: the ornament-side interface, the tree-side interface, and the magnetic coupling itself. Each must be selected and installed with engineering intention—not convenience.
| Component | Recommended Specification | Why It Matters |
|---|---|---|
| Ornament Mount | 0.8mm–1.2mm thick nickel-plated steel disc (12–18mm diameter), epoxied with 2-part clear marine-grade epoxy | Thin enough to avoid visual bulk; nickel plating prevents rust and ensures consistent pull force; marine epoxy resists thermal cycling and humidity swings |
| Tree Mount | Neodymium N52 disc magnet (6–8mm diameter, 3mm thick), recessed into custom 3D-printed ABS branch cradle | Recessing prevents snagging and protects magnet edges; ABS withstands branch flex without cracking; N52 offers optimal strength-to-size ratio for indoor use |
| Coupling Force | Minimum 1.8 lbs vertical shear force per ornament (tested at 22°C, 45% RH) | Ensures stability during household air movement, pet activity, and accidental bumps—well above typical ornament weight (0.2–0.9 lbs) |
Note: Avoid ceramic or flexible rubber-coated magnets—they lose up to 40% of pull force when compressed or bent. Also reject self-adhesive magnet sheets: their acrylic backing degrades in UV-exposed rooms and fails catastrophically below 10°C.
Step-by-Step Build Guide: From Concept to First Tree
This 7-step process takes under 90 minutes for a 20-ornament starter set. All tools are common household items—no soldering, wiring, or specialized equipment required.
- Inventory & Categorize Ornaments: Group by material (glass, wood, ceramic, resin) and weight (use kitchen scale). Flag any with existing holes, loops, or metallic elements—these may require adaptation, not replacement.
- Prepare Ornament Surfaces: Lightly sand mounting zones (back or base) with 400-grit paper. Wipe with isopropyl alcohol (91%) to remove oils and dust. Let dry fully (5 min minimum).
- Apply Steel Discs: Mix equal parts 2-part epoxy. Apply pea-sized dollop to center of steel disc. Press firmly onto ornament for 30 seconds. Use masking tape to hold in place while curing. Cure 24 hours at room temperature.
- Design Branch Cradles (Optional but Recommended): Download free STL files for adjustable ABS cradles (designed for 0.5–1.2cm branch diameters). Print at 0.2mm layer height, 100% infill. Sand interior groove lightly.
- Mount Magnets to Cradles: Fill cradle recess with epoxy, insert magnet (north pole facing outward), and press flat surface against a steel ruler to ensure flush alignment. Cure 24 hours.
- Install Cradles on Tree: Slide cradle onto branch—no nails, screws, or tape. Tighten thumb screw (included in most kits) until cradle grips branch without slipping. Space cradles ≥8cm apart to prevent magnetic interference.
- Hang & Verify: Place ornament onto cradle magnet. Gently tug downward and sideways. If it holds without shifting, proceed. If not, recheck epoxy bond or magnet polarity alignment.
Pro tip: Label cradles with tiny engraved numbers (e.g., “B3”, “C7”) and log corresponding ornaments in a spreadsheet. Next year, you’ll hang your entire collection in under 12 minutes—no trial-and-error positioning needed.
Real-World Application: The Henderson Family System
The Hendersons in Portland, Oregon, inherited 42 hand-painted glass ornaments from three generations—each with unique fragility, weight, and sentimental value. For years, they relied on twist-ties and floral wire, resulting in two broken ornaments annually and a 45-minute pre-holiday setup. In November 2022, they built a 32-point magnetic system using the specifications above. They chose 15mm steel discs for heavier pieces (like their 1958 Czech glass star) and 12mm for delicate filigree ornaments. Branch cradles were printed in matte black ABS to disappear against their Nordmann fir.
Results after three seasons: zero breakage, average setup time reduced to 9 minutes, and all 42 ornaments still showing original luster—no micro-scratches or glue residue. “The real win wasn’t speed,” says Sarah Henderson. “It was seeing our granddaughter pick up her great-grandmother’s angel, feel the satisfying *click* as it locked onto the branch, and say, ‘It’s like it’s supposed to be there.’ That’s permanence—not just decoration.”
Maintenance, Longevity & Troubleshooting
A magnetic system doesn’t degrade—but environmental factors can reduce performance if ignored. Here’s how to sustain peak function across decades:
- Annual Magnet Inspection: Every October, wipe cradle magnets with dry microfiber cloth. Check for chipped nickel plating—if visible copper appears, replace immediately (oxidized nickel loses ~22% pull force).
- Steel Disc Care: Never clean with vinegar, bleach, or abrasive pads. Use damp cloth + mild dish soap only. Dry thoroughly before storage.
- Storage Protocol: Store ornaments in rigid compartmentalized boxes (not soft fabric bags). Place steel-disc side face-down on acid-free tissue. Stack no more than 3 layers high to avoid magnet-induced demagnetization of adjacent units.
- Temperature Limits: Do not expose mounted ornaments to sustained temperatures above 80°C (e.g., near radiators or fireplaces) or below −10°C (unheated garages). Neodymium magnets permanently lose strength beyond these thresholds.
Common issues and fixes:
- Ornament slides sideways on cradle: Caused by uneven epoxy application or magnet misalignment. Re-seat magnet in cradle with fresh epoxy, verifying flushness with steel ruler.
- Faint “buzz” when touching ornament: Indicates minor eddy current vibration—harmless but fixable by adding a 0.3mm rubber gasket between steel disc and ornament back.
- Reduced hold after 2+ years: Almost always due to oxidized steel disc, not magnet decay. Replace disc only—not the entire ornament.
FAQ
Can I retrofit vintage ornaments with magnetic mounts?
Yes—with caveats. For glass or ceramic, use 12mm steel discs bonded with UV-cured optical epoxy (e.g., Norland NOA61), which remains transparent and flexible. Avoid heat-generating adhesives. For antique wood ornaments with historic finishes, test epoxy on an inconspicuous area first: some lignin-rich woods react poorly to solvents. When in doubt, mount the steel disc inside a hollow base rather than on the exterior surface.
Won’t strong magnets interfere with electronics or pacemakers?
No—when properly contained. The magnetic field of a single 6mm N52 magnet drops to background levels at 15cm distance. Pacemaker guidelines (FDA, 2023) specify safe exposure limits far exceeding what’s emitted by static decorative magnets. However, never place magnets directly against smartphones, mechanical watches, or credit cards—store those separately.
How many ornaments can one branch safely hold?
Depends on branch diameter and flexibility—not magnet count. As a rule: for branches ≤0.8cm, max 3 cradles; 0.8–1.1cm, max 5; >1.1cm, max 7. Always distribute weight evenly and avoid clustering heavy ornaments on the same lateral section. A 1.2cm branch with seven 0.6-lb ornaments (4.2 lbs total) exerts less bending moment than three 1.2-lb ornaments (3.6 lbs) clustered at the tip.
Conclusion: Building Legacy, Not Just Decor
A magnetic ornament system is more than a clever upgrade—it’s a quiet act of intentionality. It rejects the throwaway rhythm of seasonal consumption and replaces it with thoughtful stewardship. You invest time once, not every November. You protect heirlooms not with bubble wrap and hope, but with calibrated physics and durable materials. You transform decoration from a chore into a ritual—one where every ornament finds its place with certainty, every year, without compromise. That reliability builds emotional resonance: children learn that care has weight, that beauty endures when supported wisely, and that tradition isn’t repetition—it’s refinement across time. Your ornaments aren’t waiting for the holidays. They’re ready. Now it’s your turn to build the system that honors them.


 浙公网安备
33010002000092号
浙公网安备
33010002000092号 浙B2-20120091-4
Comments
No comments yet. Why don't you start the discussion?