
In homes where floor space is limited—a studio apartment, a dorm room, or even a cozy office corner—the traditional tree and sprawling holiday decor can feel impractical. Yet the warmth of the season doesn’t require square footage. A mini tabletop Christmas light display offers charm, nostalgia, and festive glow without overwhelming your environment. With thoughtful planning and accessible materials, you can create a dazzling centerpiece that radiates holiday spirit in just a few square inches.
This guide walks through designing, building, and personalizing a compact light display using energy-efficient LEDs, repurposed containers, and creative layout techniques. Whether you're celebrating solo or sharing the holidays in a tight space, this project delivers maximum ambiance with minimal footprint.
Selecting the Right Components
The foundation of any successful miniature display lies in choosing appropriate materials. Unlike full-scale setups, a tabletop version demands precision—every inch counts. Begin by assessing what’s available and suitable for small-scale use.
- Lights: Opt for battery-operated LED string lights. They generate little heat, consume minimal power, and come in various colors, lengths, and effects (twinkling, steady, fading). For tabletop use, 10–20 bulbs per strand are sufficient.
- Power Source: Battery packs with on/off switches are ideal. Look for ones with timer functions to automate lighting cycles and conserve energy.
- Base Material: Use a flat, stable surface such as a wooden tray, ceramic dish, or upcycled cardboard box covered in decorative paper. Size should not exceed 12” x 12” for true tabletop suitability.
- Decorative Elements: Miniature figurines, faux snow, tiny trees, or even LEGO builds can enhance storytelling. Avoid bulky items that obstruct light diffusion.
Designing Your Layout
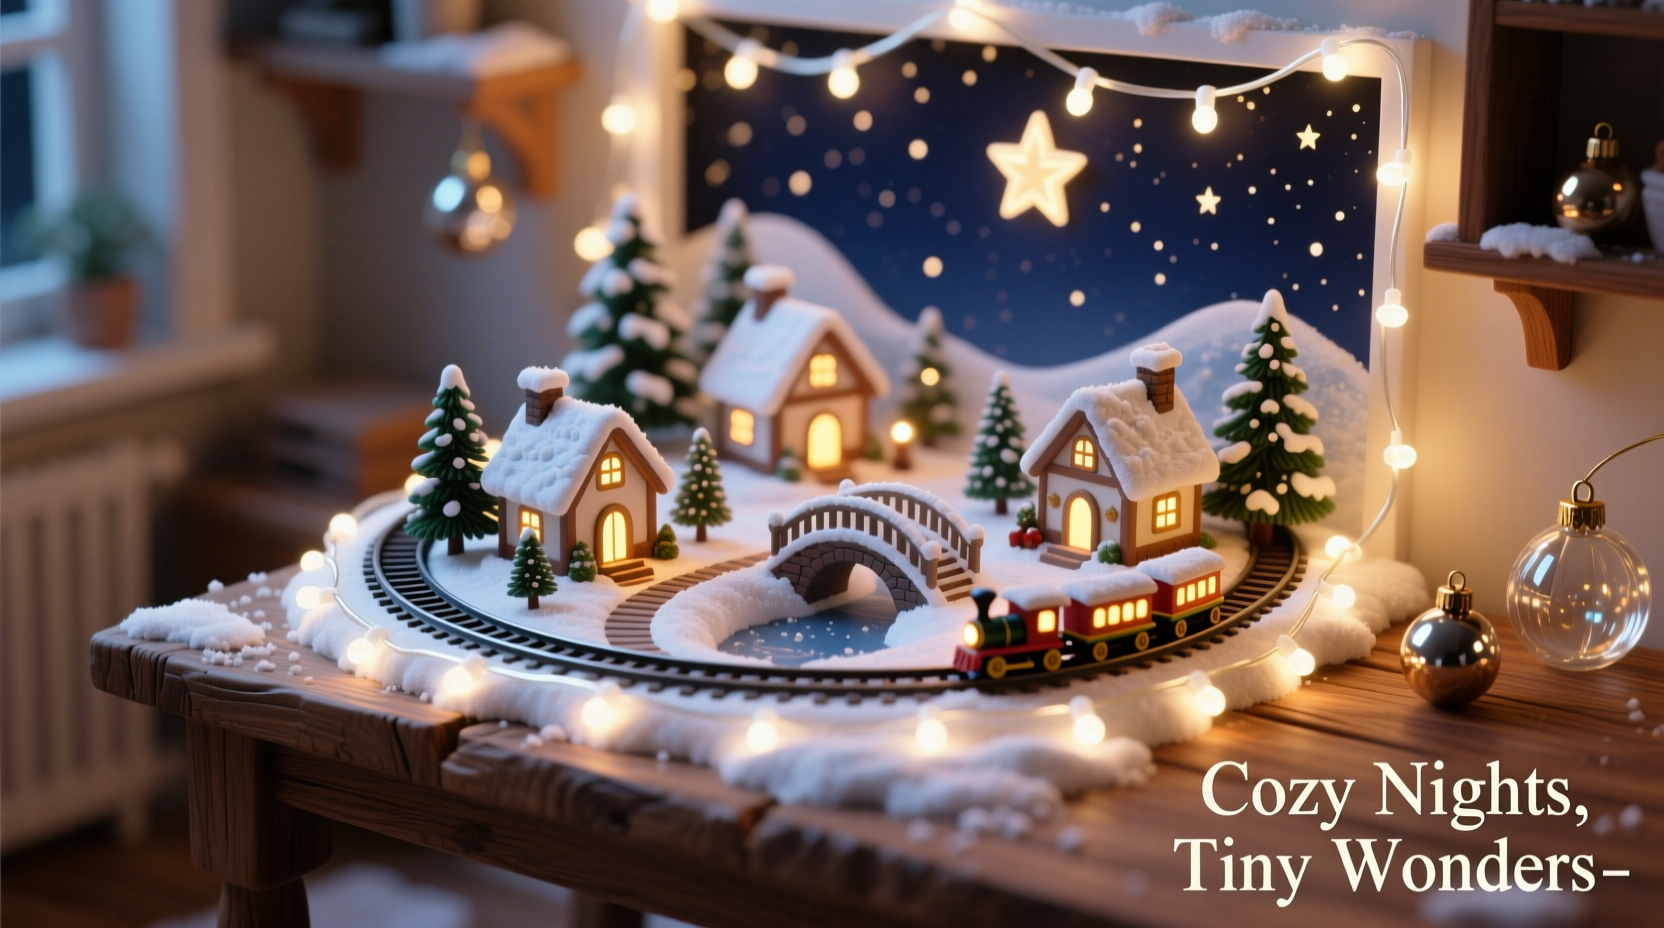
Space efficiency begins with smart design. Sketch a rough plan—even on scrap paper—to visualize how elements will fit. Consider themes: a snowy village, a forest glade, a city skyline at night, or a whimsical North Pole scene.
Start by placing the largest item first—often a central structure like a miniature tree or house. Then position lights around it to highlight features and create depth. Wrap strands along edges, drape them over faux rooftops, or coil them into glowing orbs within glass jars.
Use layering to simulate dimension. Elevate certain pieces with books or hidden platforms wrapped in fabric. This adds visual interest without expanding the footprint.
“Small displays thrive on suggestion, not replication. A single glowing window can imply an entire cottage.” — Lila Tran, Miniature Set Designer
Step-by-Step Assembly Guide
Follow this sequence to build your display efficiently and avoid last-minute adjustments.
- Gather Supplies: Collect lights, base, decorations, adhesive (tape or glue dots), scissors, and any tools needed for minor modifications.
- Prepare the Base: Cover if desired with felt, wrapping paper, or fake snow fabric. Secure edges neatly.
- Map Light Placement: Lay out lights loosely to test spacing and coverage. Adjust until glow feels balanced—not too dim, not glaring.
- Secure Lights: Use clear tape, glue dots, or thin wire to affix strands. Avoid permanent adhesives in case of redesigns.
- Add Decorations: Position figures and structures after lights are fixed to prevent tangling.
- Test Power: Insert batteries and turn on the display. Observe brightness, shadows, and battery life.
- Finalize Theme: Add finishing touches—tiny stars cut from foil, cotton “snow,” or handwritten labels for buildings.
Energy Efficiency and Safety Tips
Even small displays must prioritize safety, especially when left unattended or near flammable materials.
| Do | Don't |
|---|---|
| Use LED lights—they stay cool and draw low power | Use incandescent mini-lights; they generate heat |
| Choose battery-powered setups for cord-free safety | Overload outlets with multiple plugged-in strings |
| Turn off display when leaving the room or sleeping | Leave lights on overnight unless equipped with a timer |
| Inspect wires for fraying before each use | Place near water sources or humidifiers |
Battery life varies widely. Standard AA batteries may last 24–72 hours under continuous use. To extend runtime:
- Use lithium batteries instead of alkaline—they last longer and perform better in cold environments.
- Select light strands with built-in timers (e.g., 6 hours on, 18 off).
- Turn off manually during daylight hours.
Creative Themes for Tiny Displays
A compelling theme transforms a simple light setup into a narrative experience. Here are four ideas tailored for compact spaces:
1. The Cozy Cabin Corner
Create a log cabin from craft sticks or a purchased miniature. Place warm-white LEDs behind cut-out windows. Sprinkle fake snow around the base and add a tiny wreath made from green pipe cleaner.
2. Urban Window Glow
Use a shadow box or deep tray to mimic a city apartment view. Backdrop with dark paper dotted with white gel pens for distant stars. Attach small squares of translucent vellum to represent lit windows, with micro LEDs behind each.
3. Frozen Forest Path
Line a winding path with frosted twigs stuck into foam or clay. Drape cool-white fairy lights above like a canopy. Scatter iridescent beads to mimic frost. Add a tiny deer or owl figurine.
4. Floating Light Jar
For ultra-minimalist settings, place battery-powered twinkle lights inside a mason jar filled with faux snow and a miniature evergreen sprig. Screw the lid, and let the jar sit on a bookshelf or nightstand.
“The magic of holiday lighting isn’t in scale—it’s in intention. A single glowing point can evoke wonder.” — Rafael Mendez, Lighting Artist
Mini Case Study: Maria’s Dorm Room Display
Maria, a college sophomore living in a 10’x12’ dorm room, wanted holiday cheer without violating fire code or cluttering her study area. She used a shallow wooden tray (8”x10”) from a thrift store as her base.
She chose a 15-light warm-white LED strand powered by two AAA batteries. Around the edges, she glued small pinecones and sprinkled artificial snow. In the center, she placed a 3D-printed miniature church (downloaded free online) and threaded lights through its steeple window.
To save space, she mounted the battery pack underneath the tray with double-sided tape. She set the lights on a 6-hour timer, ensuring they turned off automatically at midnight. The display occupied less than one square foot but became a conversation starter during visitation weekend.
At semester’s end, she disassembled it easily, storing components in a padded pencil case. Total cost: under $15.
Maintenance and Storage Checklist
To ensure your display returns year after year, follow these post-season steps:
- Remove batteries to prevent corrosion.
- Clean dust from lights and decor with a soft brush or compressed air.
- Label each component (e.g., “village lights,” “snow tray”) with masking tape.
- Store in a rigid container with dividers to prevent crushing.
- Keep in a dry, temperature-stable location—avoid attics or basements with humidity swings.
- Test all lights before storing to catch issues early next season.
Frequently Asked Questions
Can I leave my mini display on overnight?
If it uses battery-powered LEDs and has no exposed heating elements, occasional overnight use is generally safe. However, models with timers are strongly recommended to limit runtime and preserve both battery life and material integrity.
What if I don’t have crafting skills?
No problem. Many pre-made miniature villages or light-up ornaments function beautifully as standalone tabletop displays. Pair one with a decorative coaster or tray, add a few scattered faux snowflakes, and you’re done. Simplicity often enhances elegance.
Are there eco-friendly options?
Yes. Choose solar-rechargeable battery packs when available. Reuse materials from past projects—old greeting cards for backdrops, broken jewelry for sparkles. Some brands now offer biodegradable packaging and recyclable wire coatings on light strands.
Conclusion: Small Space, Big Spirit
A mini tabletop Christmas light display proves that celebration doesn’t depend on size. It thrives on creativity, care, and the quiet joy of a well-placed glow. In a world that often equates more with better, this project stands as a gentle reminder: sometimes, the most meaningful moments come in the smallest packages.
With basic supplies and an hour of focused time, you can craft a seasonal centerpiece that brings warmth to your space and delight to your routine. Whether you live alone, share tight quarters, or simply appreciate minimalist design, this display adapts to your life—not the other way around.


 浙公网安备
33010002000092号
浙公网安备
33010002000092号 浙B2-20120091-4
Comments
No comments yet. Why don't you start the discussion?