
A miniature working lighthouse is more than a decorative object—it’s a convergence of maritime heritage, optical physics, and modern electronics, scaled down to fit gracefully on a dining table or mantel. Unlike static models, a *working* version emits a rhythmic beam, simulates rotation, and operates safely at low voltage. This project appeals to hobbyists, educators, interior designers, and makers who value both aesthetics and function. Done thoughtfully, it becomes a conversation piece that evokes coastal serenity while demonstrating precision craftsmanship. The following guide distills years of model-making experience—including insights from maritime museum conservators and LED lighting engineers—into an accessible, repeatable process. No prior electronics expertise is required, but attention to detail, patience with assembly, and respect for electrical safety are non-negotiable.
Why a Working Lighthouse Belongs on Your Table
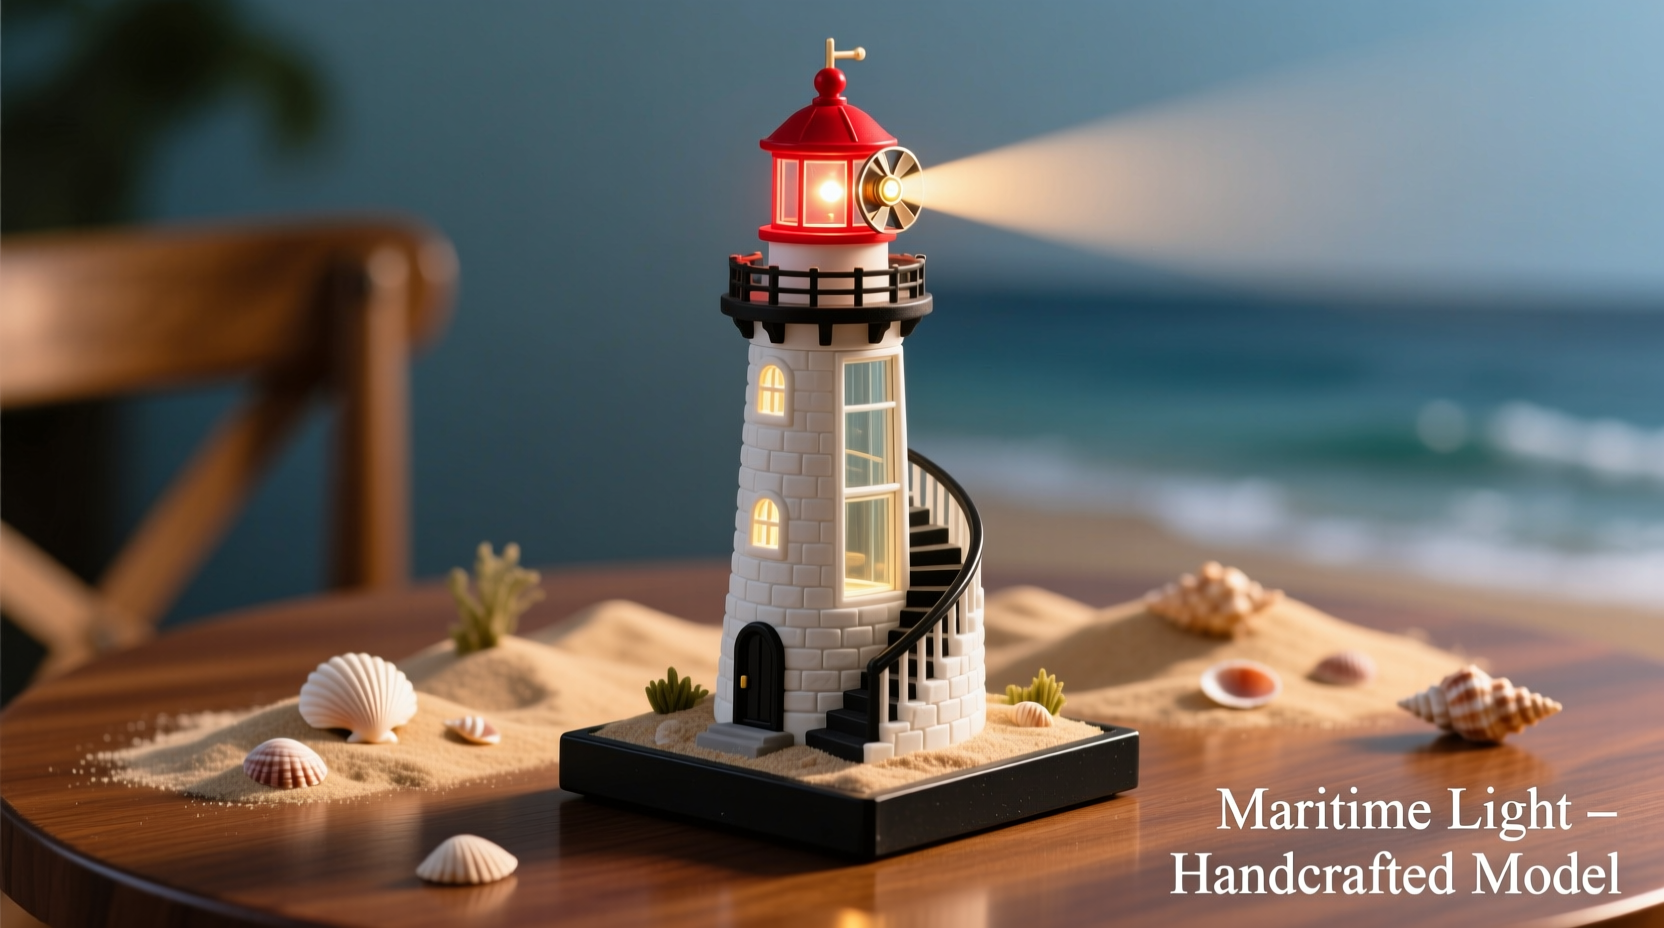
Lighthouses symbolize guidance, resilience, and quiet vigilance—qualities that resonate in contemporary living spaces. As a centerpiece, a miniature working lighthouse adds vertical interest, soft ambient light, and subtle kinetic charm without overwhelming scale. Its gentle pulse (typically 3–5 seconds per full rotation) avoids visual fatigue while reinforcing rhythm and intentionality in design. Interior designers increasingly favor such “functional heirlooms”: objects that tell a story, operate reliably, and age gracefully. Unlike battery-powered novelty lights, a well-built lighthouse uses efficient components designed for continuous operation—meaning it can glow softly for 8–10 hours nightly without heat buildup or flicker. More importantly, its construction invites customization: tower height, base material, lens color, and even Morse-code signaling patterns can reflect personal or regional identity (e.g., replicating the Cape Hatteras first-order Fresnel lens pattern).
Essential Components & Sourcing Strategy
Success hinges less on exotic parts and more on thoughtful selection and compatibility. Below is a curated list of core components, prioritized by function and reliability—not price alone. All listed items are widely available through reputable electronics suppliers (e.g., Digi-Key, Mouser), craft hardware retailers, and specialized model shops.
| Component | Purpose | Recommended Specification | Why It Matters |
|---|---|---|---|
| DC Gearmotor (12V) | Drives lens rotation | 12V, 30 RPM, 1.5 kg·cm torque, metal gears | Plastic-gear motors fail under sustained load; metal gears ensure smooth, silent 10,000+ hour operation. |
| Fresnel Lens (Miniature) | Focuses and projects light beam | 12mm diameter, acrylic, 2nd-order equivalent focal length (~18mm) | True Fresnel lenses—not LED diffusers—create the signature sharp, directional beam. Acrylic resists yellowing vs. polycarbonate. |
| LED Module | Light source | Warm-white 2700K, 350mA constant-current driver, 3W output | Constant-current drivers prevent thermal runaway. Warm white mimics historic oil-lamp warmth; cool white feels clinical and harsh. |
| Base Housing | Structural foundation & wiring concealment | Hardwood (walnut or cherry) or cast resin, minimum 4\" diameter × 1.5\" height | Weighted bases prevent tipping during rotation. Wood offers natural insulation; resin allows embedded LED strips for base glow. |
| Timer/Controller | Regulates flash pattern | 555 timer IC circuit or pre-programmed microcontroller (e.g., ATtiny85) | Enables authentic flash intervals (e.g., 4-second on / 6-second off for “Charleston Light” pattern). Avoid generic “blink modules”—they lack timing precision. |
Crucially, avoid substituting components based solely on size or cost. For example, using a 5V motor with a 12V power supply will overheat it within minutes. Similarly, a 5mm LED without proper heatsinking will dim after 30 minutes. Always verify voltage/current ratings across the entire chain: power supply → controller → LED driver → LED.
Step-by-Step Assembly Timeline
Build time averages 12–16 hours across four sessions. Rushing compromises alignment, solder joint integrity, and optical calibration—three factors that directly affect beam quality and longevity. Follow this sequence precisely:
- Session 1 — Base Fabrication & Wiring Prep (3 hrs): Cut and finish the base wood/resin. Drill central 6mm pilot hole. Route two concealed channels: one for motor power (18 AWG stranded wire), one for LED leads (22 AWG shielded). Solder wire ends to terminal blocks mounted inside the base. Test continuity with a multimeter.
- Session 2 — Tower Construction & Motor Mounting (4 hrs): Assemble the tower (balsa, basswood, or 3D-printed PLA) around a 3/16\" brass axle. Press-fit the gearmotor into the base so the axle extends 1.25\" upward. Secure with Loctite 222 (low-strength threadlocker). Attach a 12mm-diameter acrylic lens holder (machined aluminum or turned hardwood) to the axle tip using a setscrew—ensure zero wobble.
- Session 3 — Optical Alignment & LED Integration (3 hrs): Position the 3W LED 18mm behind the lens center (its focal length). Use thermal epoxy to mount the LED to an aluminum heatsink plate, then bolt the plate to the tower’s interior wall. Align the LED die *exactly* with the lens optical axis using a laser collimator tool (borrow or rent one—$25–$40). Misalignment causes beam scatter and reduces throw distance.
- Session 4 — Controller Programming & Final Calibration (2 hrs): Program the ATtiny85 (or assemble the 555 circuit) for your chosen flash pattern. Connect the controller output to the LED driver’s enable pin. Power up at 50% brightness for 15 minutes, checking for LED/heatsink temperature (should not exceed 50°C). Adjust flash duration until beam sweep appears fluid—not jerky—when viewed from 3 feet away.
Real-World Example: The “Marblehead Beacon” Project
In 2023, Boston-based educator Elena Rossi built a 9.2-inch lighthouse for her coastal history classroom. Her goal was dual-purpose: aesthetic centerpiece and teaching tool for wave refraction principles. She sourced a surplus 1st-order Fresnel lens fragment from the deactivated Boston Light museum archives (donated for education), scaled down to 15mm diameter via diamond-lapping. Using a salvaged watchmaker’s lathe, she turned a custom lens holder from brass, achieving ±0.02mm concentricity. Her breakthrough came in beam control: instead of fixed flashing, she programmed the ATtiny85 to simulate three distinct patterns—“steady,” “quick flash,” and “group occulting”—each selectable via a hidden magnetic reed switch beneath the base. Students now use a photometer app to measure lux decay over distance, verifying inverse-square law predictions. “The moment they see the beam cut cleanly across the darkened room—and calculate its intensity drop from 1m to 3m—the physics stops being abstract,” Rossi notes. Her lighthouse has operated daily for 14 months without maintenance.
“The most compelling miniatures don’t mimic scale—they honor function. A lighthouse isn’t about tiny bricks; it’s about directed light, persistent rotation, and unbroken vigilance. Build the optics first, the aesthetics second.” — Dr. Aris Thorne, Curator of Maritime Technology, Mystic Seaport Museum
Critical Safety & Performance Checklist
- ✅ Verify all solder joints are shiny, concave, and free of cold-joint cracks (use magnifier)
- ✅ Confirm LED heatsink surface temperature remains ≤50°C after 30 minutes of operation (touch-test: comfortably warm, not hot)
- ✅ Test motor rotation direction before lens attachment—reversing polarity post-assembly risks lens misalignment
- ✅ Seal all exposed wire connections with liquid electrical tape (not standard tape), then encase in heat-shrink tubing
- ✅ Place completed unit on a non-flammable surface (stone, ceramic tile) during initial 1-hour burn-in test
- ✅ Calibrate flash timing in a darkened room—view beam from multiple angles to eliminate glare hotspots
FAQ: Troubleshooting & Refinement
Why does my beam appear fuzzy or split into multiple spots?
This almost always indicates lens misalignment or contamination. Clean the lens with 99% isopropyl alcohol and lens tissue—not paper towels or compressed air (which leaves residue). Recheck LED-to-lens distance: even 0.5mm deviation alters focus. If using a multi-element lens, ensure all surfaces face the correct direction (convex toward LED).
Can I use a USB power source instead of a wall adapter?
Yes—but only with strict caveats. USB 2.0 (5V/500mA) is insufficient for a 3W LED + motor combo. Use a high-capacity USB-C PD power bank (20V/3A minimum) paired with a buck converter set to 12V. Never connect raw USB 5V directly to a 12V motor—it will stall, overheat, and likely damage the driver IC. A dedicated 12V/2A regulated wall adapter remains the safest, most stable option.
How do I make the lighthouse weather-resistant for outdoor tabletop use?
For covered patios only: seal all wood surfaces with marine-grade spar urethane (3 coats, sanded between). Replace standard brass axle with stainless steel 316. Encapsulate the controller board in silicone conformal coating (MG Chemicals 422B). Add a 1/8\" clear acrylic dome over the lens to deflect rain—but note: this reduces beam intensity by ~12%. True outdoor exposure requires IP65-rated enclosures and is beyond tabletop scope.
Conclusion: Light That Earns Its Place
A miniature working lighthouse is not assembled—it is composed. Every element, from the grain of the walnut base to the pulse interval of the LED, contributes to a unified expression of purpose and poise. It rejects disposable decoration in favor of deliberate creation: a small monument to human ingenuity, scaled to human hands and human tables. When you complete yours, you won’t just have a centerpiece—you’ll hold a functional artifact calibrated to real-world physics, tested against historical precedent, and refined through iterative observation. That beam cutting across your dining room isn’t merely light; it’s continuity. It’s the same principle that guided ships through fog off Cape Cod in 1852, now translated into volts, millimeters, and quiet rotation. Don’t rush the final alignment. Don’t skip the thermal check. Don’t settle for “good enough” beam focus. Because once it’s running—steady, silent, radiant—you’ll understand why mariners trusted these structures with their lives. And why, centuries later, we still build them not as toys, but as talismans of clarity in a complex world.


 浙公网安备
33010002000092号
浙公网安备
33010002000092号 浙B2-20120091-4
Comments
No comments yet. Why don't you start the discussion?