
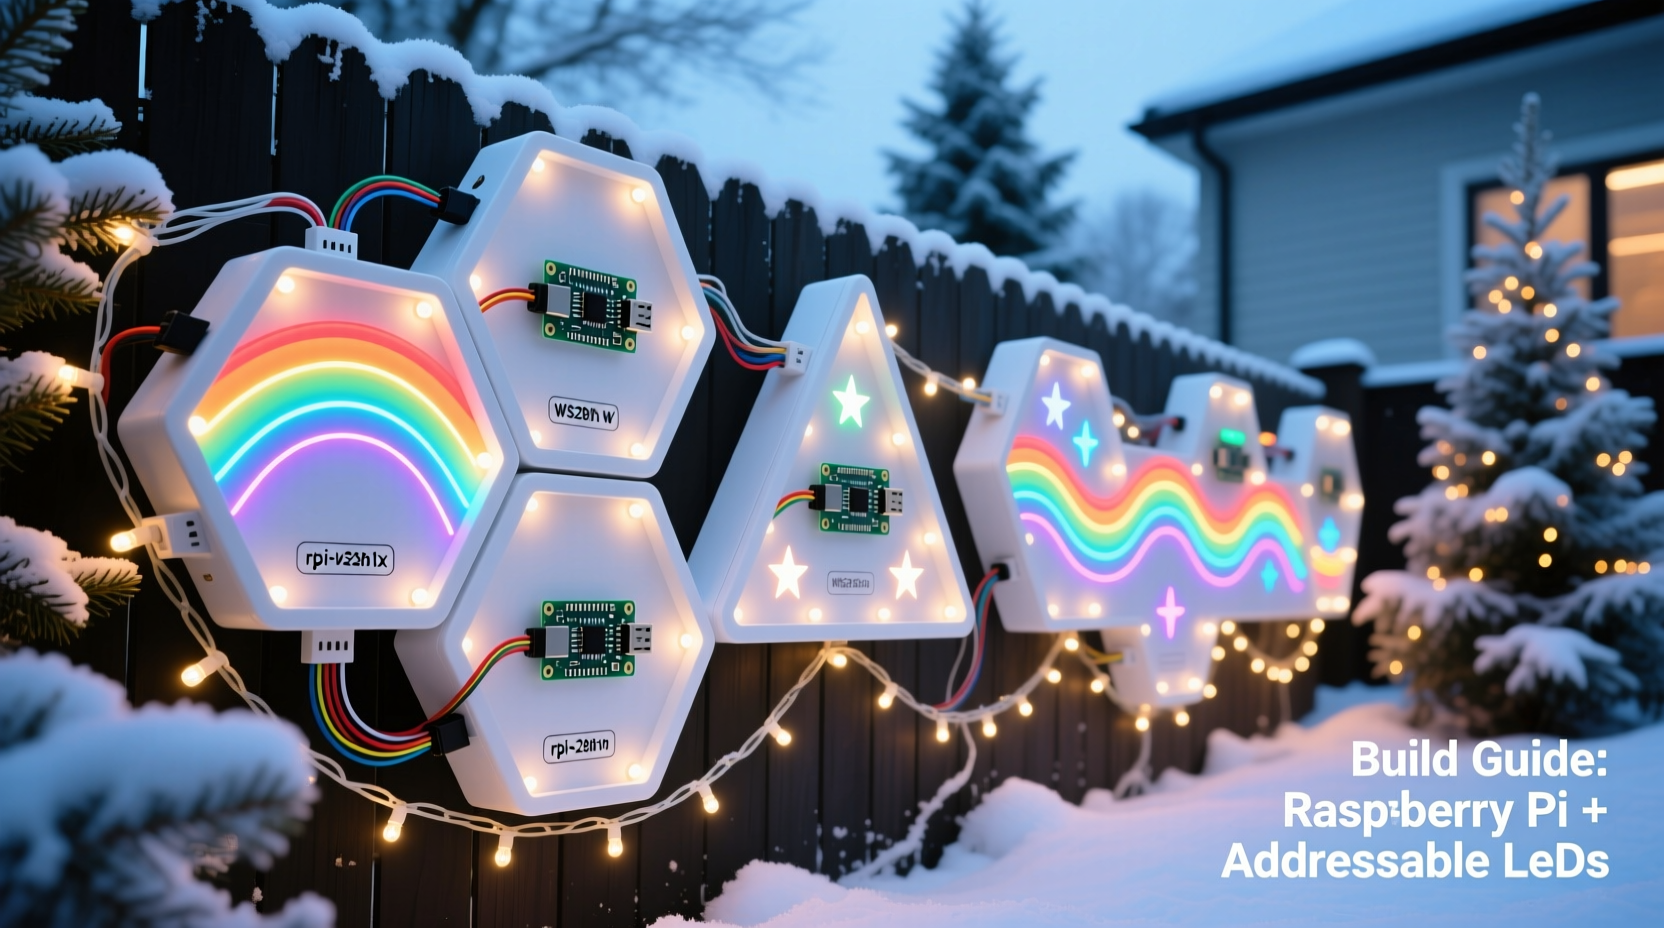
Every year, holiday lighting evolves—from tangled strings of incandescent bulbs to synchronized, music-reactive spectacles. Yet most DIY displays remain fragile, non-reusable, or locked into proprietary controllers. A truly modular approach solves this: one where each light segment is electrically independent, software-defined, physically interchangeable, and built for long-term reuse across seasons and projects. Using a Raspberry Pi and addressable LEDs (like WS2812B or SK6812 strips), you gain full control over timing, color, effects, and expansion—without sacrificing reliability or scalability. This isn’t about flashing a single strip. It’s about designing a system: one where a porch arch, window frame, tree wrap, and roofline all plug into the same architecture—and can be reconfigured in under 15 minutes.
Why Modularity Matters Beyond the Holidays
Modular design shifts the focus from “building a display” to “building a lighting platform.” Instead of soldering every connection and hard-coding pixel positions, you define logical units—modules—with consistent power, data, and mounting interfaces. Each module operates as a self-contained subsystem: it knows its own length, orientation, and role (e.g., “north-facing eave,” “front-door wreath”). When you upgrade your Raspberry Pi, replace a damaged strip, or add a new section next year, only that module needs attention—not the entire chain.
This approach directly addresses three common pain points: first, troubleshooting. With daisy-chained LEDs, a single faulty pixel can blackout an entire 300-pixel run. In a modular setup, failure is isolated. Second, scalability. Adding ten more feet of lights shouldn’t require recalculating timing delays or rewriting animation logic for 500 pixels instead of 400. Third, longevity. Strips degrade unevenly—especially outdoors. Modular wiring lets you swap a sun-faded section without rewiring half your house.
Core Hardware Selection: What Works—and What Doesn’t
Not all addressable LEDs or Raspberry Pi models are equally suited for outdoor, modular holiday lighting. Compatibility, thermal tolerance, and signal integrity matter far more than raw pixel count.
| Component | Recommended Options | Key Rationale |
|---|---|---|
| Raspberry Pi | Pi 4 Model B (4GB RAM) or Pi 5 (4GB) | USB 3.0 + Gigabit Ethernet enables reliable networked control and OTA updates. Avoid Pi Zero—insufficient GPIO drive strength and no hardware PWM support for stable LED timing. |
| LED Strips | SK6812 RGBW (60/meter, IP65 rated, 5V) | RGBW adds warm-white channel for realistic candlelight or ambient fill. IP65 resists rain and dust. Avoid non-rated “indoor-only” strips—even under eaves, condensation builds. |
| Level Shifter | 74AHCT125 quad buffer (not bi-directional modules) | Essential for clean 3.3V→5V signal translation. Bi-directional level shifters introduce timing jitter that corrupts WS281x data streams. |
| Power Supply | Mean Well HLG-120H-5A (120W, 5V, waterproof) | Constant-voltage, high-efficiency, and UL-listed. Never use laptop adapters or unbranded “5V 10A” bricks—they sag under load and lack over-current protection. |
| Connectors | JST SM connectors (3-pin, 2.54mm pitch) | Secure, polarized, and field-repairable. Avoid screw terminals outdoors—they corrode. Skip solderless breadboard-style plugs; they loosen with thermal cycling. |
Crucially, avoid “all-in-one” LED controller boards marketed for Raspberry Pi. They often bypass critical signal conditioning, lack proper ground isolation, and make debugging nearly impossible when flickering occurs. Build your signal path deliberately: Pi GPIO → level shifter → twisted-pair data cable → module input. That extra 20 cm of wire and one $1.20 chip saves hours of head-scratching.
A Real-World Module in Action: The “Porch Arch” Case Study
In Portland, Oregon, homeowner and educator Lena Rodriguez rebuilt her front-porch lighting after two consecutive winters of moisture-related failures. Her old setup used a single 2-meter strip wrapped around a wooden arch, powered from the house’s garage outlet via a daisy-chained 10-meter extension. By December Week 2, flickering began near the middle—eventually traced to water ingress at a poorly sealed splice.
For 2023, Lena adopted a modular strategy. She divided the arch into four identical 0.5-meter segments, each with its own JST input/output, fused 5V feed, and aluminum channel housing. Each segment connected to a central distribution board mounted inside a weatherproof enclosure—fed by a dedicated Mean Well PSU. She programmed the Pi to treat each segment as a discrete “arch-left,” “arch-top-left,” “arch-top-right,” and “arch-right” unit. When a heavy rainstorm caused a short in Segment 3, she replaced only that 0.5-meter piece in 12 minutes—no rewiring, no code changes, no downtime. More importantly, she reused Segments 1, 2, and 4 on her backyard pergola the following spring for a garden party ambiance.
“Modularity didn’t just fix reliability—it changed how I think about seasonal lighting,” Lena shared. “Now my ‘Christmas’ code runs year-round. I just change the palette and timing.”
Step-by-Step: Building Your First Module (15-Minute Assembly)
- Prepare the strip: Cut a 1-meter WS2812B strip at the copper pad markers. Solder 22 AWG red (5V), black (GND), and green (DIN) wires to the corresponding pads. Use heat-shrink over each joint—no exposed copper.
- Attach connectors: Crimp JST SM male pins onto the wires. Insert into a female housing. Repeat for the output (DOUT, 5V, GND) end using a second housing.
- Mount securely: Press the strip into an aluminum U-channel (with adhesive backing). Seal both ends with silicone caulk—especially where wires exit.
- Test before enclosure: Connect module to Pi (via level shifter) and power supply. Run
sudo python3 -m rpi_ws281x.test. Verify all 60 pixels respond uniformly. - Label & document: Write “MOD-01 | 60px | DIN=GPIO10” on the channel with permanent marker. Log voltage drop (should be ≤0.2V from input to end) and ambient temperature at full white.
Repeat this process for each module—but vary lengths intentionally: 0.5m (30px) for tight corners, 2m (120px) for straight rooflines, 3m (180px) for trees. Consistency lies in interface—not size.
Software Architecture: Decoupling Logic from Hardware
The Pi’s real power emerges in software. Rather than writing animations pixel-by-pixel, structure your code around modules and scenes. Use Python with rpi_ws281x (the official, low-level library) and a lightweight web framework like Flask for remote control.
Define a Module class:
class Module:
    def __init__(self, name, pin, length, offset=0):
        self.name = name          # e.g., \"garage-roof\"
        self.pin = pin            # GPIO number (BCM)
        self.length = length      # pixel count
        self.offset = offset      # global pixel index start
        self.strip = Adafruit_NeoPixel(length, pin, ...)

    def set_pixels(self, colors):
        # Accept list of (r,g,b,w) tuples; handle RGBW conversion
        for i, c in enumerate(colors):
            self.strip.setPixelColor(i, Color(*c))
        self.strip.show()
Your main script instantiates modules once:
modules = [
    Module(\"porch-left\", 10, 60, 0),
    Module(\"porch-top\", 13, 120, 60),
    Module(\"tree-wrap\", 19, 180, 180)
]
Scenes become reusable functions:
def snowfall_scene():
    for mod in modules:
        # Generate per-module snow pattern based on length
        pixels = generate_snow(mod.length)
        mod.set_pixels(pixels)
This decoupling means adding a new module requires only one line in the modules list—and zero changes to any scene function. No recompiling, no recalculating offsets.
“Modular firmware isn’t about complexity—it’s about reducing cognitive load. When you can test a single 30-pixel module in your workshop, then deploy it across five locations with confidence, you’ve eliminated the largest source of holiday-lighting failure: human error in configuration.” — Dr. Arjun Patel, Embedded Systems Lead, LightForm Labs
FAQ: Troubleshooting and Long-Term Maintenance
Why do my LEDs flicker only at certain brightness levels?
Flickering at mid-brightness (e.g., 50% white) almost always indicates insufficient power delivery—not code issues. Measure voltage at the *end* of the longest module while running full white. If below 4.75V, add local 5V regulation (e.g., LM2596 buck converter) at the module input, or shorten the power run. Never boost voltage upstream; overvoltage kills LEDs instantly.
Can I mix RGB and RGBW modules on the same Pi?
Yes—but not on the same GPIO pin. WS2812B (RGB) and SK6812 (RGBW) use identical timing protocols, but RGBW requires 4 bytes per pixel vs. 3. Run them on separate pins (e.g., GPIO10 for RGB, GPIO13 for RGBW) and instantiate separate Adafruit_NeoPixel objects. Your scene logic handles color-space conversion automatically.
How do I protect against lightning-induced surges?
Install a DIN-rail surge protector (e.g., Phoenix Contact VAL-MC 230/FM) between your outdoor power feed and the Mean Well PSU. Ground the protector’s earth terminal to your home’s grounding rod—not a cold-water pipe. Also, run data lines (GPIO to level shifter) through ferrite cores to suppress RF noise.
Conclusion: Start Small, Think Systemic
You don’t need 500 pixels or a custom enclosure to begin. Your first module can be a single 0.5-meter strip on your kitchen cabinet—programmed to pulse softly at sunset. What matters is establishing the discipline: consistent connectors, documented specs, isolated power, and software abstraction. Every subsequent module becomes faster to build, easier to debug, and more valuable to reuse. That porch arch you build this year? Its segments could outline your patio next summer, animate your child’s birthday banner, or serve as stage lighting for a neighborhood talent show. The Raspberry Pi doesn’t care if it’s driving Christmas lights or museum exhibits—the hardware is neutral. Your modularity makes it meaningful.
Begin with one module. Test it thoroughly. Then build the second—and connect them not with wire, but with intention.


 浙公网安备
33010002000092号
浙公网安备
33010002000092号 浙B2-20120091-4
Comments
No comments yet. Why don't you start the discussion?