
Transforming your home into a holiday spectacle doesn’t require a professional lighting crew or expensive commercial equipment. With a Raspberry Pi and a few key components, you can design and deploy a fully synchronized Christmas light show that dances to music, pulses with rhythm, and impresses neighbors and visitors alike. This guide walks through the technical setup, software configuration, and creative execution needed to bring your vision to life—on a budget and with full control.
Why Use a Raspberry Pi for Light Synchronization?
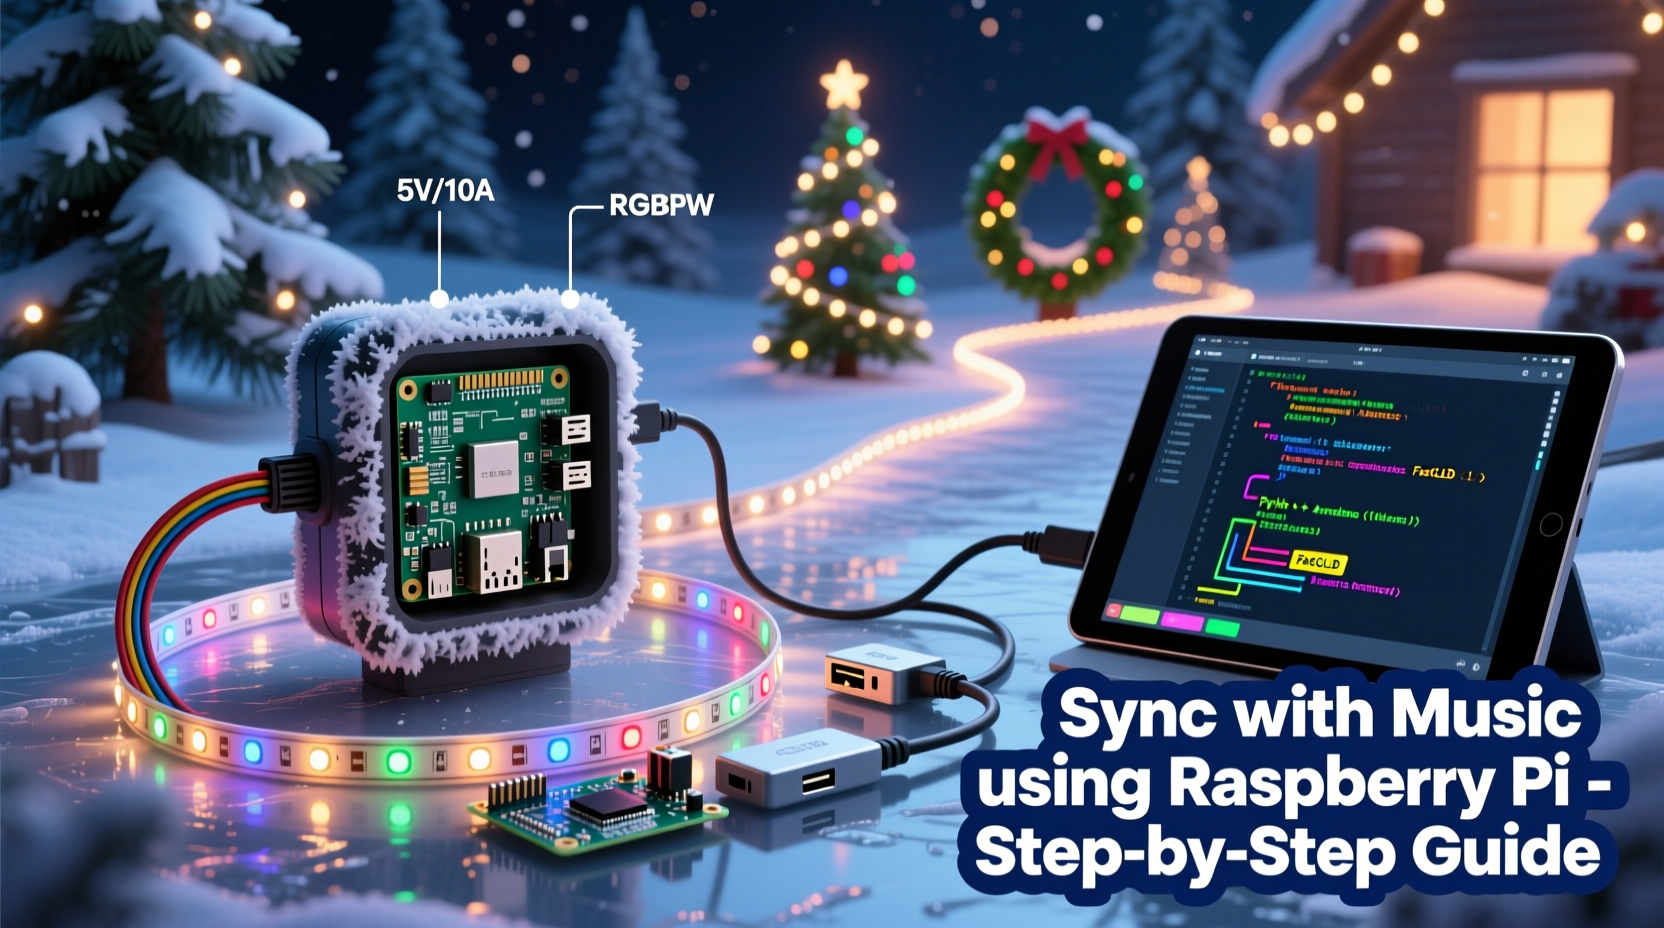
The Raspberry Pi is a low-cost, credit-card-sized computer capable of running lightweight operating systems and executing real-time tasks. Its GPIO (General Purpose Input/Output) pins allow direct hardware interaction, making it ideal for controlling relays, LEDs, and power channels. When paired with open-source software like xLights or Falcon Player (FPP), the Pi becomes the brain of a sophisticated light synchronization system.
Unlike pre-programmed kits, a Raspberry Pi-based setup enables custom choreography, integration with audio, and remote management. You’re not limited to canned effects—you can sync lights to your favorite holiday songs, adjust brightness based on time of day, or even trigger sequences via web commands.
“Raspberry Pi democratizes what used to be a high-end entertainment technology. Now, anyone with basic coding skills can create a professional-grade light show.” — Mark Reynolds, Embedded Systems Engineer and Holiday Lighting Enthusiast
Essential Components and Setup
Before diving into programming, gather the necessary hardware and tools. A well-planned inventory ensures smooth installation and troubleshooting.
| Component | Purpose | Recommended Options |
|---|---|---|
| Raspberry Pi (4B or Zero 2 W) | Main controller | Pi 4B for multi-channel setups; Zero 2 W for compact displays |
| MicroSD Card (16GB+) | Storage for OS and show files | Class 10 UHS-I for reliability |
| Power Supply (5V/3A) | Stable power for Pi | Official Raspberry Pi PSU preferred |
| LED Strings or Pixel Lights | Light output | WS2811/WS2812B addressable pixels or standard AC strings |
| Relay Modules or LED Controllers | Signal amplification and switching | Falcon F16v3, eNode, or 8-channel relay board |
| Network Connectivity | Remote access and updates | Ethernet cable or 2.4GHz Wi-Fi |
| Weatherproof Enclosure | Protect electronics outdoors | IP65-rated plastic box with ventilation |
Step-by-Step Guide to Building the Display
1. Install the Operating System and Required Software
- Download Raspberry Pi Imager from the official site.
- Burn Raspberry Pi OS Lite (64-bit) to your microSD card.
- Enable SSH by placing an empty file named
sshin the boot partition. - Insert the card into the Pi and power it on.
- Connect via SSH using terminal or PuTTY:
ssh pi@raspberrypi.local(default password: raspberry). - Update the system:
sudo apt update && sudo apt upgrade -y.
2. Choose and Install Control Software
Two popular options are Falcon Player (FPP) and xLights. FPP runs directly on the Pi and supports playback of pre-made sequences. xLights is designed for choreography on a PC but can push sequences to a Pi acting as a receiver.
To install FPP:
curl -sSL https://falconchristmas.com/wiki/downloads/fpp_latest.sh | sudo bash
After installation, access the web interface at http://[pi-ip-address]/fpp.
3. Wire the Lights and Controllers
- For non-addressable AC lights, connect each string to a relay channel. The Pi sends a low-voltage signal to trigger the relay, which powers the lights.
- For addressable RGB pixels (e.g., WS2811), connect data, power, and ground lines carefully. Use a level shifter if driving 5V data from the Pi’s 3.3V GPIO.
- Daisy-chain pixel strings only up to 50–100 units per line unless using signal boosters.
- Use separate power supplies for large pixel arrays to avoid voltage drop.
4. Configure Channels and Outputs
In FPP, go to “Outputs” → “Channel Outputs” to define your setup:
- Select “Pi GPIO” for direct pin control or “e1.31” for networked controllers.
- Map each physical channel (e.g., front roof, tree base) to a logical output.
- Set pixel type, count, and color order (GRB, RGB, etc.).
5. Create or Import Sequences
You can either:
- Design choreography in xLights on a PC, then export .fseq files and transfer them to the Pi.
- Use pre-built sequences from online communities like Lights4Fun or DIYChristmas.
In FPP, upload sequences under “Playlists” and assign them to schedules.
6. Test and Refine
Run a test sequence manually. Observe timing, brightness, and synchronization. Adjust gamma correction, intensity, and timing offsets in FPP settings if needed. Ensure all lights respond uniformly and no flickering occurs.
7. Automate and Deploy
- Set up a daily schedule in FPP to start the show at dusk (e.g., 5:00 PM) and end at midnight.
- Mount the Pi and controllers in a weatherproof enclosure near an outdoor outlet.
- Use a smart plug or timer to cut power to the entire system during storms or maintenance.
Mini Case Study: The Neighborhood Wonderlight Project
In suburban Ohio, homeowner Daniel Kim transformed his modest front yard into a local attraction using two Raspberry Pi Zeros and 1,200 RGB pixels. He mapped his roofline, driveway arch, and lawn trees into distinct zones within xLights, assigning each a unique animation pattern. After syncing “Carol of the Bells” over three weeks of part-time work, he uploaded the sequence to both Pis via USB.
Using FPP’s built-in scheduler, the show ran nightly from December 1 to January 1. Neighbors reported increased foot traffic, and local news covered the display. Daniel emphasized planning: “I spent more time labeling wires and testing individual channels than I did on the actual choreography. That saved me hours when something went wrong.”
His total cost: $380—including lights, controllers, and enclosures. He reused the Pis the following year with new music, proving the system’s reusability.
Best Practices and Optimization Tips
A successful display balances visual impact with technical stability. Follow these guidelines to ensure longevity and performance.
Optimize Power Distribution
Long runs of addressable LEDs suffer from voltage drop, causing dim or incorrect colors at the far end. Inject power every 5 meters (or 50–100 pixels) along the strip. Use thicker gauge wire (16 AWG) for main power lines.
Ensure Signal Integrity
Data signals weaken over distance. For runs longer than 3 meters, use a 74HCT245 level shifter to convert the Pi’s 3.3V signal to a clean 5V output. Avoid sharp bends in data cables and shield them from electrical noise sources.
Use Network Time Protocol (NTP)
Accurate timing is critical for synchronization. Ensure your Pi syncs with an NTP server:
sudo timedatectl set-ntp on
This prevents drift that could desynchronize multi-Pi setups.
Leverage Remote Management
Install tools like htop and fail2ban to monitor performance and security. Enable VNC if GUI access is needed. Use rsync to back up show files automatically.
“Most failures happen due to poor power or environmental exposure—not code. Protect your electronics first.” — Lisa Tran, Smart Home Automation Consultant
Checklist: Launch-Ready Synchronized Light Display
- ☑ Raspberry Pi powered and accessible via network
- ☑ OS updated and control software installed (FPP or xLights)
- ☑ All lights and controllers wired correctly and labeled
- ☑ Power injection applied where needed
- ☑ Data lines protected with level shifters (if required)
- ☑ Sequences tested for timing and brightness
- ☑ Weatherproof enclosure secured and ventilated
- ☑ Daily schedule configured in FPP
- ☑ Backup plan for firmware recovery (e.g., cloned SD image)
- ☑ Safety checks: fuses, grounding, and GFCI outlets in place
FAQ
Can I run multiple Raspberry Pis for a larger display?
Yes. Use one master Pi to distribute sequences via e1.31 (sACN) protocol over Wi-Fi or Ethernet. Each slave Pi listens on a specific universe and controls its assigned channels. Ensure all devices are on the same network and time-synced.
Do I need to know Python or coding to make this work?
No. Tools like FPP and xLights provide graphical interfaces for setup and sequencing. Basic command-line knowledge helps with troubleshooting, but extensive coding isn’t required for standard operation.
How do I protect my Raspberry Pi from cold weather?
While the Pi can operate between 0°C and 50°C, prolonged exposure to moisture and freezing temperatures risks damage. Use a sealed enclosure with silica gel packs and consider a small heating pad rated for electronics if temperatures regularly drop below -10°C.
Conclusion
Building a synchronized Christmas light display with a Raspberry Pi blends creativity, engineering, and seasonal joy. It’s a project that rewards patience and precision, offering visible results that delight communities and spark conversations. Whether you're illuminating a single tree or orchestrating a full-yard symphony, the Pi gives you the tools to innovate without limits.


 浙公网安备
33010002000092号
浙公网安备
33010002000092号 浙B2-20120091-4
Comments
No comments yet. Why don't you start the discussion?