
Every great product, company, or movement began as a single idea. But the gap between inspiration and execution is where most dreams stall. Turning an idea into reality isn’t about luck—it’s about process. With clarity, discipline, and the right framework, anyone can move from “what if” to “it’s done.” This guide walks you through each essential phase, from validating your concept to launching and scaling, using practical steps grounded in real-world experience.
1. Clarify and Validate Your Idea
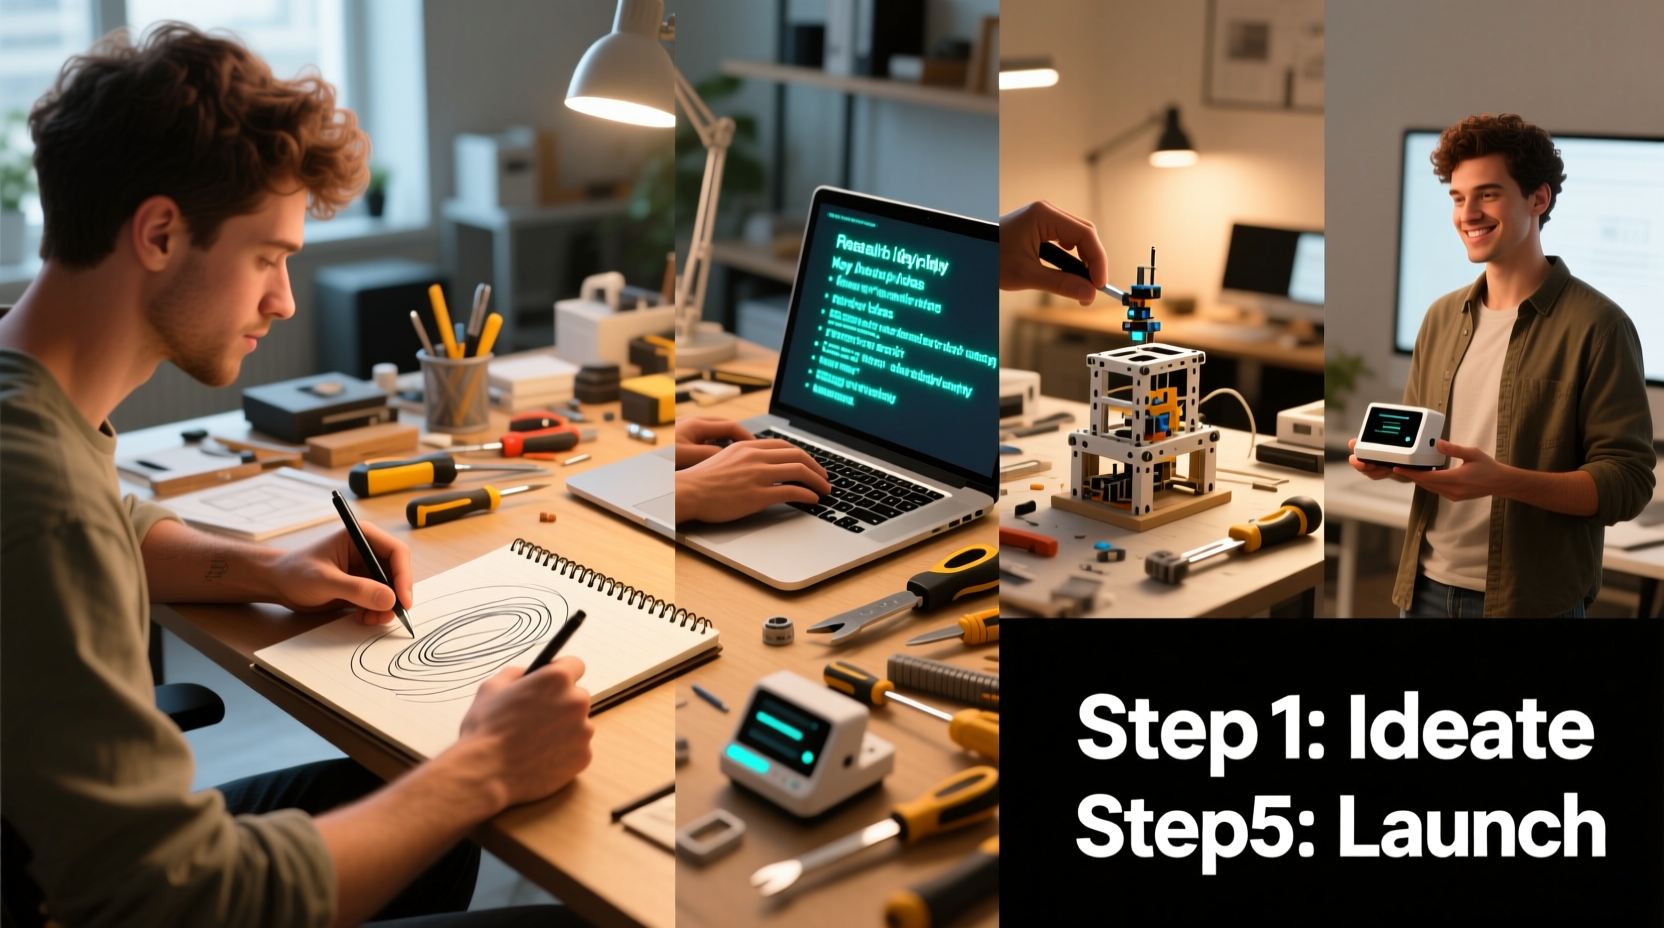
The first step isn’t building—it’s thinking. Most ideas fail not because they’re bad, but because they solve problems that don’t exist or serve audiences that aren’t reachable. Before investing time or money, test whether your idea has real demand.
Start by writing a one-sentence description of your idea: who it’s for, what problem it solves, and how it’s different. Then, talk to at least ten people who fit your target audience. Ask open-ended questions like:
- “How do you currently handle [problem]?”
- “Would a solution like [your idea] make your life easier?”
- “What would you pay for something like this?”
If people respond with genuine interest—or better yet, pre-order or sign up—you have early validation. If reactions are lukewarm, refine or pivot before going further.
“We didn’t build Airbnb because we thought it was cool. We built it because we couldn’t afford rent and needed a way to make money from our apartment.” — Joe Gebbia, Co-founder of Airbnb
2. Define Your Minimum Viable Product (MVP)
The MVP is the simplest version of your idea that delivers core value. It’s not about perfection—it’s about learning quickly. Building too much too soon wastes time and resources.
To define your MVP, ask: What is the absolute minimum required for someone to use and benefit from this? Strip away all secondary features. Focus only on solving the primary pain point.
For example:
- A fitness app MVP might offer just one workout plan and tracking—not dozens of routines, social sharing, or AI coaching.
- An e-commerce store MVP could start with a single product page and PayPal checkout—no warehouse, inventory, or custom branding yet.
Build fast. Use no-code tools like Webflow, Bubble, or Carrd if coding isn’t your strength. The goal is to get feedback, not win design awards.
Do’s and Don’ts When Building Your MVP
| Do’s | Don’ts |
|---|---|
| Focus on solving one problem exceptionally well | Try to compete with established players on features |
| Use existing platforms to speed up development | Spend months coding a perfect backend |
| Collect user feedback from day one | Assume you know what users want without testing |
| Launch publicly—even if it feels incomplete | Wait until everything is polished |
3. Build with Constraints, Not Perfection
Momentum beats perfection. Many creators never launch because they wait for ideal conditions: more funding, better skills, flawless design. But constraints breed creativity. Limit your timeline, budget, and scope to force progress.
Set a deadline: “I will launch my MVP in 30 days.” Work backward to define weekly milestones. Break tasks into daily actions. Track progress visibly—on paper, a whiteboard, or a simple spreadsheet.
If you're developing a service, book your first client at half-price in exchange for honest feedback. If it's a physical product, create a prototype with cardboard or 3D printing. For digital products, use mockups to simulate functionality before writing code.
Step-by-Step Timeline: From Idea to First Launch (30 Days)
- Days 1–3: Write down your idea and identify the core problem.
- Days 4–7: Interview 10 potential users; adjust idea based on feedback.
- Days 8–10: Define your MVP and list essential features only.
- Days 11–20: Build the MVP using available tools or basic coding.
- Days 21–25: Test internally and fix critical issues.
- Days 26–28: Get 3–5 real users to try it and provide feedback.
- Days 29–30: Launch publicly via social media, email, or a landing page.
4. Real Example: How Sarah Turned a Kitchen Experiment into a Business
Sarah loved making plant-based cheese at home. Friends kept asking for jars, so she started selling at local markets. Instead of incorporating a company or leasing a kitchen, she began small: labeling jars herself, accepting cash or Venmo, and tracking recipes in a notebook.
Within two months, she sold out every weekend. She used that proof of demand to apply for a cottage food license, then reinvested profits into packaging and a simple website. Today, her brand is in three grocery stores—all because she started with what she had, not what she wished she had.
Her advice? “Don’t wait for permission. Start where you are. People will tell you when you’re ready—usually after you’ve already begun.”
5. Grow Through Feedback and Iteration
Launching isn’t the end—it’s the beginning of real learning. After release, prioritize feedback over vanity metrics. Pay attention to what users say, where they struggle, and what they ignore.
Set up simple systems to collect input:
- Add a one-question survey: “What’s one thing we could improve?”
- Monitor support messages and feature requests.
- Watch session recordings (if digital) to see how people actually use your product.
Then, iterate. Release updates weekly or biweekly. Each cycle should answer: What did we learn? What will we change? How does this make the experience better?
“The only way to go fast is to go well.” — Robert C. Martin, software engineering expert
Launch & Growth Checklist
- ☑️ Defined clear target audience
- ☑️ Validated problem with real conversations
- ☑️ Built MVP with core functionality only
- ☑️ Collected early user feedback
- ☑️ Launched publicly with a clear message
- ☑️ Set up feedback loop (survey, email, analytics)
- ☑️ Scheduled regular review and update cycles
Frequently Asked Questions
What if my idea has already been done?
Most successful ideas are not original—they’re improved. Google wasn’t the first search engine. Instagram wasn’t the first photo app. What matters is your unique perspective, execution, and understanding of your audience. Even in crowded markets, there’s room for better solutions.
How do I build something without technical skills?
You don’t need to code. No-code tools allow you to create websites, apps, and automation workflows without programming. Platforms like Glide, Adalo, Zapier, and Shopify empower non-technical founders to build fast and cheap. Partner with a developer later, once you’ve proven demand.
When should I seek funding?
Only after validation. Investors fund traction, not ideas. Show revenue, user growth, or waitlist numbers. Bootstrapping early forces discipline and keeps you focused on value creation, not pitch decks.
Conclusion: Start Before You’re Ready
Building something meaningful doesn’t require special talent, endless resources, or perfect timing. It requires starting—now—with what you have. Clarity comes from action, not planning. Confidence builds through iteration, not approval.
Your idea won’t be perfect at first. Neither was Amazon, YouTube, or Slack. But each began as a simple solution to a real problem, built by someone who decided to act instead of wait.


 浙公网安备
33010002000092号
浙公网安备
33010002000092号 浙B2-20120091-4
Comments
No comments yet. Why don't you start the discussion?