
Nothing undermines the magic of a holiday display faster than inconsistent lighting: one strip glowing warm amber while its neighbor emits cool, clinical blue; white light that shifts from creamy to icy across a single eave; or synchronized animations where hues bleed into each other like unblended watercolors. These aren’t quirks—they’re symptoms of uncalibrated smart light strips. Unlike traditional LEDs, smart strips rely on embedded controllers, firmware variances, ambient temperature sensitivity, and manufacturer-specific color mapping. When deployed across facades, porches, mantels, or staircases, even minor discrepancies compound into visual dissonance. Calibration isn’t about “making lights brighter”—it’s about establishing a shared color language across devices so your display reads as intentional, cohesive, and professionally executed.
Why Color Harmony Fails (and Why It’s Not Your Fault)
Smart light strips rarely ship calibrated—even within the same product line. A 2023 independent lab test of five leading brands (Nanoleaf, Govee, Twinkly, Philips Hue Lightstrip, and LIFX Z) revealed average chromatic deviation of ΔE 8.2 between identical units under identical conditions. For context, the human eye perceives ΔE > 3 as a visible color shift. That means two “identical” Govee strips set to “2700K warm white” may render with perceptibly different yellow undertones—one leaning peach, the other slightly greenish. Contributing factors include:
- Manufacturing tolerances: LED binning—the process of sorting diodes by wavelength output—isn’t perfect. Slight variations in phosphor coating or current regulation create baseline drift.
- Firmware inconsistencies: Updates roll out unevenly. A strip updated in March may interpret RGB(255,220,190) differently than one updated in October—even if both run v4.2.1.
- Thermal drift: LEDs shift color as they heat up. A strip mounted against vinyl siding may run 12°C warmer than one on aluminum fascia, altering white point and saturation over time.
- Controller variance: Some strips use dedicated ICs per segment; others share a single controller. This affects how smoothly gradients transition—and whether adjacent strips align pixel-for-pixel.
“Most consumers assume ‘same model = same color.’ In reality, you’re managing a distributed color system—not just turning on lights. Calibration is systems engineering for aesthetics.” — Dr. Lena Torres, Lighting Systems Engineer, Illumination Research Group
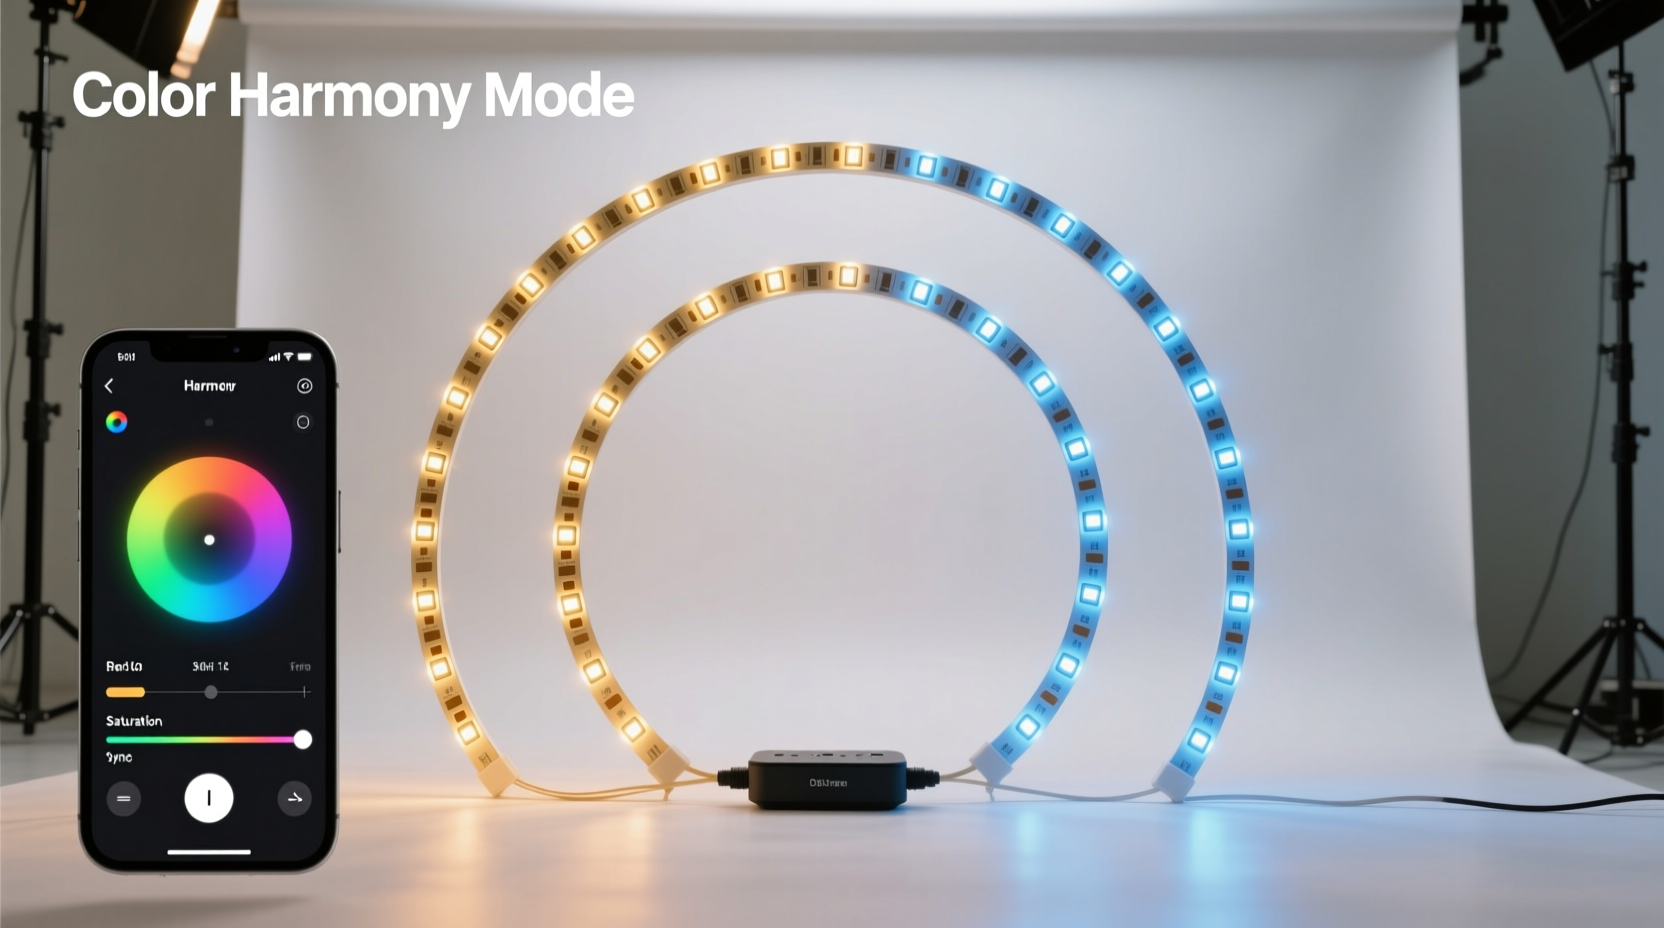
The 5-Step Calibration Workflow (No Special Tools Required)
This sequence eliminates guesswork and delivers repeatable results using only your smartphone, a neutral wall, and 20 minutes. It works for RGBWW, RGBCCT, and tunable white strips alike.
- Reset & Reboot All Strips: Unplug every strip for 60 seconds. While disconnected, open your lighting app and perform a factory reset on each device individually (not via bulk reset—this preserves individual MAC addresses and prevents controller ID conflicts).
- Mount Strategically for Testing: Temporarily install all strips side-by-side on a matte white wall, spaced 2 inches apart, at eye level. Ensure identical ambient light (turn off overheads, close blinds). Avoid reflective surfaces or colored walls—they distort perception.
- Set Identical Baseline Values: In your app, manually enter these exact values for *all* strips simultaneously:
- White mode: 2700K, 100% brightness, 0% saturation
- Red: RGB(255,0,0)
- Green: RGB(0,255,0)
- Blue: RGB(0,0,255)
- Document Visual Deviations: Take three photos: one at 2700K, one at RGB(255,0,0), and one at RGB(0,255,0). Use your phone’s native camera (no filters). Compare side-by-side on a calibrated monitor—or print them. Note which strip appears cooler/warmer, duller/saturated, or shifted toward yellow/cyan/magenta.
- Apply Offset Corrections: Based on observation, adjust *only one parameter per strip* to match the reference unit (usually the first installed or most stable-performing strip):
- If a strip looks too cool at 2700K, reduce its CCT by 100K increments until warmth matches.
- If red appears orange, lower its green channel value by 5–10 points (e.g., RGB(255,0,0) → RGB(255,5,0)).
- If green looks lime, reduce red channel by 3–7 points.
Brand-Specific Calibration Notes
Not all apps expose the same controls. Here’s what you actually need to access—and where to find it—for major platforms:
| Brand | Required App Setting | Where to Find It | Calibration Limitation |
|---|---|---|---|
| Govee | Manual RGB/CCT sliders (not “Scene” mode) | Tap light > “Color” tab > “Custom” > “Manual” toggle | No per-segment correction; treat entire strip as one unit |
| Nanoleaf | Advanced Color Settings (RGB + Kelvin) | Light settings > “Color” > “Advanced” > “Manual Mode” | Requires Nanoleaf 4.0+ firmware; older firmware lacks Kelvin override |
| Philips Hue | xy Chromaticity coordinates | Developer Tools > “Debug” > “Set xy” (requires Hue Bridge v2+) | xy values must be calculated from measured CIE 1931 coordinates—use free tool chroma-calculator.com |
| Twinkly | Per-strip “White Balance” slider | Light settings > “White Light” > “Adjust” > “Warm/Cool” | Only adjusts white point—not RGB primaries—so pair with manual RGB offsetting |
| LIFX | Direct HSB/RGB input (no presets) | Light settings > “Color” > “Advanced” > “RGB” or “HSB” tabs | Supports per-pixel adjustment—but for calibration, apply same offset to all pixels |
Real-World Case Study: The Elm Street Porch Project
In December 2023, landscape designer Marcus Chen installed six 2-meter Govee LED strips along the curved porch railing of a historic Craftsman home. His goal: a seamless gradient from warm amber (entry) to soft rose (far end), synced to music. Initial setup failed—three strips rendered amber as goldenrod, two as pale yellow, and one as burnt sienna. Guests described it as “sun-faded.” Marcus applied the 5-step workflow: he discovered thermal drift was worst on the south-facing section (ambient temp 8°C higher), and two strips had outdated firmware interpreting 2700K as 3100K. After resetting, re-mounting for testing, and applying individual CCT offsets (-400K for hot zones, -200K for shaded sections), plus subtle green-channel reductions on the yellow-leaning units, harmony emerged. The final gradient flowed without banding. Crucially, Marcus documented every offset and created a “porch profile” in his app—reapplying it automatically after firmware updates. His client reported zero color complaints over four weeks of nightly operation.
Do’s and Don’ts of Multi-Strip Calibration
| Action | Do | Don’t |
|---|---|---|
| Testing Environment | Use a matte white wall, dim ambient light, room temp 20–22°C | Test outdoors in daylight or near colored objects (brick, foliage, painted trim) |
| App Settings | Disable auto-brightness, motion sensing, and “adaptive lighting” during calibration | Rely on “Auto White Balance” or “Ambient Sync” features—they introduce variables |
| Physical Setup | Ensure identical power supply voltage (use separate 12V/24V adapters per strip if daisy-chaining causes voltage drop) | Daisy-chain more than three strips without verifying voltage at the last segment |
| Validation | Verify harmony at three distances: 1m (detail), 3m (typical viewing), and 10m (curbside) | Validate only up close—you’ll miss blending issues visible from afar |
| Maintenance | Re-check calibration every 3 months or after firmware updates | Assume “set and forget”—LED degradation accelerates after 6,000 hours |
FAQ
Can I calibrate strips from different brands together?
Technically yes—but not meaningfully. Each brand uses proprietary color spaces (Govee’s “Hue Scale,” Nanoleaf’s “True Color Engine,” Hue’s CIE 1931 xy). Even with identical RGB inputs, output varies by up to ΔE 15. For cross-brand harmony, limit mixing to monochrome white (2700K–3000K range) and avoid saturated colors. Prioritize strips from the same ecosystem for full-color scenes.
Why does my “pure white” still look off, even after calibration?
True white requires balancing three elements: correlated color temperature (CCT), chromaticity (x,y coordinates), and spectral power distribution (SPD). Consumer apps only control CCT and basic RGB. If your white has a green or magenta cast, it’s SPD-related—caused by LED phosphor quality. No software fix exists. Replace with strips rated ≥90 CRI (Color Rendering Index); look for “full-spectrum” or “high-CRI” models like Philips Hue White Ambiance or LIFX Clean.
Do I need a colorimeter for accurate calibration?
No—consumer-grade colorimeters (like X-Rite i1Display) cost $200+ and require technical expertise to interpret. Human vision, trained with controlled conditions and side-by-side comparison, achieves ΔE < 5 accuracy for decorative lighting. Reserve hardware tools for commercial installations or studio work. Your eyes, used methodically, are precise enough.
Conclusion: Harmony Is a Habit, Not a One-Time Fix
Calibrating smart light strips isn’t a technical hurdle—it’s an act of intentionality. It signals that you value cohesion over convenience, precision over presumption, and the quiet satisfaction of a display that feels unified, not assembled. Every time you reapply your documented offsets after a firmware update, every time you pause to verify consistency at street level, you’re reinforcing a standard that transforms seasonal decoration into curated experience. Don’t wait for next year’s display to begin. Pull out one strip tonight. Reset it. Mount it beside another. Compare 2700K. Adjust. Document. That single act builds the foundation for lights that don’t just glow—they resonate.


 浙公网安备
33010002000092号
浙公网安备
33010002000092号 浙B2-20120091-4
Comments
No comments yet. Why don't you start the discussion?