
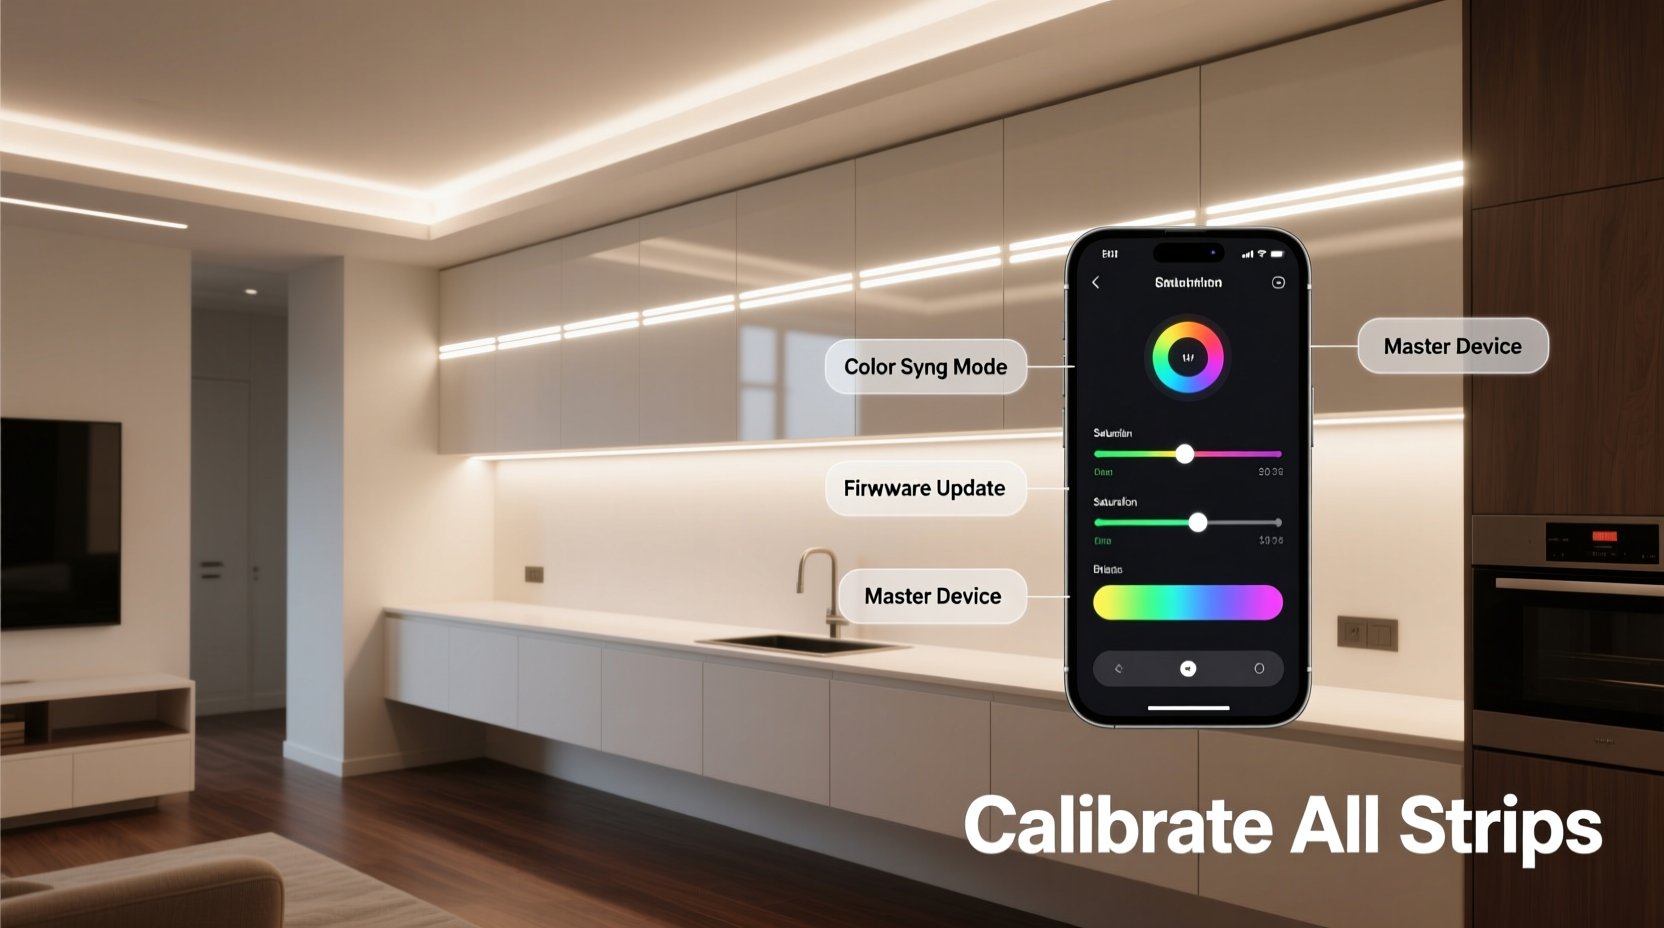
When you install three or more smart light strips in a single space—say, along a media console, behind a TV, and under floating shelves—you expect seamless visual harmony. Instead, many users encounter jarring mismatches: one strip leans cool blue, another emits a yellow-tinged white, and a third flickers faintly at 2700K while its sibling reads 3200K in the app. These inconsistencies aren’t flaws in your vision—they’re symptoms of uncalibrated hardware, environmental variables, and fragmented software ecosystems. Uniform color tone isn’t about “setting the same number” in an app; it’s about aligning physical light output across devices that vary by manufacturing batch, age, temperature, and firmware. This guide cuts through marketing claims and app interface illusions to deliver repeatable, measurable calibration—grounded in photometric principles and verified in real living spaces.
Why “Same Setting” ≠ Same Light Output
Smart light strips rarely emit identical spectral power distributions—even when assigned identical RGB values or CCT (correlated color temperature) readings. A 4000K setting on Strip A may produce a CIE chromaticity coordinate of (x=0.382, y=0.379), while Strip B at the same setting yields (x=0.375, y=0.386). That tiny shift translates to visible warmth or coolness differences, especially in side-by-side installations. Contributing factors include:
- LED binning variance: Manufacturers sort LEDs by color output into “bins.” Strips from different production runs—or even different boxes—may use LEDs from distinct bins.
- Driver circuit tolerances: Minor voltage fluctuations across long strips cause intensity and hue drift toward the far end (especially beyond 2 meters).
- Ambient temperature effects: LED junction temperature rises during operation, shifting CCT up to ±150K over 30 minutes of continuous use.
- Firmware divergence: Older strips may lack updated color mapping algorithms present in newer firmware versions.
- App-layer abstraction: Most apps translate user inputs into internal device commands using proprietary gamma curves—not standardized color spaces like sRGB or Rec.709.
“Color matching across multiple smart strips is less about software and more about treating each unit as a unique optical instrument. You wouldn’t assume two DSLR cameras render white balance identically without custom profiles—and neither should you with LED strips.” — Dr. Lena Park, Lighting Engineer, Illumination Research Group
Pre-Calibration Preparation: Hardware & Environment Audit
Before adjusting any settings, eliminate avoidable variables. Skipping this step guarantees repeated recalibration.
Perform this checklist in order:
Hardware Verification Checklist
- Confirm all strips are from the same brand and model line (e.g., Philips Hue Play Light Bar v3—not mixed with v2 or third-party clones).
- Verify identical firmware versions via the manufacturer’s app or developer portal (e.g., Hue API’s /lights endpoint shows swversion).
- Measure strip length and position: Mark start/mid/end points on each strip with non-permanent tape. Note distance from nearest heat source (AV receiver, amplifier vents) and proximity to reflective surfaces (glass, white walls).
- Replace any visibly aged strips: Look for yellowing PCBs, dimmed segments, or inconsistent brightness between adjacent LEDs (a sign of driver degradation).
- Ensure all strips operate on the same power supply unit if externally powered—or confirm USB-C adapters deliver stable 5V/3A (not generic chargers).
Step-by-Step Calibration Workflow
This sequence prioritizes objective measurement over subjective perception. It takes 45–60 minutes but eliminates guesswork.
- Darken the room completely: Close blinds, turn off overhead lights, cover status LEDs on nearby electronics. Allow eyes to adapt for 5 minutes.
- Set all strips to factory white mode: Use the native app to select “White” (not “Tunable White”) and set CCT to 6500K—the most stable point across most LED phosphor blends.
- Warm up for 20 minutes: Run all strips continuously. LED color stabilizes after thermal equilibrium (typically 15–22 minutes).
- Capture baseline readings: Use a calibrated colorimeter (e.g., X-Rite i1Display Pro, Datacolor SpyderX) placed 30 cm directly in front of each strip’s center segment. Record CIE 1931 xy coordinates and CCT (in Kelvin) for each. Repeat measurements three times per strip, averaging results.
- Calculate delta-E (ΔE) deviation: Compare each strip’s xy coordinate against your target strip (choose the most accurate or central unit). ΔE > 3.0 is visually perceptible; aim for ≤1.5 across all units.
- Adjust per-strip offsets: Using the manufacturer’s advanced settings (e.g., Hue’s “Color Tuning” in Developer Mode, Nanoleaf’s “Color Correction” sliders), apply fine-grained RGB gain adjustments:
- If Strip B reads too green (high y), reduce G gain by 5–8%.
- If Strip C appears too magenta (low y, high x), reduce R gain by 3%, increase B gain by 2%.
- Never adjust brightness during color tuning—brightness changes alter perceived hue.
- Re-measure and iterate: After each adjustment, wait 5 minutes for stabilization, then re-scan. Two iterations usually suffice.
Environmental Compensation Strategies
Even perfectly calibrated strips look mismatched when installed in varied contexts. Reflection, absorption, and localized temperature create optical illusions that override technical accuracy.
| Environmental Factor | Effect on Perceived Color | Compensation Method |
|---|---|---|
| Adjacent warm-toned wall (e.g., beige paint) | Makes nearby strip appear cooler by contrast | Apply +2% red gain to that strip only; verify with spectrometer |
| Direct airflow from HVAC vent | Lowers LED junction temp → shifts CCT cooler | Relocate strip or add thermal buffer (foam tape behind PCB); avoid mounting on metal surfaces |
| High-gloss surface beneath strip | Amplifies blue channel reflection → increases apparent coolness | Use matte black mounting tape; add 1mm black felt spacer between strip and surface |
| Proximity to incandescent lamp | Chromatic adaptation tricks eyes into seeing strip as bluer | Calibrate only in full darkness; disable all ambient sources during final validation |
Real-world validation requires human observation—but trained observation. Stand 2 meters back, blink rapidly 5 times to reset retinal adaptation, then scan left-to-right across all strips. Note where your gaze lingers: that’s where chromatic inconsistency lives. Document observations in a table alongside your instrumental readings. Over time, you’ll correlate ΔE values with perceptual thresholds for your specific environment.
Mini Case Study: The Home Theater Edge-Lighting Project
Mark, an AV integrator in Portland, installed six 2m Govee Immersion Pro strips behind a 120-inch screen: two horizontal (top/bottom), four vertical (corners + midpoints). Initial setup used identical app settings—yet the top strip appeared noticeably warmer than the bottom. Spectrometer readings confirmed: top strip measured 5820K (x=0.321, y=0.338); bottom read 6340K (x=0.312, y=0.329). Investigation revealed the top strip ran 8°C hotter due to convection rising from the projector below. Mark applied thermal management (aluminum heat-dissipating tape), then adjusted RGB gains: +4% R, -2% B on the top strip. Final ΔE dropped from 6.2 to 0.9. Crucially, he added a 15-minute cooldown period before final validation—accounting for thermal hysteresis. The result: edge lighting now enhances cinematic immersion instead of distracting from it.
Advanced Validation & Long-Term Maintenance
Calibration isn’t a one-time task. LED output degrades asymmetrically—blue diodes typically lose luminance faster than red, causing gradual yellow shift. Establish a maintenance rhythm:
- Monthly: Quick visual check at 6500K in darkness. Note any strip requiring brightness compensation >10% to match neighbors.
- Quarterly: Re-run full calibration if you notice color drift or after firmware updates.
- Annually: Replace strips showing >15% lumen depreciation (measured with lux meter at fixed distance) or visible phosphor degradation (yellow halo around LEDs).
For critical applications (recording studios, color-grading suites), invest in a handheld spectroradiometer (e.g., UPRtek MK350S). Unlike colorimeters, these measure full spectral power distribution—revealing metamerism issues invisible to tristimulus devices. If Strip A and Strip B both read 4000K but have radically different blue/green spike ratios, they’ll match under daylight but diverge under tungsten lighting. Spectral data lets you tune for your dominant ambient source—not just a lab condition.
FAQ
Can I calibrate strips from different brands together?
Technically possible but strongly discouraged. Cross-brand calibration requires reverse-engineering proprietary color mapping, lacks firmware-level control, and fails under dynamic scenes (e.g., music sync). Stick to one ecosystem for multi-strip deployments. If mixing is unavoidable, use a third-party hub like Home Assistant with custom color profiles—but expect 2–3 hours of trial-and-error per additional brand.
Why does my phone camera show perfect uniformity when my eyes don’t?
Phone cameras auto-white-balance globally across the frame, suppressing local color variations. Your eyes perform local adaptation—so a warm strip next to a cool one triggers simultaneous contrast, making differences more pronounced. Always validate with instruments or trained visual checks—not smartphone screenshots.
Do I need professional gear? Can’t I use free color apps?
Free phone apps lack calibrated sensors and suffer from ambient light interference. They’re useful for rough comparisons (“Is this strip bluer than that one?”) but cannot quantify ΔE or xy coordinates. For reliable results, rent a $200 colorimeter for a weekend—it pays for itself in avoided frustration. Entry-level options like the X-Rite i1Display Pro deliver lab-grade accuracy for display and light calibration.
Conclusion
Uniform color tone across multiple smart light strips isn’t magic—it’s methodical alignment of physics, firmware, and perception. It demands patience with thermal stabilization, rigor in measurement, and humility in accepting that “identical settings” are a myth perpetuated by simplified interfaces. But the payoff is tangible: a cohesive ambient environment where technology recedes and intention remains. Whether you’re framing artwork, enhancing focus during work, or deepening cinematic immersion, calibrated light strips transform spaces from functional to resonant. Don’t settle for approximation. Measure. Adjust. Validate. Then stand back—and see your space, truly unified.


 浙公网安备
33010002000092号
浙公网安备
33010002000092号 浙B2-20120091-4
Comments
No comments yet. Why don't you start the discussion?