
Creating a synchronized, visually stunning Christmas light display across multiple smart lighting systems can elevate your holiday decor from ordinary to extraordinary. But when you're working with brands like Philips Hue, LIFX, Nanoleaf, TP-Link Kasa, and LED strips powered by WLED or ESPHome, achieving true unity isn’t automatic. Without proper calibration, lights may flicker out of sync, show mismatched colors, or fail to respond cohesively to music or schedules. The solution lies not in replacing your gear, but in mastering cross-platform integration, timing precision, and color consistency.
This guide walks through the technical and practical steps required to harmonize diverse smart lighting ecosystems into one seamless holiday spectacle—without sacrificing control, responsiveness, or creativity.
Understanding the Challenge of Multi-System Light Displays
Each smart lighting brand uses its own communication protocol, app interface, and color interpretation logic. For example:
- Philips Hue relies on Zigbee and its bridge, translating HSB (Hue, Saturation, Brightness) values with proprietary gamma correction.
- LIFX uses Wi-Fi and interprets RGB inputs directly, often producing brighter whites than other systems.
- WLED-powered strips accept raw RGB data and offer granular control over effects—but without native support for third-party ecosystem commands.
When these systems operate independently, even identical color settings result in perceptible differences. A “pure red” on Hue may appear slightly orange next to a LIFX red. Worse, timing delays caused by network latency or polling intervals can throw off animations by hundreds of milliseconds—ruining the illusion of unity.
“Synchronization isn't just about turning lights on at the same time—it’s about microsecond-level coordination and perceptual color matching.” — Marcus Tran, Smart Lighting Integration Specialist, HomeSync Labs
The goal is not uniformity through limitation, but harmony through calibration: preserving each system’s strengths while aligning their behavior in space and time.
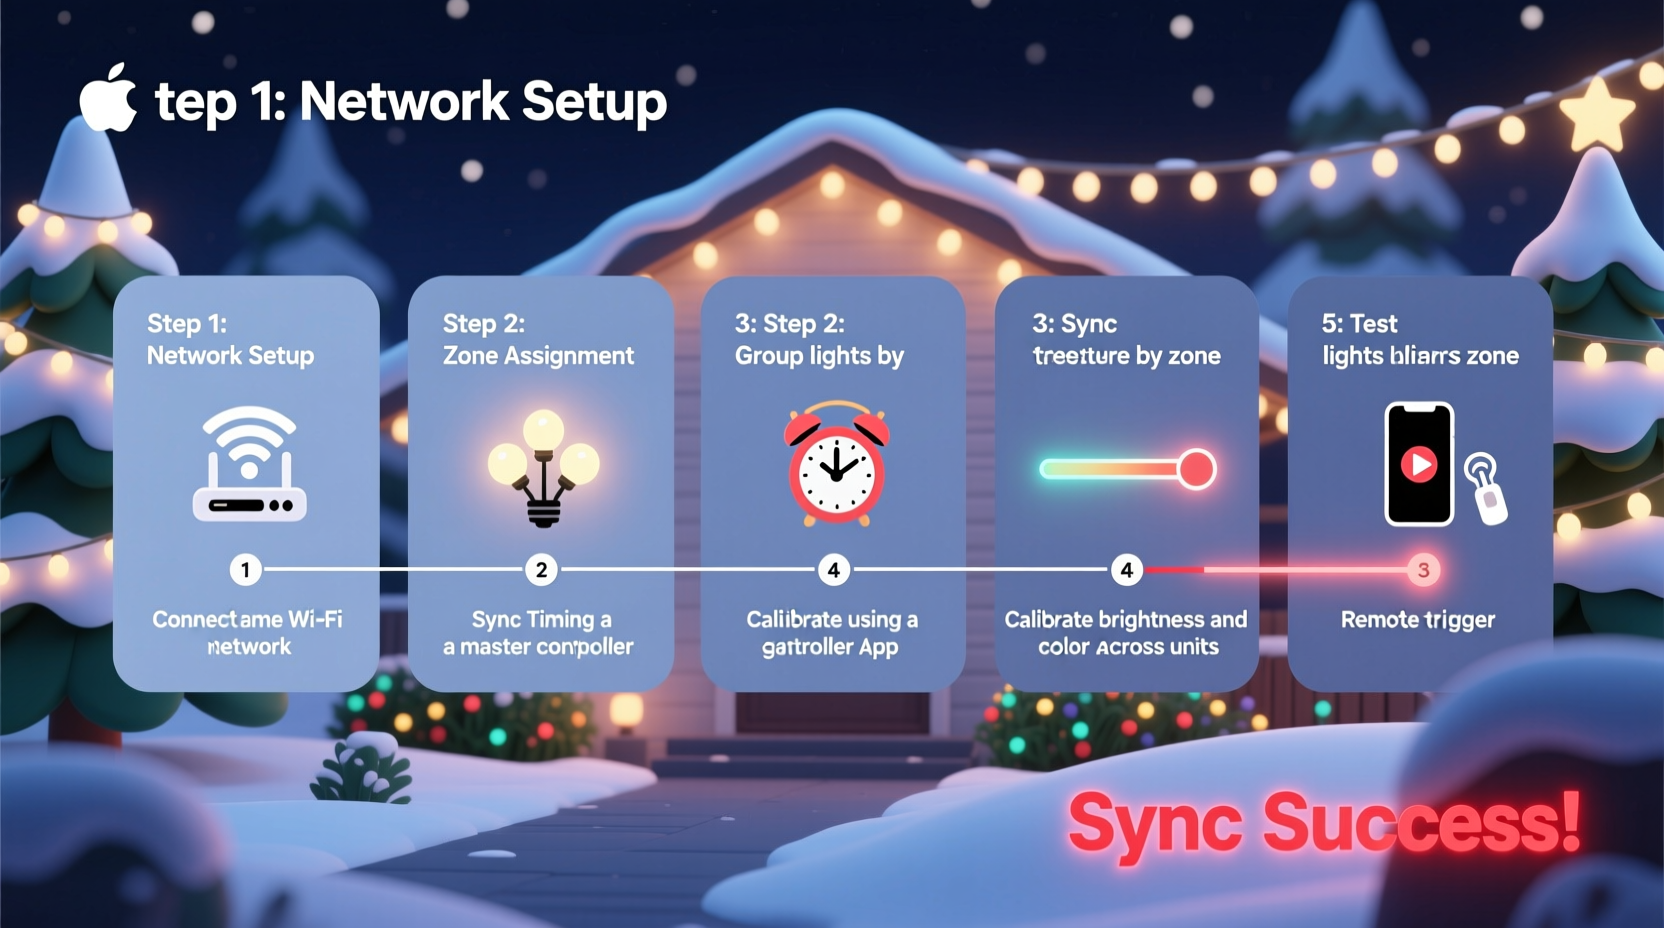
Step-by-Step Guide to Calibration
Follow this structured process to unify your multi-brand smart lighting setup for a cohesive Christmas display.
- Inventory and Map Your Devices
Create a list of all smart lights, including brand, model, power rating, and physical location (e.g., roofline, tree, porch). Group them by zone and note which are addressable (individually controllable) vs. grouped channels. - Unify Control via a Central Platform
Use a hub that supports multiple protocols. Recommended options:- Home Assistant – Open-source platform with integrations for nearly every smart light brand.
- Hubitat Elevation – Local processing reduces lag; supports Zigbee, Z-Wave, Wi-Fi devices.
- Node-RED – Visual programming tool ideal for orchestrating complex lighting sequences across APIs.
- Standardize Time Sources
Ensure all devices and controllers use NTP (Network Time Protocol) synchronization. Even a 50ms drift between systems causes visible desync during fast chases or beat detection. In Home Assistant, enable thentpintegration and verify all nodes report within ±10ms of UTC. - Calibrate Color Output
Display known reference colors (pure red #FF0000, green #00FF00, blue #0000FF, white #FFFFFF) on each system simultaneously. Observe under dark conditions and adjust using per-device correction factors:- For Hue: Use the
light.turn_onservice with explicit XY color values instead of RGB to avoid internal conversion errors. - For WLED: Enable gamma correction (typically γ=2.4) and use the palette editor to match industry-standard color spaces.
- For LIFX: Apply a brightness offset of -15% when matching lower-gamut systems to prevent washout.
- For Hue: Use the
- Synchronize Animation Timing
Instead of triggering effects individually, send a single timestamped command via MQTT or HTTP API to all endpoints. Example using Node-RED:msg.payload = { \"effect\": \"wipe\", \"start_time\": \"2023-12-01T18:00:00.000Z\", \"duration\": 5000 };Each device calculates its animation phase based on the global start time and local clock. - Test with Music Sync
Play a test track with strong, regular beats (e.g., Mariah Carey’s “All I Want for Christmas Is You”). Use a shared audio input source (like a Raspberry Pi with a microphone) to generate beat triggers broadcast via MQTT. Measure response delay using a high-speed camera or photodiode sensor array. Adjust buffer times per device until all lights flash within 20ms of the beat.
Device Compatibility and Best Practices Table
| Brand/System | Communication | Best For | Calibration Tip |
|---|---|---|---|
| Philips Hue | Zigbee + Bridge | Precise indoor scenes | Use XY color mode; avoid RGB conversion |
| LIFX | Wi-Fi (UDP) | Bright outdoor zones | Reduce brightness by 10–15% to match Hue/Nanoleaf |
| Nanoleaf Shapes | Wi-Fi + Rhythm Module | Wall-mounted art displays | Set rhythm sensitivity to “Medium” for consistent beat response |
| WLED (ESP8266/ESP32) | Wi-Fi (HTTP/MQTT) | Custom addressable strips | Enable gamma correction (γ=2.4) and set color order (GRB vs RGB) |
| TP-Link Kasa | Wi-Fi (Cloud) | Affordable plug-in strings | Minimize cloud dependency; use local API if available |
Real-World Example: The Miller Family Display
The Miller family in Portland, Oregon, runs an annual drive-through Christmas display viewed by over 2,000 visitors. Their setup includes:
- 200-node WLED strip on the roof
- 6 Philips Hue floodlights illuminating trees
- Two Nanoleaf Outline panels forming a starburst wall display
- Dozens of Kasa smart plugs controlling traditional incandescent strings
Last year, their initial test revealed significant lag: the roof lights reacted 300ms after the Hue spots during music sync. Using Home Assistant as a central controller, they implemented a timestamp-based trigger system. They also adjusted the Hue lights to use CIE 1931 chromaticity coordinates matching the WLED palette, reducing color variance. After calibration, all systems responded within 18ms of the beat, creating a fluid, immersive experience.
“We didn’t need to buy new gear,” says David Miller, the project lead. “We just needed to speak the same language.”
Essential Checklist for Unified Displays
- ✅ Audit all smart lighting devices by brand, model, and location
- ✅ Connect all systems to a central automation platform (e.g., Home Assistant)
- ✅ Synchronize clocks using NTP across all controllers
- ✅ Calibrate color output using reference swatches and visual comparison
- ✅ Test animation sync with a metronome or steady-beat song
- ✅ Implement timestamped commands instead of individual triggers
- ✅ Document IP addresses, API endpoints, and calibration offsets
- ✅ Perform final test under real viewing conditions (nighttime, cold temps)
Frequently Asked Questions
Can I synchronize lights across different Wi-Fi networks?
Yes, but it increases latency and risk of packet loss. For best results, place all lighting controllers on the same 5GHz VLAN with QoS prioritization for UDP traffic. Alternatively, use wired Ethernet backhaul for critical nodes like WLED controllers.
Do I need to use the same brand to achieve perfect sync?
No. While same-brand systems simplify setup, modern integration tools allow cross-platform synchronization that is indistinguishable to the human eye when properly calibrated. The key is centralized control and timing alignment—not hardware uniformity.
How do I handle power cycling during a display?
Configure all devices to restore last state on reboot. In WLED, enable “Auto Fill On Boot.” In Hue, set groups to recall a specific scene. In Home Assistant, create an automation that re-applies the active effect within 10 seconds of device reconnect.
Final Tips for a Flawless Holiday Show
Even with perfect technical calibration, environmental factors matter. Cold temperatures can slow LED response times and affect Wi-Fi signal propagation. Test your display at the coldest expected operating temperature. Also, consider viewer perspective: lights seen from 50 feet away tolerate more timing variance than those up close.
Finally, build redundancy. Have a backup Raspberry Pi running your Node-RED flows. Store configuration backups offline. And always keep a manual override switch for emergency shutdown.
“The most magical displays aren’t the brightest—they’re the ones where every light feels like part of a single living organism.” — Lena Cho, Interactive Light Artist
Bring Your Vision to Life
Calibrating multiple smart light systems for a unified Christmas display is equal parts engineering and artistry. It demands attention to detail, patience in testing, and a willingness to look beyond brand silos. But the payoff—a jaw-dropping, perfectly synchronized holiday showcase—is worth every minute.
You don’t need identical bulbs or a single app to create magic. You need strategy, tools, and the know-how to make disparate technologies work as one. Now that you have it, go light up the season.


 浙公网安备
33010002000092号
浙公网安备
33010002000092号 浙B2-20120091-4
Comments
No comments yet. Why don't you start the discussion?