
As smart lighting technology advances, more homeowners are investing in programmable LED Christmas lights to create dynamic, synchronized holiday displays. However, one common frustration undermines even the most sophisticated setups: inconsistent color temperatures between strands. One string may emit a warm golden glow while another shines with a cool blue tint—despite being set to the same \"white\" setting. This mismatch breaks visual harmony and diminishes the impact of your display.
The root cause lies in manufacturing variances, firmware differences, and environmental exposure. But the good news is that with proper calibration techniques, you can achieve uniform color output across all your smart light strands. Whether you're decorating a rooftop, wrapping trees, or outlining windows, consistency enhances professionalism and aesthetic appeal.
Understanding Color Temperature in Smart Lights
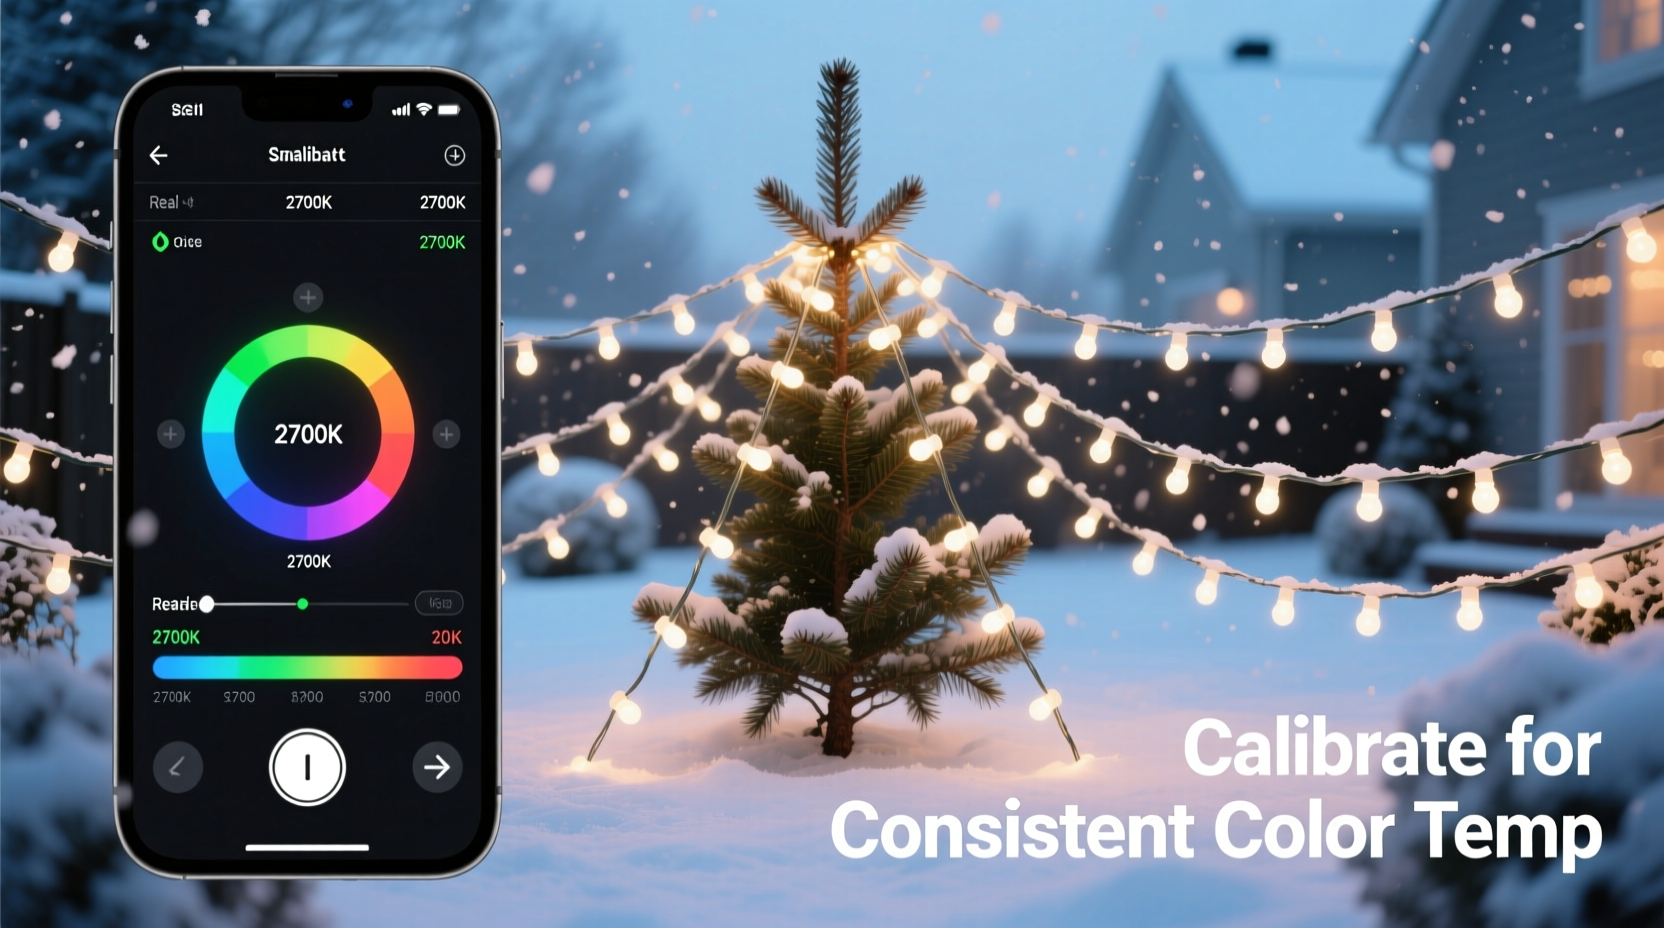
Color temperature refers to the warmth or coolness of white light, measured in Kelvin (K). Lower values (2700K–3000K) produce warm, candle-like tones, while higher values (5000K–6500K) yield crisp, daylight-like illumination. Most smart Christmas lights offer adjustable white modes within this range, allowing users to shift from cozy to vibrant as needed.
However, not all LEDs interpret these settings the same way. Even two strands from the same brand may display slight variations due to:
- Differences in LED binning during production
- Firmware versions affecting color rendering
- Aging of diodes over time
- Exposure to heat, moisture, or UV radiation
- Power supply fluctuations
These discrepancies become especially noticeable when multiple strands are placed side by side. A strand calibrated at 3200K might appear visibly warmer than another labeled 3200K if its components have aged differently or were manufactured under slightly different conditions.
“Consistency in color temperature isn’t just about aesthetics—it’s about creating a cohesive experience. When lights don’t match, the brain perceives it as an error, which distracts from the intended ambiance.” — Dr. Lena Torres, Lighting Psychologist and Environmental Design Researcher
Step-by-Step Guide to Calibrating Smart Christmas Light Strands
Calibration ensures that every strand reproduces colors and whites identically. Follow this detailed process to align multiple smart light strings for seamless integration.
- Group lights by model and batch number
Start by sorting your strands. Lights from the same product line and manufacturing batch are more likely to respond similarly to commands. Avoid mixing older models with newer ones unless necessary. - Update all firmware
Use the manufacturer’s app (e.g., Philips Hue, LIFX, Govee, Twinkly) to check for firmware updates. Outdated firmware can cause inconsistent behavior. Ensure each controller or hub is running the latest version. - Reset lights to factory settings
Perform a full reset on each strand to eliminate custom scenes, brightness levels, or corrupted settings. Refer to the user manual for reset instructions—usually involving holding a button for 10 seconds or using a sequence in the app. - Set identical power sources
Connect all strands to the same type of power adapter or USB port. Voltage drops from low-quality power supplies can alter perceived brightness and color tone. - Warm up the LEDs
Turn on all lights and let them run at 100% brightness for 15 minutes. LEDs stabilize thermally after warming, reducing initial color drift. - Select a reference strand
Pick one strand as your “master” standard. Choose the one with the most desirable white balance—typically around 3000K for traditional warmth or 4000K for modern neutrality. - Adjust CCT (Correlated Color Temperature) manually
In your app, set the master strand to your target temperature. Then, one by one, adjust other strands until they visually match the master under the same ambient lighting conditions. - Use a lux meter or colorimeter (optional but recommended)
For precision, use a handheld colorimeter like the Datacolor ColorChecker or a smartphone app such as Luxi or Spectral Pro. Measure the actual Kelvin output of each strand and fine-tune digitally until readings align within ±100K. - Create and save a unified scene
Once all strands match, save the configuration as a preset named “Calibrated White – 3000K” or similar. Apply this scene globally through group controls. - Test in real-world conditions
View the setup at night, midday, and dusk. Ambient light affects perception—what looks balanced in daylight may appear off at twilight. Make minor adjustments based on viewing context.
Best Practices for Maintaining Consistent Output Over Time
Calibration isn’t a one-time task. To preserve consistency across seasons, adopt preventive maintenance habits.
- Store properly during off-seasons: Keep lights coiled loosely in climate-controlled storage. Extreme cold or heat accelerates LED degradation.
- Clean connectors regularly: Dust and corrosion on plug contacts can lead to signal loss or flickering, indirectly affecting color stability.
- Re-calibrate annually: Before each holiday season, recheck color alignment. Diodes degrade unevenly; early detection prevents major mismatches.
- Label each strand: Use tags or colored tape to identify calibrated groups. This simplifies future setup and troubleshooting.
- Avoid partial replacements: If a section fails, replace the entire strand rather than splicing in new segments. Mismatched batches rarely blend seamlessly.
Comparison Table: Calibration Methods Across Popular Brands
| Brand | Adjustable White Range | App-Based Calibration | Manual Override | Notes |
|---|---|---|---|---|
| Govee | 2000K–6500K | Yes, via H801/802 controllers | RGB+W sliders available | Supports DIY color profiles; ideal for precise tuning |
| Twinkly | 2700K–6000K | Yes, with pixel-level control | Limited to presets | Best for large installations; includes auto-calibration mode |
| LIFX | 2000K–9000K | Yes, via LIFX app | Full RGB+White blending | High dynamic range but may require external tools for matching third-party lights |
| Philips Hue | 2000K–6500K | Yes, with Bridge v2+ | Precise Kelvin input | Excellent consistency out-of-box; limited compatibility with non-Hue strips |
| Feit Electric (Smart Life) | 2700K–5000K | Basic adjustment only | No granular control | Budget-friendly but less reliable for multi-strand synchronization |
Real Example: Matching 12 Strands for a Roofline Display
Homeowner Mark R. installed twelve 50-light Govee Wi-Fi LED strands along his roofline. After setup, he noticed three strands emitted a noticeably bluer white than the rest—even though all were set to “3000K” in the app.
He began by resetting each controller and updating firmware. Using the Govee Home app, he set one central strand as the reference point. Then, standing on a ladder at eye level, he adjusted adjacent strands incrementally—lowering the color temperature by 100K steps until visual parity was achieved.
To verify accuracy, he used the Spectral Pro app on his iPhone with a diffuser cap. Readings showed the original outlier strands registering at 3400K despite being set to 3000K. After manual correction to 2800K in-app, actual output matched the master strand at 3000K.
The final result was a continuous, uniform band of warm white light that enhanced curb appeal without distracting inconsistencies. Mark now recalibrates every November and keeps a log of optimal settings per strand.
Essential Checklist for Multi-Strand Calibration
Follow this checklist before and during calibration to ensure success:
- ☐ Gather all smart light strands intended for the display
- ☐ Verify model numbers and manufacturing dates match as closely as possible
- ☐ Charge or connect all controllers/hubs
- ☐ Install the latest version of the companion app
- ☐ Reset each strand to factory defaults
- ☐ Power all strands using identical, high-quality adapters
- ☐ Allow LEDs to warm up for 10–15 minutes
- ☐ Select a master strand with preferred color tone
- ☐ Adjust remaining strands to match master visually and/or with measurement tool
- ☐ Save the unified setting as a named scene
- ☐ Test under various lighting conditions (dawn, dusk, full dark)
- ☐ Label calibrated groups for future use
Frequently Asked Questions
Can I mix different brands of smart lights and still achieve consistent color?
It’s technically possible but extremely challenging. Different manufacturers use varying LED chips, phosphor coatings, and firmware logic. While apps like Home Assistant or Hubitat allow centralized control, achieving true color parity requires extensive manual tweaking—and even then, long-term reliability is questionable. For best results, stick to a single ecosystem.
Why do my lights look different at night versus during the day?
This is due to metamerism—the phenomenon where colors appear to match under one light source but differ under another. Additionally, human vision shifts toward blue sensitivity in low light (Purkinje effect), making cooler tones more prominent at night. Always test calibration in the actual operating environment and time of day.
Do smart bulbs degrade faster than traditional LEDs?
Not necessarily. The lifespan of smart LEDs depends more on thermal management and usage patterns than intelligence. However, because smart lights are often used more frequently and in complex animations, they may accumulate more operational hours. Quality units typically last 15,000–25,000 hours regardless.
Maintain Harmony Through Precision
Achieving consistent color temperature across multiple smart Christmas light strands transforms a simple decoration into a polished, intentional display. It reflects attention to detail and elevates the emotional impact of your holiday lighting. While the process demands patience and precision, the payoff—a seamless, immersive glow—is well worth the effort.
With the right tools, methodology, and maintenance routine, you can ensure every strand contributes to a unified visual story. Don’t settle for near-matches or approximate settings. True harmony comes from deliberate calibration and ongoing care.


 浙公网安备
33010002000092号
浙公网安备
33010002000092号 浙B2-20120091-4
Comments
No comments yet. Why don't you start the discussion?