
For competitive gamers, attending a tournament isn't just about showing up—it's about arriving prepared. One of the most overlooked aspects of tournament readiness is transporting your gear, especially multiple controllers. Whether you're switching between console-specific models, bringing backups for different games, or carrying custom-tuned devices, managing them during travel requires strategy. The last thing you want is a cracked casing, loose joystick, or damaged cable because your controllers were tossed into a backpack without thought. This guide covers proven methods, tools, and real-world tactics to keep your controllers safe, organized, and ready for match time.
Choose the Right Carrying Case
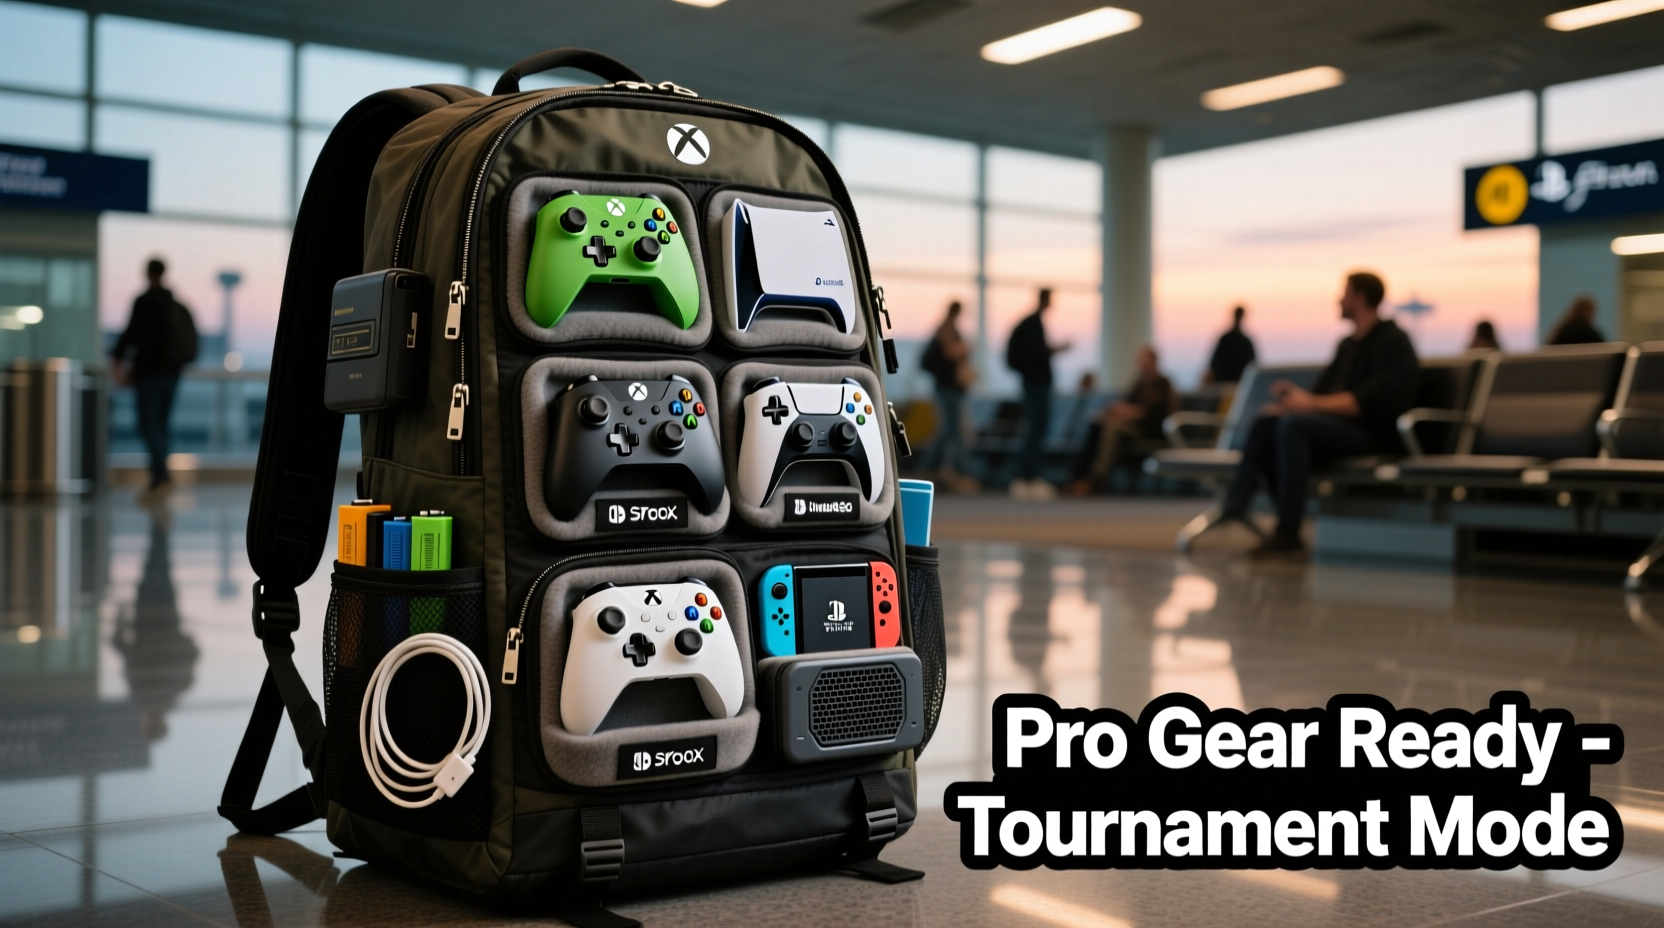
The foundation of any reliable controller transport system is a well-designed case. Not all cases are created equal—some prioritize portability over protection, while others offer excessive bulk for minimal gain. Look for cases that balance durability, customization, and ease of access.
Hard-shell cases with foam inserts are ideal for maximum impact resistance. These allow you to cut custom cavities for each controller, ensuring they don’t shift during transit. Brands like Pelican and Nanuk offer waterproof, dustproof, and crush-resistant options favored by professional esports athletes.
For lighter travel, padded nylon cases with adjustable dividers work well. They’re less bulky and often fit inside larger luggage. Some even include exterior pockets for cables, thumb caps, and battery packs.
Organize by Priority and Use
Carrying multiple controllers means making smart decisions about what you actually need. Most players bring three types: primary competition controller, backup (same model), and specialty controller (e.g., fight stick or GameCube-style).
Organizing them by usage priority helps streamline packing and retrieval. Place your main controller in the most accessible slot. If your case has a quick-access flap or front pocket, use it for this device. Your backup should be nearby but not in the way—typically in a secondary compartment. Specialty controllers can go deeper in the case, as they’re used less frequently.
This tiered approach reduces stress during transitions between events. You won’t waste time digging through layers when moving from Super Smash Bros. to Street Fighter.
| Controller Type | Recommended Placement | Protection Level Needed |
|---|---|---|
| Main Competition Controller | Top/front compartment | High (but easily accessible) |
| Backup Controller | Middle layer or side pocket | High |
| Fight Stick / Arcade Stick | Dedicated lower section | Very High (bulky, fragile parts) |
| GameCube-Style or Legacy | Nested beside main or in modular tray | Medium (durable build, but small parts) |
Step-by-Step: Preparing Controllers for Travel
Packing controllers isn’t just about stuffing them into a bag. Follow this sequence to ensure long-term reliability and immediate usability upon arrival.
- Clean Each Controller: Wipe down surfaces with a microfiber cloth slightly dampened with isopropyl alcohol (70%). Avoid spraying liquid directly onto buttons or sticks.
- Remove Attachable Parts: Take off thumb caps, back paddles, or extended triggers. Store these in labeled silicone bags or small containers.
- Check Battery Status: For wireless controllers, either fully charge them or remove batteries if storing long-term. Lithium-ion cells degrade faster when stored at full charge.
- Secure Cables Separately: Never wrap USB or charging cables around controllers. Instead, coil them neatly and place in zippered mesh pockets.
- Label Each Controller: Use discreet tape or engraved tags to mark which game or character setup each one is optimized for.
- Test Before Packing: Power on each controller briefly to confirm inputs register. A faulty device packed unnoticed could ruin your tournament prep.
- Insert into Case with Padding: Nestle each controller into its designated spot, ensuring no part hangs over the edge or rubs against another.
“Top-tier players treat their controllers like athletes treat their equipment—every scratch, calibration, and storage condition matters.” — Marcus Lin, Head Coach at Tempo Storm Esports
Avoid Common Packing Mistakes
Even experienced travelers make errors that compromise controller integrity. Awareness of these pitfalls prevents avoidable damage.
- Mixing controllers loosely in a backpack: Without separation, constant friction wears down analog stick rings and damages D-pad edges.
- Exposing to extreme temperatures: Leaving controllers in a hot car or near airport X-ray machines can warp plastic and degrade internal circuitry.
- Over-packing the case: Squeezing in extra gear stretches zippers and stresses seams. If the case doesn’t close smoothly, repack.
- Ignoring airline regulations: While controllers are allowed in carry-ons, lithium batteries (in rechargeable controllers) must not exceed 100Wh and should remain installed.
- Using untested third-party cases: Cheap knockoffs may look similar to premium brands but lack shock absorption and water resistance.
Real-World Example: Pro Player Tournament Routine
Jessica “Jynx” Rivera, a top-ranked Super Smash Bros. Ultimate player, travels to over 15 tournaments a year across North America. Her routine reflects meticulous preparation.
Before every trip, she uses a custom-cut EVA foam insert inside a medium-sized hard case. She carries four controllers: two modified Nintendo Switch Pro Controllers (one primary, one backup), a GameCube controller with a longer cable for friendlies, and a smaller third-party pad for training sessions.
Each controller is cleaned and tested the night before departure. Thumb caps are stored in a magnetized silicone tray labeled by sensitivity setting. Her case also includes a power bank, two USB-C cables, and a printed sheet of her input lag settings per device.
At airports, she keeps the case as a personal item under her seat. During layovers, she avoids placing it on dirty floors or near food spills. Upon arrival, she does a five-minute warm-up using her main controller to verify responsiveness.
“I’ve seen people show up with controllers wrapped in socks,” she says. “It’s cute, but it’s risky. One drop and your tournament’s over before it starts.”
Travel Checklist: Ready Your Controllers Like a Pro
Use this checklist before every trip to ensure nothing is forgotten:
- ✅ Clean all controllers with microfiber cloth
- ✅ Remove and store thumb caps, paddles, or mods
- ✅ Charge or install fresh batteries
- ✅ Pack cables separately in protective sleeves
- ✅ Verify case has enough padding and secure compartments
- ✅ Label each controller for quick identification
- ✅ Confirm airline baggage rules for electronics
- ✅ Include backup accessories (cables, adapters, screws)
- ✅ Test each controller after packing
- ✅ Carry case as hand luggage whenever possible
FAQ: Common Questions About Traveling With Multiple Controllers
Can I bring multiple controllers on a plane?
Yes, you can bring multiple controllers on a plane. They are permitted in both carry-on and checked luggage, though it’s strongly recommended to keep them in your carry-on to avoid rough handling. Wireless controllers with built-in batteries fall under standard lithium-ion rules and do not require special declaration unless removed and packed separately in large quantities.
Should I disassemble modded controllers for travel?
If your controller has easily detachable components like back buttons or extension kits, it’s wise to remove them before travel. Internal modifications (e.g., soldered PCB upgrades) don’t need disassembly, but ensure all screws are tightened. Loose internal parts can shift and cause shorts during turbulence or jostling.
What’s the best way to protect analog sticks?
Analog sticks are among the most vulnerable parts. Use silicone stick caps during transit to prevent dust ingress and physical bending. Avoid placing weight on top of controllers. In hard cases, position controllers so sticks aren’t compressed against the lid. For extra protection, consider removable plastic guards designed for shipping.
Conclusion: Arrive Ready, Play Confident
Bringing multiple controllers to a gaming tournament isn’t just about having spares—it’s about maintaining peak performance under pressure. The right case, smart organization, and disciplined prep turn what could be a logistical headache into a seamless advantage. When your gear arrives intact and immediately usable, you eliminate one more source of stress before competing.
Whether you're flying cross-country or driving to a local event, treat your controllers with the care they deserve. Invest in quality storage, follow a consistent packing routine, and learn from the habits of professionals who rely on their equipment daily. Small efforts in preparation translate directly into confidence at the starting line.


 浙公网安备
33010002000092号
浙公网安备
33010002000092号 浙B2-20120091-4
Comments
No comments yet. Why don't you start the discussion?