
Changing the color of an object can breathe new life into worn-out items, personalize your space, or express creativity. Whether you're refreshing old furniture, altering clothing, editing photos, or experimenting with hair dye, the process follows universal principles: preparation, selection, application, and maintenance. This guide breaks down the steps in clear, practical terms so anyone—regardless of experience—can confidently transform color across materials and mediums.
Understanding Color Change Basics
Before picking up a paintbrush or opening an app, it’s essential to understand what drives color transformation. The method depends on three factors: material type, desired permanence, and tools available. For example, changing the color of a cotton shirt requires different techniques than recoloring a photo on your phone. However, all approaches share core stages: surface prep, choosing the right coloring agent, applying evenly, and sealing or preserving the result.
Color theory also plays a role. Light colors are easier to darken than vice versa. Going from black to white, for instance, demands complete pigment removal first—bleaching for fabrics, sanding for wood, or erasing layers digitally. Always test your chosen method on a small, hidden area before full application.
Step-by-Step Guide to Changing Physical Colors
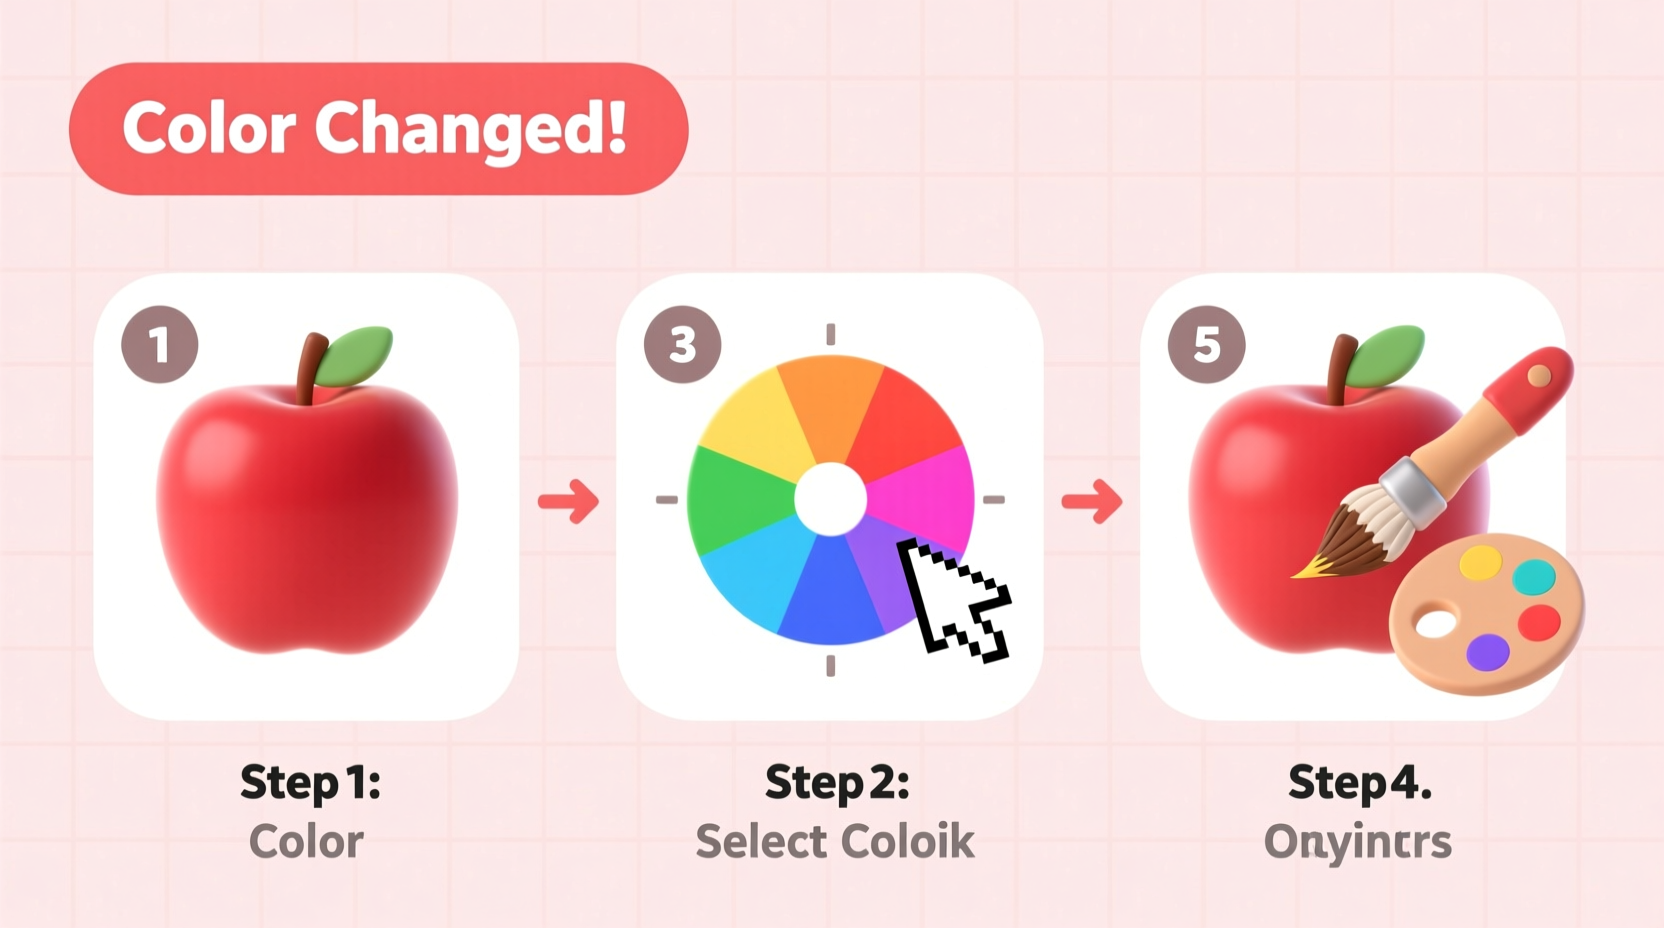
Physical objects require hands-on work. Follow this universal five-step process for best results:
- Assess the Material: Identify whether the item is fabric, metal, plastic, wood, or another substance. Each absorbs color differently.
- Clean Thoroughly: Remove dirt, grease, or residue. A clean surface ensures even coverage and better bonding.
- Prepare the Surface: Sand rough areas, patch holes, or apply a deglosser if needed. For textiles, pre-wash without fabric softener.
- Apply the New Color: Use spray paint, fabric dye, permanent markers, or specialized coatings depending on the material. Apply thin, even coats.
- Seal and Protect: Add a clear sealant to prevent fading, chipping, or washing out, especially for high-use items.
This sequence works for painting a metal chair, tie-dyeing a t-shirt, or staining a wooden shelf. Adjust tools and products based on the object, but keep the structure consistent.
Common Materials and Recommended Methods
| Material | Best Coloring Method | Drying Time | Longevity |
|---|---|---|---|
| Cotton Fabric | Hot water fabric dye | 6–8 hours (including rinse) | Years with proper care |
| Wood | Oil-based stain or paint | 4–24 hours per coat | 5+ years |
| Plastic | Spray paint with plastic primer | 1–2 hours | 1–3 years |
| Walls (Drywall) | Latex paint with roller | 2–4 hours between coats | 7–10 years |
| Hair | Ammonia-based or semi-permanent dye | 30–45 minutes | 4–6 weeks (fading varies) |
Recoloring Digital Content
Changing color in digital environments—like photos, graphics, or website elements—is faster and reversible. Most editing software uses layer-based adjustments that preserve the original file.
To alter colors in an image:
- Open the file in a program like Adobe Photoshop, GIMP, or Canva.
- Select the area using tools like the Magic Wand or Lasso.
- Use “Hue/Saturation,” “Color Balance,” or “Replace Color” functions to adjust tones.
- Zoom out frequently to check for unnatural edges or blotchiness.
- Save a copy in the original format and export a new version.
For web design, changing color often involves editing CSS. For example, to switch a button from blue to green:
button {
    background-color: #2ecc71; /* Green */
    border: none;
    color: white;
    padding: 10px 20px;
}
Always preview changes on multiple devices to ensure readability and visual harmony.
“Digital recoloring gives instant feedback, but physical applications teach patience and precision. Both build valuable creative skills.” — Lena Patel, Multimedia Artist and Educator
Mini Case Study: Reviving a Faded Backpack
Jamal had a favorite nylon backpack that turned dull after two years of outdoor use. Instead of replacing it, he decided to repaint it. He cleaned it with mild soap, dried it completely, then taped off zippers and straps. Using flexible fabric paint made for synthetics, he applied two thin coats, waiting four hours between layers. After 24 hours of curing, he sealed it with a waterproof spray. The result? A vibrant navy-blue backpack that looked brand new—and lasted another three years.
This example shows how understanding material compatibility and following proper drying times leads to durable results.
Essential Tips for Success
- Always wear gloves to protect your skin from stains and chemicals.
- Shake spray cans vigorously for at least one minute before use.
- Mix custom colors on a disposable palette—start small and scale up once satisfied.
- Avoid direct sunlight during drying; UV rays can cause premature curing or uneven finishes.
Frequently Asked Questions
Can I change the color of leather?
Yes, but only with specialized leather dye and finisher. Regular paint will crack and peel. Clean the surface with a leather degreaser first, apply dye with a sponge, and finish with a protective topcoat designed for flexibility.
What if I make a mistake while painting?
Act quickly. Wet paint can be wiped off with a damp cloth appropriate for the solvent (water for latex, mineral spirits for oil). Once dry, you may need to sand or re-coat the entire surface for uniformity.
How do I make sure the new color lasts?
Proper sealing is key. Use UV-resistant varnish for outdoor items, fabric fixative for textiles, and clear nail topcoat for small crafts. Store dyed or painted objects away from moisture and extreme temperatures.
Final Checklist Before You Begin Any Color Change
- Identify the material of the object
- Gather appropriate coloring product and tools
- Clean and prepare the surface
- Test on a small or hidden area
- Work in a ventilated, protected space
- Apply color in thin, even layers
- Allow proper drying time between coats
- Seal or set the color for durability
- Store leftover materials safely
- Clean tools immediately after use
Start Transforming Today
Changing the color of anything doesn’t require expert training—just attention to detail and the willingness to experiment. From revamping old clothes to redesigning digital layouts, color transformation empowers you to customize your world. With the right approach, even simple projects yield professional-looking results. Don’t wait for perfection. Gather your supplies, follow these steps, and take that first brushstroke. The only true mistake is not trying at all.


 浙公网安备
33010002000092号
浙公网安备
33010002000092号 浙B2-20120091-4
Comments
No comments yet. Why don't you start the discussion?