
Cleaning a blender doesn’t have to mean unscrewing blades, scrubbing gaskets, or wrestling with stubborn pulp stuck in hard-to-reach crevices. For people who use their blenders daily—whether for smoothies, sauces, or protein shakes—a full disassembly every time is impractical. The good news is that you can keep your blender hygienic and odor-free with minimal effort using simple, non-invasive cleaning methods. These techniques preserve the integrity of your appliance while saving time and reducing wear on seals and motors.
The key lies in understanding how residue builds up and using immediate post-blend habits to prevent long-term staining or bacterial growth. With just water, dish soap, and common household items, you can maintain a sparkling-clean blender in under two minutes—no tools required.
Why Avoid Frequent Disassembly?
While manufacturers often recommend occasional deep cleaning by disassembling the blender jar, doing so after every use introduces unnecessary risks. Repeatedly removing and reattaching the blade assembly can loosen the seal, leading to leaks. It also increases the chance of cross-threading or damaging the rubber gasket, which may result in mold accumulation over time if not dried properly.
Additionally, frequent handling of sharp blades raises safety concerns. Many users injure themselves trying to clean around the blades manually. A no-disassembly method eliminates these issues while still ensuring cleanliness.
“Daily maintenance without disassembly prevents 90% of buildup and extends blender lifespan significantly.” — Dr. Linda Chen, Appliance Hygiene Researcher, HomeTech Institute
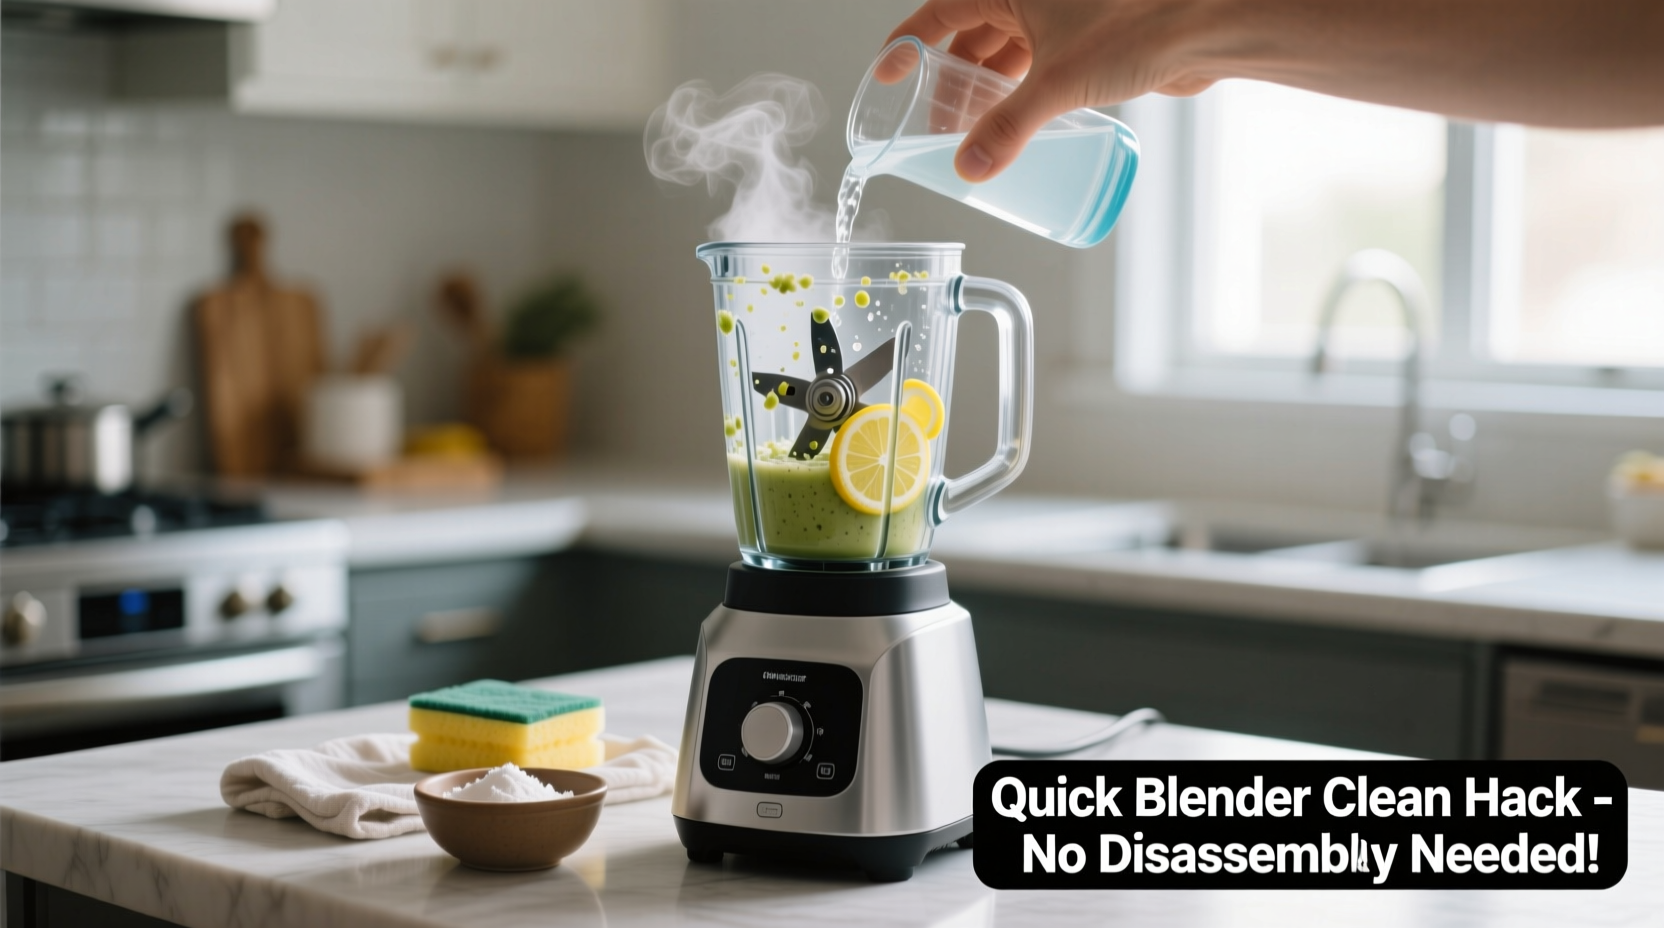
Step-by-Step: The 90-Second Blender Rinse Method
This technique works best immediately after blending, before residues dry and harden. It’s ideal for smoothie lovers, sauce makers, and anyone who uses their blender multiple times a week.
- Rinse lightly: Pour out leftover contents and give the jar a quick rinse with warm water to loosen any clinging particles.
- Add soapy water: Fill the blender halfway with warm water and add one teaspoon of mild dish soap.
- Blend for 30 seconds: Secure the lid tightly and run the blender on medium speed for 30 seconds. The spinning action lifts debris from the sides and base.
- Scrub gently (optional):strong> Use a soft sponge or bottle brush to wipe the interior if needed—never insert fingers near the blades.
- Rinse thoroughly: Empty the soapy mixture and rinse the jar well under running water.
- Air dry upside down: Place the jar inverted on a drying rack to ensure all moisture escapes, especially around the base.
Vinegar & Baking Soda Deep Clean (Without Taking It Apart)
Even with daily rinsing, mineral deposits, odors, and film can accumulate over time—especially when processing dairy, oils, or citrus. Once a week, perform a deeper clean using natural descaling agents.
What You’ll Need:
- 1 cup white vinegar
- 1 tablespoon baking soda
- Warm water
- Blender jar (removed from base)
Instructions:
- Pour one cup of white vinegar into the blender jar.
- Add one tablespoon of baking soda. Expect fizzing—it helps lift grime.
- Fill the jar halfway with warm water.
- Cover and blend for 45 seconds on high.
- Let the mixture sit for 5–10 minutes to break down residue.
- Empty and rinse thoroughly with hot water.
- Dry completely before reattaching.
This method dissolves sticky films, removes cloudiness from plastic jars, and neutralizes lingering smells. Vinegar acts as a disinfectant, while baking soda gently scrubs without scratching surfaces.
Common Mistakes That Damage Blenders During Cleaning
Improper cleaning habits may seem harmless but can shorten your blender’s life or create hygiene hazards. Below are frequent errors and safer alternatives.
| Mistake | Why It’s Harmful | Better Alternative |
|---|---|---|
| Using steel wool or abrasive pads | Scratches plastic jars, creating hiding spots for bacteria | Use soft sponges or nylon brushes |
| Leaving soapy water inside overnight | Can degrade rubber seals and cause leaks | Clean and dry within an hour |
| Submerging the motor base | Causes electrical failure and voids warranty | Wipe with damp cloth only |
| Forgetting to clean the rim and lid gasket | Traps moisture and leads to mold | Wipe weekly with vinegar-dampened cloth |
| Running cold water after hot blends | Thermal shock can crack glass jars | Allow cooling before rinsing |
Real Example: How Sarah Maintains Her Blender Daily
Sarah, a busy mom of two, makes green smoothies every morning. She used to dread cleaning her blender until she adopted the 90-second rinse method. After pouring her smoothie into a glass, she fills the jar halfway with warm water and a drop of dish soap, blends for half a minute, then rinses. On Sundays, she runs the vinegar-baking soda cycle. Over six months, her blender looks nearly new, with no stains or odors. “I don’t even think about it anymore,” she says. “It’s just part of my routine—like brushing my teeth.”
Checklist: Quick Blender Care Routine for Daily Users
Follow this checklist each time you use your blender to keep it clean and functional without disassembly:
- ✅ Empty contents immediately after use
- ✅ Rinse with warm water to prevent drying
- ✅ Add soapy water and blend for 30 seconds
- ✅ Inspect lid seal and wipe if necessary
- ✅ Rinse thoroughly until water runs clear
- ✅ Dry upside down on a rack
- ✅ Once a week: Perform vinegar-baking soda cleaning cycle
- ✅ Monthly: Wipe motor base with microfiber cloth
Alternative Cleaning Agents and When to Use Them
Not everyone keeps vinegar or baking soda on hand. Fortunately, other safe options exist for maintaining your blender quickly and effectively.
Hydrogen Peroxide (3%)
An excellent disinfectant for blenders used with raw ingredients like eggs or meat. Mix equal parts hydrogen peroxide and water, fill the jar halfway, blend for 30 seconds, then rinse. Effective against bacteria and safe for food contact surfaces.
Lemon Juice
Natural citric acid cuts through grease and leaves a fresh scent. Squeeze one lemon into the jar, add warm water, and blend for 20 seconds. Ideal for light cleaning and deodorizing between deeper washes.
Dishwasher Pods (for dishwasher-safe jars only)
If your blender jar is labeled dishwasher-safe, place it on the top rack with a single-use pod. Do not put the blade assembly or lid in unless specified. This method saves time but should not replace manual checks for trapped debris.
Frequently Asked Questions
Can I clean a blender with just water?
You can for light use, such as blending water-based fruits. However, water alone won’t remove oils or proteins. For thorough cleaning, always include a cleaning agent like soap or vinegar.
Is it safe to blend dish soap in the blender?
Yes, as long as you use a small amount (½ to 1 tsp) of mild liquid dish soap and rinse thoroughly afterward. The brief blending action emulsifies grease and lifts particles without harming the motor or seals.
How do I know if my blender needs disassembly?
If you notice persistent odors despite regular cleaning, visible mold under the blade, or leaking during use, it’s time to disassemble and inspect the gasket. Otherwise, avoid taking it apart more than once every few months.
Conclusion: Make Cleanliness Effortless
Cleaning your blender without disassembling it isn’t just convenient—it’s smarter maintenance. By incorporating quick, consistent habits right after each use, you protect the appliance’s components, reduce contamination risks, and extend its operational life. Whether you’re whipping up a post-workout shake or pureeing soup, a sparkling blender should be part of the process, not an afterthought.
These methods prove that efficiency and hygiene go hand in hand. No special tools, no stress—just smart, science-backed routines that fit seamlessly into daily life. Start today, and you’ll wonder why you ever thought deep cleaning had to be difficult.


 浙公网安备
33010002000092号
浙公网安备
33010002000092号 浙B2-20120091-4
Comments
No comments yet. Why don't you start the discussion?