
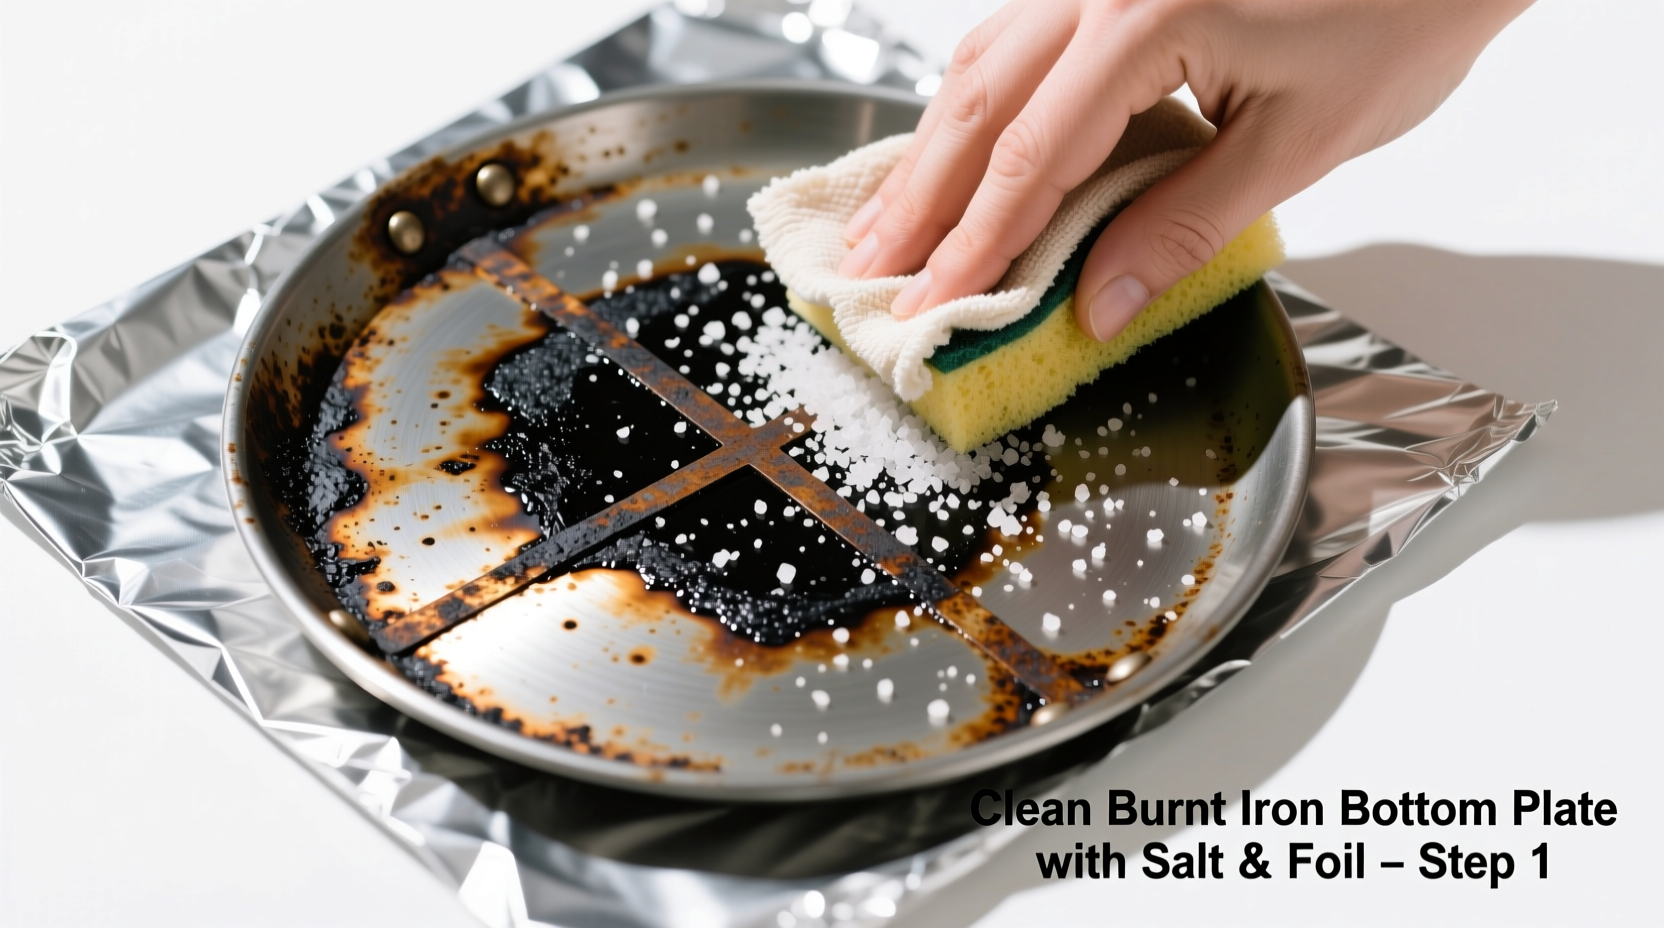
Over time, even the most carefully used irons can develop stubborn residue on their bottom plates. Burnt fabric fibers, scorched starch, and melted synthetic materials leave behind dark, sticky buildup that interferes with smooth gliding and may transfer stains onto clothing. While commercial cleaners exist, many contain harsh chemicals that risk damaging the non-stick coating or clogging steam vents. A surprisingly effective, eco-friendly alternative uses only two household items: table salt and aluminum foil. This method leverages mild abrasion and heat resistance to lift grime without scratching the surface.
The salt-and-foil technique has gained popularity among home care experts and appliance technicians for its simplicity and reliability. Unlike abrasive scrubbing pads or acidic solutions, it preserves the integrity of the soleplate while delivering visible results in minutes. Whether you've accidentally ironed over a plastic label or simply neglected regular maintenance, this guide walks through every step to safely restore your iron’s functionality—without spending on specialty products.
Why Salt and Foil Work So Well
Salt acts as a natural, granular abrasive. When heated, coarse grains become more effective at dislodging carbonized residues without gouging metal surfaces. Table salt is soft enough not to scratch chrome or ceramic-coated plates but firm enough to break apart baked-on deposits. Aluminum foil, meanwhile, provides a heat-resistant platform that won’t melt under high temperatures. Its slightly textured surface helps trap loosened debris as you move the iron back and forth.
Together, these materials create a micro-abrasive cleaning field. As the hot iron presses down, salt particles grind against the burnt layer, fracturing it into removable fragments. The foil collects the waste, preventing reattachment. This physical action avoids chemical reactions that might corrode sensitive components near steam holes or damage anti-adhesive finishes.
“Salt is one of the gentlest yet most effective abrasives available in any kitchen. Paired with foil, it becomes a precision tool for appliance restoration.” — Dr. Alan Reeves, Materials Scientist & Home Appliance Consultant
Step-by-Step Guide to Cleaning Your Iron Soleplate
This procedure takes approximately 15–20 minutes and requires minimal preparation. Follow each stage carefully to avoid overheating or damaging your iron.
- Unplug and cool completely: If the iron was recently used, allow it to sit for at least 30 minutes until no warmth remains.
- Gather supplies: You’ll need table salt (about ¼ cup), aluminum foil (standard household grade), a soft cloth, and optionally, white vinegar for post-cleaning wipe-down.
- Prepare the foil base: Lay a sheet of aluminum foil shiny-side-up on a flat, heat-resistant surface like a countertop or stovetop (turned off). Ensure it's larger than the iron’s base to prevent edge contact with the counter.
- Add salt evenly: Sprinkle salt across the center of the foil in a thin, uniform layer about the size of your iron’s soleplate.
- Heat the iron: Plug in the iron and set it to medium-high heat (cotton setting) without steam. Allow it to fully warm up—this usually takes 3–5 minutes.
- Begin rubbing motion: Holding the handle firmly, gently press the hot soleplate into the salt-covered foil. Move the iron in slow, back-and-forth strokes for 30–60 seconds. Do not apply excessive pressure; let the heat and grit do the work.
- Inspect progress: After a minute, lift the iron and check the plate. You should see dark residue transferring to the salt and foil. Replenish salt if needed.
- Repeat if necessary: For heavy buildup, repeat the process 2–3 times, letting the iron reheat between sessions.
- Cool and wipe: Once satisfied, unplug the iron and let it cool slightly. Use a damp microfiber cloth to wipe away remaining salt and loosened gunk.
- Final polish (optional): Dampen a corner of the cloth with white vinegar and gently buff the plate to remove mineral traces or haze. Dry thoroughly.
Safety Notes During the Process
- Never leave a plugged-in iron unattended.
- Avoid touching the soleplate directly—even after unplugging, it retains heat.
- Don’t use this method on irons with self-cleaning functions unless recommended by the manufacturer.
- If smoke or burning smell persists beyond initial contact, stop immediately—this may indicate trapped plastic melting.
Do’s and Don’ts of Soleplate Maintenance
| Do’s | Don’ts |
|---|---|
| Use distilled water to prevent mineral buildup in steam vents | Iron over buttons, zippers, or glued labels without protection |
| Wipe the plate weekly with a damp cloth after cooling | Scrub with steel wool or metal scouring pads |
| Store the iron upright to protect the soleplate | Soak the iron in water or submerge any part of it |
| Empty the water tank after each use to inhibit mold growth | Use window cleaners or bleach-based sprays on the plate |
| Test cleaning methods on a small area first | Apply oil or lubricants to the soleplate |
Real Example: Reviving a Decade-Old Iron
Sarah M., a seamstress from Portland, OR, inherited her grandmother’s vintage steam iron. Though functional, the soleplate had accumulated years of discoloration and sticky residue from frequent use on starched cottons. She tried wiping it with baking soda paste, which dulled the finish but didn’t remove deep stains. Hesitant to discard a family heirloom, she researched natural cleaning methods and came across the salt-and-foil approach.
Following the steps precisely, Sarah placed crumpled foil on her stove (off), sprinkled kosher salt, and heated the iron to cotton settings. After three short passes, gray-black flakes began flaking off. By the fourth round, the plate gleamed uniformly again. “It looked almost new,” she said. “I was shocked something so simple could revive a 30-year-old appliance.” She now cleans it monthly as part of her sewing routine, reporting smoother gliding and zero staining since.
When to Avoid This Method
While highly effective for most standard irons, the salt-and-foil technique isn’t suitable for every situation:
- Delicate coatings: Some modern irons feature titanium, diamond, or platinum-iridium coatings. These are durable but may still be affected by abrasives. Consult your manual before proceeding.
- Plastic residue: If melted polyester or nylon has fused to the plate, salt alone may not suffice. In such cases, specialized iron cleaners designed to dissolve plastics may be required.
- Severely warped plates: Physical deformation cannot be corrected through cleaning. An uneven soleplate will require professional repair or replacement.
- Irons with damaged thermostats: If the temperature control is faulty, overheating during the process could cause further harm.
“The key to successful DIY appliance care is matching the solution to the problem. Salt works wonders on carbonized organic matter—but not on melted synthetics.” — Linda Cho, Appliance Repair Technician with 18 years of experience
Frequently Asked Questions
Can I use sea salt instead of table salt?
Yes, coarser salts like sea salt or kosher salt can be even more effective due to larger grain size. However, ensure there are no added minerals or dyes. Pure sodium chloride is ideal. Finer table salt works faster initially but may compact too densely on the foil.
Will this method damage non-stick surfaces?
Not when done correctly. The combination of moderate heat and granular abrasion is less aggressive than metal scrubbers or chemical peels. Thousands of users report success on Teflon, ceramic, and stainless steel plates. Just avoid pressing too hard and limit sessions to under one minute per round.
How often should I clean my iron this way?
For average household use, once every 2–3 months is sufficient. Heavy users (e.g., tailors, laundry services) may benefit from monthly maintenance. Signs it’s time to clean include sticking, streaking, or emitting an odor when heated.
Maintenance Checklist for Long-Term Iron Care
✅ Perform visual inspection monthly ✅ Wipe soleplate with damp cloth after cooling ✅ Empty water reservoir after each use ✅ Descale every 4–6 uses with vinegar-water flush (if allowed by manufacturer) ✅ Clean burnt residue promptly using salt-and-foil method ✅ Store in dry location, upright position ✅ Replace worn cords or leaking tanks immediatelyConclusion: Restore Functionality with Simple Tools
A clean iron isn’t just about appearance—it directly affects performance, fabric safety, and longevity. Built-up residue increases friction, causes snagging, and can permanently stain clothes. Rather than replacing a functional appliance or resorting to toxic cleaners, the salt-and-foil method offers a sustainable, low-cost solution accessible to anyone.
By understanding how heat and mild abrasion interact with common household materials, you gain greater control over your tools’ upkeep. Regular attention prevents minor issues from becoming irreversible damage. That old iron gathering dust might only need a few minutes of TLC to return to peak condition.


 浙公网安备
33010002000092号
浙公网安备
33010002000092号 浙B2-20120091-4
Comments
No comments yet. Why don't you start the discussion?