
Burnt pots are a common kitchen frustration. Whether it’s rice stuck to the bottom, caramelized sugar residue, or scorched stew remnants, cleaning a burnt pan can feel like a losing battle. Many reach for abrasive pads or chemical cleaners, risking damage to non-stick surfaces or stainless steel finishes. But there’s a better way—one that’s gentle, safe, and highly effective: baking soda.
Sodium bicarbonate, commonly known as baking soda, is a natural alkali with mild abrasive properties and deodorizing power. It breaks down carbonized food particles without scratching surfaces, making it ideal for restoring even heavily stained cookware. Unlike bleach or ammonia-based cleaners, it’s non-toxic, affordable, and already in most home pantries.
This guide walks through proven techniques using baking soda to rescue your burnt pots—no elbow grease required. From quick fixes to overnight deep cleans, you’ll learn how to bring your cookware back to life while preserving its integrity for years to come.
The Science Behind Baking Soda’s Cleaning Power
Baking soda works on multiple levels when tackling burnt-on food. First, its slightly alkaline pH (around 8.3) helps neutralize acidic residues left behind by cooking, such as tomato sauces or vinegar-based marinades. Second, its fine granular texture acts as a gentle abrasive, lifting charred material without damaging metal or ceramic coatings.
When combined with water and heat, baking soda forms a reactive paste that penetrates stubborn layers of carbon buildup. The process loosens bonds between food molecules and the pot surface, allowing them to lift away easily. This makes it especially effective on stainless steel, aluminum, enameled cast iron, and glass cookware.
“Baking soda is one of the most versatile cleaning agents in any kitchen. Its ability to emulsify grease and break down organic matter makes it perfect for restoring burnt pots safely.” — Dr. Lena Patel, Environmental Chemist & Household Product Safety Researcher
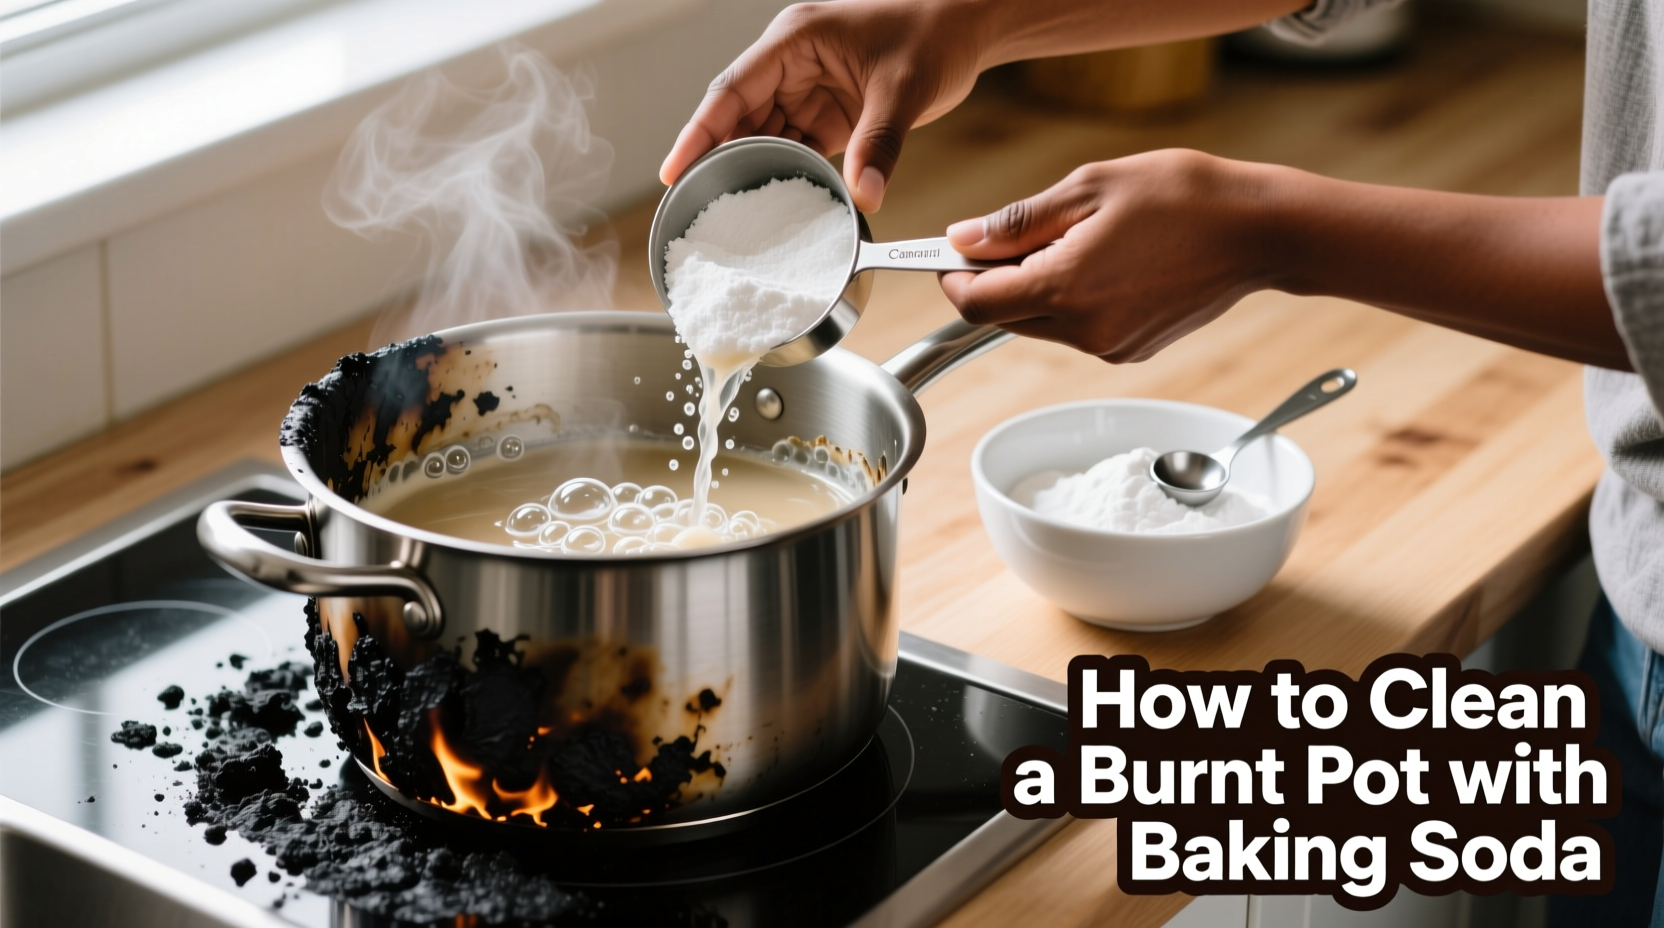
Step-by-Step Guide: How to Clean a Burnt Pot Using Baking Soda
Follow this detailed method to remove burnt residue from your cookware efficiently and safely. These steps work best on moderate to heavy burn marks but also apply to light scorching.
- Let the pot cool completely. Never attempt to clean a hot or warm pot immediately after burning—it can warp under sudden temperature changes or cause injury.
- Rinse loosely attached debris. Run lukewarm water inside the pot to wash away loose crumbs or food chunks. Avoid using cold water on still-warm pans to prevent thermal shock.
- Add baking soda generously. Sprinkle 2–3 tablespoons of baking soda across the bottom and sides where burning occurred. For larger pots or severe stains, use up to ¼ cup.
- Pour in hot water. Fill the pot so the liquid covers all burnt areas. Use just-boiled water from a kettle to activate the baking soda faster. Do not fill above halfway if heating on a stove.
- Simmer gently for 15–30 minutes. Place the pot on the stove over medium-low heat. Let it simmer—not boil—to avoid splattering. The bubbling action helps loosen debris.
- Turn off heat and let sit for 30 minutes to 2 hours. Allowing time for soaking dramatically improves results, especially for thick carbon deposits.
- Scrub lightly with a soft sponge. After soaking, most residue should lift with minimal effort. Use circular motions with a non-abrasive sponge or nylon brush.
- Rinse thoroughly and inspect. If some spots remain, repeat the process or try an enhanced version below.
Enhanced Methods for Severe Burn Damage
If your pot has been repeatedly overheated or used to cook sugary substances (like jam or syrup), a single treatment may not suffice. In these cases, combine baking soda with other safe household items for deeper restoration.
Method 1: Baking Soda + Vinegar Paste (Dry Application)
Ideal for dry, crusty residue on the interior walls or bottom of a pot:
- Mix 3 parts baking soda with 1 part water to form a thick paste.
- Apply directly to burnt zones with a spatula or spoon.
- Let sit for 1–2 hours (or overnight for maximum penetration).
- Wipe or rinse off with warm water, then scrub gently.
Method 2: Overnight Soak with Baking Soda and Dish Soap
Best for deeply embedded carbon layers:
- Fill the pot with warm water to submerge burnt areas.
- Add ¼ cup baking soda and 1–2 squirts of dish soap.
- Cover and leave overnight (minimum 8 hours).
- In the morning, drain and wipe clean with a sponge.
Method 3: Boil-Out Technique for Metal Pots Only
Use only on stainless steel, aluminum, or cast iron—never on non-stick or coated surfaces:
- Fill the pot halfway with water.
- Add ½ cup baking soda.
- Bring to a rolling boil and maintain for 10–15 minutes.
- Remove from heat, cool slightly, then pour out liquid.
- Scrub remaining film with a plastic brush or cloth.
Do’s and Don’ts When Cleaning Burnt Cookware
| Do’s | Don’ts |
|---|---|
| Do allow sufficient soaking time—patience yields better results than force. | Don’t use steel wool or metal scrapers on non-stick, ceramic, or enamel-coated pans. |
| Do test cleaning methods on a small area first if unsure about material compatibility. | Don’t mix baking soda with chlorine bleach—it creates toxic fumes. |
| Do store cleaned pots dry to prevent rust or odor retention. | Don’t put severely damaged non-stick pans through aggressive treatments—they may flake further. |
| Do reuse baking soda containers for future cleaning projects. | Don’t leave acidic mixtures (like vinegar-heavy solutions) sitting too long on aluminum—it can corrode. |
Real Example: Rescuing a Decade-Old Stockpot
Jamie, a home cook from Portland, Oregon, inherited her grandmother’s large stainless steel stockpot. Over years of slow-cooked stews and homemade broths, the base developed a permanent blackened layer no amount of scrubbing could remove. Fearing it was beyond repair, she nearly donated it—until trying the baking soda simmer method.
She filled the pot with hot water, added ½ cup of baking soda, and simmered it on low for 20 minutes. After letting it rest for two hours, she wiped the interior with a soft sponge. To her surprise, nearly 90% of the burnt residue lifted effortlessly. A second round removed the last traces. “It looked brand new,” she said. “I saved a family heirloom because I didn’t give up—and I didn’t need fancy products.”
This case illustrates that age and repeated use don’t have to mean retirement for your cookware. With proper care and the right technique, many pots can be restored to functional beauty.
Checklist: How to Successfully Clean a Burnt Pot with Baking Soda
Keep this checklist handy next time disaster strikes in the kitchen:
- ✅ Wait until the pot is completely cool before handling.
- ✅ Remove loose debris with lukewarm water.
- ✅ Apply baking soda directly to stained areas (2–3 tbsp minimum).
- ✅ Add hot water to cover burnt zones.
- ✅ Simmer gently for 15–30 minutes or soak overnight.
- ✅ Use a non-abrasive sponge to wipe away residue.
- ✅ Repeat if necessary, increasing concentration or duration.
- ✅ Dry thoroughly before storing.
- ✅ Inspect coating integrity—discard non-stick pans with visible peeling.
Frequently Asked Questions
Can I use baking soda on non-stick pans?
Yes, but with caution. Baking soda is safe on intact non-stick surfaces when used as a paste or in water-based solutions. However, never use it dry with vigorous scrubbing, as even mild abrasives can degrade the coating over time. Always pair it with a soft sponge and avoid high-heat boiling unless specified by the manufacturer.
Why isn’t my pot getting clean after one treatment?
Some layers of carbonized food build up over multiple cooking sessions and require more than one cleaning cycle. Extremely old or thick burns may need repeated applications or extended soaking (up to 12 hours). Also, ensure you're using enough baking soda—under-application reduces effectiveness.
Is baking soda better than commercial oven cleaner for pots?
In most cases, yes. Commercial oven cleaners often contain lye or other caustic chemicals that can damage certain metals and leave harmful residues. They’re also unsafe for cookware used for food preparation unless rinsed extensively. Baking soda offers comparable degreasing and stain-lifting performance without toxicity or risk of corrosion on appropriate materials.
Preserving Your Cookware Long-Term
Prevention is the best maintenance strategy. Once you’ve successfully cleaned your burnt pot, adopt habits that reduce future scorching:
- Stir food regularly, especially dense mixtures like porridge or sauces.
- Avoid preheating empty pans—this causes rapid overheating and warping.
- Use medium or low heat when simmering; high heat increases sticking risk.
- Soak pots soon after use rather than letting food harden overnight.
- Choose the right size burner—flames extending past the pot base create uneven heating.
Regular inspection also matters. Check handles, lids, and seals for wear. On non-stick models, discontinue use if flaking occurs, regardless of appearance. Even successful cleaning cannot reverse coating failure.
“The longer we keep cookware in circulation, the less waste ends up in landfills. Simple remedies like baking soda empower people to maintain their tools sustainably.” — Mark Tran, Sustainable Kitchen Advocate & Founder of EcoCuisine Project
Conclusion: Save Time, Money, and Your Favorite Pots
A burnt pot doesn’t have to mean replacement. With a box of baking soda and a little patience, you can revive cookware that seemed lost forever. These methods are safe, cost-effective, and environmentally responsible—proving that sometimes the simplest solutions are the most powerful.
Next time you face a charred mess at the bottom of your favorite pan, skip the harsh chemicals and reach for what’s already in your pantry. Not only will you save money, but you’ll extend the life of your kitchen essentials and reduce unnecessary waste.


 浙公网安备
33010002000092号
浙公网安备
33010002000092号 浙B2-20120091-4
Comments
No comments yet. Why don't you start the discussion?