
Laptops are essential tools for work, study, and entertainment, but over time, they can slow down, overheat, or even shut down unexpectedly. One of the most common culprits behind these issues is dust buildup in the cooling system—especially around the fan and heat sink. While cleaning the fan seems like an obvious fix, many users hesitate, fearing it might void their warranty. The good news: you don’t have to open the device or risk your coverage to make a real difference. With smart, safe techniques, you can clean your laptop’s fan effectively and boost performance—without lifting a single screw.
Why Fan Cleaning Matters for Performance
Dust accumulation inside a laptop acts like insulation, trapping heat generated by the CPU and GPU. When the internal temperature rises, the system automatically throttles performance to prevent damage. This means slower processing speeds, laggy applications, and longer load times—even on high-end machines. A clogged fan also forces the cooling system to run louder and more frequently, draining battery life and increasing wear.
Cleaning the fan improves airflow, reduces thermal throttling, and allows components to operate at optimal efficiency. Users often report immediate improvements in responsiveness, quieter operation, and cooler surface temperatures after even a basic external cleaning.
“Thermal management is one of the most overlooked aspects of laptop maintenance. A simple airflow improvement can restore up to 30% of lost performance in dust-affected systems.” — Dr. Alan Zhou, Hardware Engineer at TechFlow Labs
How to Clean Your Laptop Fan Without Opening It
You don’t need to disassemble your laptop to clean the fan. Most modern laptops allow sufficient access through ventilation grilles using compressed air and careful technique. Here’s a step-by-step guide that preserves your warranty while delivering real results.
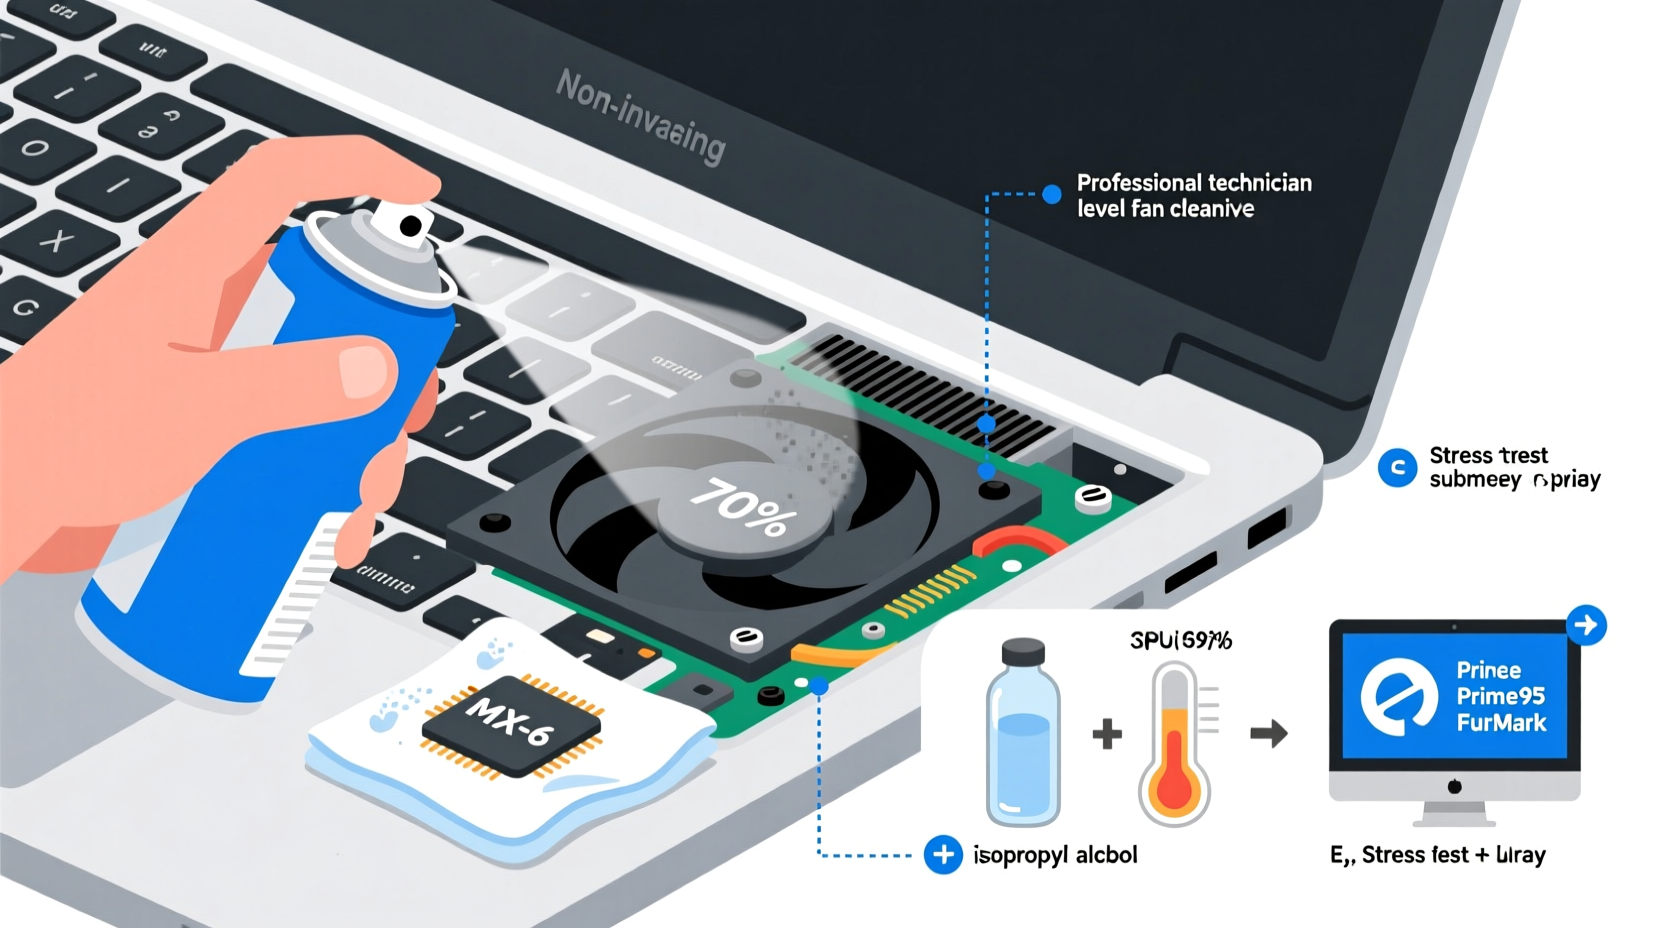
Step-by-Step Guide: Safe External Fan Cleaning
- Power down and unplug: Shut down your laptop completely and disconnect the charger. If your model has a removable battery, take it out. This eliminates electrical risks and ensures safety during cleaning.
- Choose a well-ventilated area: Work outdoors or near an open window. Compressed air blows dust outward, and you don’t want it settling back into your workspace.
- Stabilize the laptop: Place it on a flat, non-slip surface. Tilt it slightly (30–45 degrees) so that gravity helps dislodge debris from vents.
- Locate intake and exhaust vents: These are usually on the sides, back, or underside. The fan is typically near the exhaust grill, often marked with a small fan icon or located close to the power adapter port.
- Use compressed air correctly: Hold the can upright and use short bursts. Insert the nozzle about 1–2 cm into each vent opening. Avoid prolonged spraying, which can cause liquid propellant to leak out and damage components.
- Focus on exhaust areas: The exhaust vent is where the fan pushes hot air out, so it collects the most dust. Spray here first, then move to intake vents. Rotate the laptop as needed to reach all angles.
- Prevent fan spinning: Use a toothpick or plastic spudger to gently hold the fan blades in place while spraying. Spinning the fan too fast with air pressure can generate reverse current and potentially damage the motor.
- Wipe external surfaces: After blowing out dust, use a microfiber cloth lightly dampened with isopropyl alcohol (70%) to clean vent grilles and surrounding areas.
- Let it sit for 5 minutes: Allow any residual moisture or propellant to evaporate before powering on.
- Test performance: Boot up the laptop and monitor fan noise, surface temperature, and responsiveness. Run a demanding task (like video playback or file compression) to observe thermal behavior.
What Not to Do: Common Mistakes That Risk Warranty or Damage
Even with good intentions, improper cleaning methods can lead to hardware failure or voided warranties. Manufacturers typically consider physical tampering—such as removing screws or peeling warranty stickers—as grounds for denial of service. Below is a clear breakdown of what to avoid.
| Do’s | Don’ts |
|---|---|
| Use compressed air with short bursts | Hold the air can upside down (causes liquid discharge) |
| Clean every 3–6 months based on environment | Open the chassis unless warranty has expired |
| Use soft brushes or plastic tools for surface dust | Insert metal objects into vents |
| Keep vents elevated off soft surfaces (e.g., beds, couches) | Use hair dryers (heat damages components) |
| Monitor temperatures with free software (e.g., HWMonitor) | Disassemble sealed units (e.g., MacBook Air, Dell XPS) |
Real-World Example: Recovering a Sluggish Work Laptop
Jamie, a freelance graphic designer, noticed her 2-year-old HP Spectre becoming increasingly sluggish during long editing sessions. The fan ran constantly, and the bottom casing grew uncomfortably hot. She was hesitant to open the laptop because it was still under manufacturer warranty. Instead, she followed the external cleaning method described above.
After a 10-minute session with compressed air—focusing on the rear exhaust vent and side intakes—she rebooted the machine. Within minutes, she noticed the fan was quieter and spun up less frequently. Using HWMonitor, she observed idle temperatures dropped from 78°C to 59°C. During a 4K video render, the system maintained stable performance without throttling. Jamie regained smooth workflow without risking her warranty—a simple, effective win.
Boost Performance Further: Complementary Maintenance Tips
Cleaning the fan is just one part of maintaining peak laptop performance. Combine it with these non-invasive optimizations for maximum impact.
- Elevate your laptop: Use a stand or even a small book to raise the back edge. This improves natural airflow and prevents intake vents from being blocked on soft surfaces.
- Control background processes: Open Task Manager (Windows) or Activity Monitor (Mac) and close unnecessary apps running at startup. Reduce CPU load and heat generation.
- Update firmware and drivers: Manufacturers often release BIOS or EC (Embedded Controller) updates that optimize fan curves and thermal management.
- Use power-saving modes: When not plugged in, switch to balanced or power-saver mode to reduce heat output and extend component life.
- Install lightweight cleaning tools: Software like BleachBit (Windows/Linux) or OnyX (Mac) clears cache files and temp data that can contribute to system bloat.
Performance Checklist: What You Can Do Today
- Shut down and unplug your laptop
- Locate all air vents (intake and exhaust)
- Gather compressed air can and microfiber cloth
- Spray vents with short bursts, holding fan blades steady
- Wipe exterior vents with alcohol-dampened cloth
- Elevate laptop during use to enhance airflow
- Check Task Manager for resource-hogging apps
- Restart and test performance under load
Frequently Asked Questions
Will using compressed air void my laptop warranty?
No. Using compressed air externally through vents is considered routine maintenance and does not constitute tampering. Warranties are only voided when seals are broken, screws are removed, or internal components are altered.
How often should I clean my laptop fan?
Every 3 to 6 months, depending on your environment. Dusty rooms, pet dander, and frequent use on beds or sofas accelerate buildup. If you notice increased fan noise or overheating, clean it immediately.
Can I use a straw to direct the air into small vents?
Yes, many compressed air cans come with a thin plastic straw. Attach it securely to focus airflow into narrow openings. Just ensure the can remains upright to avoid liquid discharge.
When Internal Cleaning Is Necessary—and How to Proceed Safely
There are cases where external cleaning isn’t enough. If your laptop continues to overheat despite regular maintenance, or if you hear grinding noises from the fan, internal dust buildup may require deeper intervention. At this point, consider your warranty status carefully.
If the warranty is still active, contact the manufacturer or an authorized service provider. Request a “cleaning service” explicitly. Most brands offer this as a paid add-on or include it in premium support plans. Attempting DIY repairs now could invalidate coverage.
Once the warranty expires, you can proceed with internal cleaning. Research your specific model’s teardown guide (iFixit.com is excellent), use proper tools, and document screw placements. This level of care maintains professionalism and reduces reassembly errors.
“Many users don’t realize that warranty terms vary by region and brand. Some companies, like Lenovo and Dell, honor service even after minor user access if no damage occurs.” — Maria Tran, Senior Technician at PC Care Network
Conclusion: Maintain Cool, Quiet, and Fast Performance Safely
A clean laptop fan isn’t just about preventing overheating—it’s about preserving the speed, longevity, and reliability of your device. You don’t need technical expertise or warranty-risking disassembly to make a meaningful difference. With compressed air, a steady hand, and a few minutes every few months, you can keep your laptop running cooler and faster.
The best maintenance habits are simple, consistent, and safe. By respecting warranty boundaries while taking proactive care, you protect both your investment and your productivity. Don’t wait for warning signs—start today. Your laptop will respond with smoother performance, quieter operation, and years of dependable service.


 浙公网安备
33010002000092号
浙公网安备
33010002000092号 浙B2-20120091-4
Comments
No comments yet. Why don't you start the discussion?