
A makeup blender is one of the most-used tools in any beauty routine. Whether you're applying foundation, concealer, or blending cream contour, its soft, sponge-like texture delivers a seamless, airbrushed finish. But behind that flawless coverage lies a hidden risk: if not cleaned regularly and correctly, your makeup blender becomes a breeding ground for bacteria, mold, and oil residue. These contaminants can transfer back onto your skin with every use, leading to clogged pores, acne flare-ups, and even infections.
Despite growing awareness, many users still underestimate the importance of proper cleaning. Some rinse it under water once a week, others toss it into a cup of soapy water and forget it for days. The truth is, improper care doesn’t just shorten the lifespan of your sponge—it actively harms your skin. Dermatologists consistently warn that dirty makeup tools are a common yet overlooked cause of persistent breakouts, especially around the chin, jawline, and cheeks—areas where foundation and concealer are heavily applied.
This guide dives deep into the science-backed methods for cleaning your makeup blender effectively, how often to do it, what products to use (and avoid), and real-life habits that make maintenance sustainable. By the end, you’ll know exactly how to keep your blender hygienic, functional, and safe for daily use.
Why Cleaning Your Makeup Blender Matters
Your face naturally produces sebum—an oily substance that protects the skin but also attracts dirt and microbes. When combined with liquid foundation, sunscreen, and environmental pollutants, this mixture becomes trapped inside the porous material of a makeup sponge. Over time, without thorough cleaning, these substances decompose, creating an ideal environment for microbial growth.
Studies have shown alarming results. A 2017 investigation by *Applied and Environmental Microbiology* tested used cosmetic sponges and found high levels of bacteria such as Staphylococcus aureus, E. coli, and Enterobacter species—all capable of causing skin infections, folliculitis, and acne mechanica. Alarmingly, nearly 90% of participants in the study never cleaned their sponges at all.
The consequences go beyond occasional pimples. Chronic exposure to contaminated tools can lead to:
- Recurrent cystic acne
- Irritated or inflamed skin
- Fungal overgrowth (like Malassezia)
- Allergic reactions due to accumulated product buildup
Cleaning your makeup blender isn’t just about maintaining performance—it’s a non-negotiable part of skincare hygiene.
Step-by-Step Guide to Deep Clean Your Makeup Blender
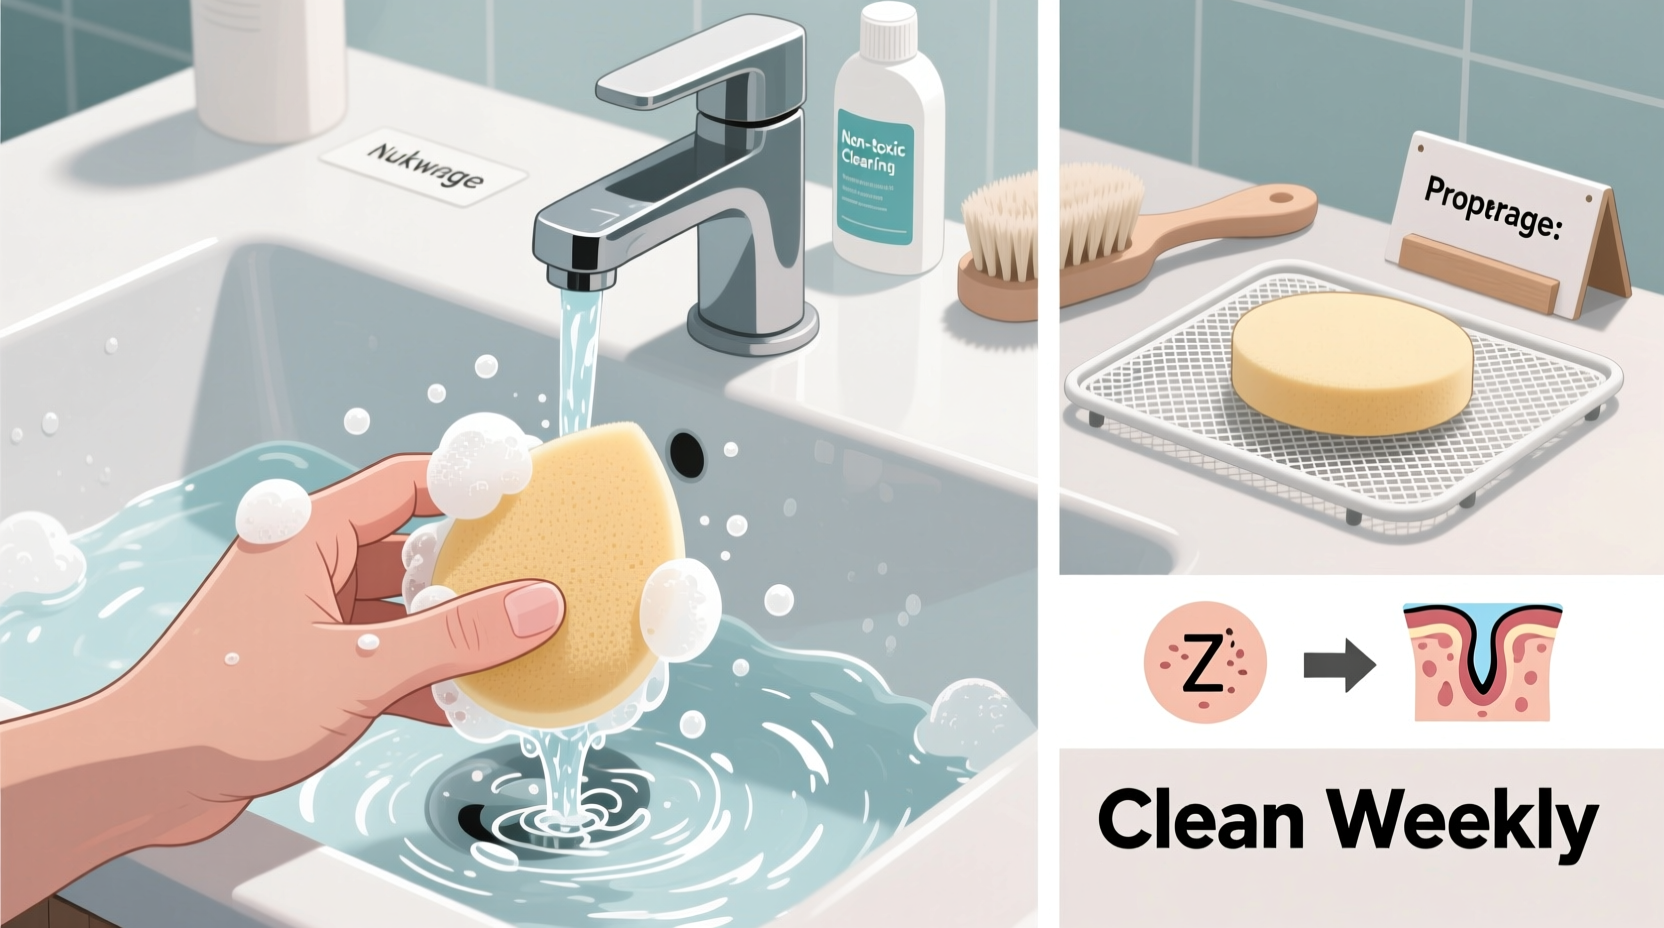
Routine rinsing helps, but only a deep clean removes embedded oils and microbes. Follow this detailed process weekly—or more frequently if you use your sponge daily.
- Prepare your cleaning solution. Choose either a gentle antibacterial soap (like Cetaphil or baby shampoo) or a dedicated sponge cleanser. Avoid harsh detergents or alcohol-based cleaners, which degrade the foam over time.
- Wet the sponge thoroughly. Use warm (not hot) water to open up the pores of the sponge. Squeeze gently to allow water to flow through.
- Apply cleanser directly. Add a dime-sized amount of soap to your palm or a cleaning mat. Press and twist the sponge against the surface to work in the lather.
- Massage until water runs clear. Continue squeezing and releasing the sponge. You’ll notice colored streaks—this is old foundation being flushed out. Repeat until no residue appears.
- Rinse completely. Hold under running water while squeezing. Any lingering suds indicate trapped soap; continue rinsing until fully removed.
- Sterilize (optional but recommended). Soak the sponge in a 1:1 mix of water and rubbing alcohol for 5–10 minutes once a month. Do not exceed this frequency, as alcohol dries out the material.
- Dry properly. Place on a clean towel in a well-ventilated area, away from direct sunlight. Never store in a closed container while damp—this encourages mold.
This method ensures both physical removal of debris and reduction of microbial colonies. For best results, perform a full clean at least once per week. Daily users may benefit from cleaning every 3–4 days.
Do’s and Don’ts: What to Use and What to Avoid
Not all cleaning agents are created equal. Some popular hacks can actually damage your sponge or irritate your skin.
| Action | Recommended? | Reason |
|---|---|---|
| Using baby shampoo | ✅ Yes | Gentle, effective at breaking down oils without stripping sponge integrity. |
| Using dish soap | ⚠️ Occasionally | Strong degreasers can dry out foam; use sparingly and rinse extremely well. |
| Microwaving wet sponge | ❌ No | Risk of fire, melting, or incomplete sanitization. Not reliable for killing all pathogens. |
| Using vinegar soak | ⚠️ Limited use | Vinegar has mild antimicrobial properties but can leave odor and weaken fibers over time. |
| Leaving sponge in product cup overnight | ❌ Never | Creates stagnant moisture—perfect for mold and bacterial bloom. |
| Sharing your sponge with others | ❌ Never | Transfers skin-specific bacteria and increases infection risk. |
| Using silicone scrub mats | ✅ Yes | Enhances lathering and helps dislodge stubborn residue from deep within pores. |
Stick to pH-balanced, fragrance-free formulas whenever possible. If you have sensitive or acne-prone skin, consider using a medicated facial cleanser (like those containing salicylic acid) diluted in water for extra protection against pore-clogging microbes.
Real Example: From Chronic Breakouts to Clear Skin
Jessica, a 28-year-old graphic designer from Austin, struggled with recurring jawline acne for over two years. Despite trying prescription retinoids, switching to non-comedogenic makeup, and adjusting her diet, her skin remained inconsistent. “I’d get these painful bumps every month, right where I applied the most foundation,” she said.
After visiting a dermatologist, she was asked about her makeup tool hygiene. She admitted she rinsed her sponge “every few weeks” and stored it in a zippered pouch on her vanity. Her doctor suggested replacing the sponge immediately and implementing a strict weekly cleaning schedule using baby shampoo and proper drying techniques.
Within three weeks, Jessica noticed fewer new breakouts. By week six, her skin had cleared significantly. “I couldn’t believe something so small made such a big difference,” she shared. “Now I clean my sponge every Sunday without fail.”
Her case illustrates a common pattern: when topical treatments fail, the root cause may lie not in skincare products—but in how they’re applied.
“Makeup sponges are like toothbrushes—if you wouldn’t put a dirty toothbrush in your mouth, don’t press a grimy sponge on your face.” — Dr. Lena Patel, Board-Certified Dermatologist
How Often Should You Replace Your Makeup Blender?
No matter how well you clean it, a makeup blender has a finite lifespan. Most manufacturers recommend replacement every 3–6 months with regular use. Signs it’s time for a new one include:
- Fraying edges or tears in the foam
- Persistent odor, even after washing
- Inability to absorb product evenly
- Visible discoloration that won’t come out with cleaning
High-quality sponges (such as Beautyblender or EcoTools) tend to last longer than cheaper alternatives, but frequent use accelerates wear. If you apply full-coverage makeup daily, consider rotating between two sponges—one in use, one drying—to extend longevity and maintain hygiene.
FAQ: Common Questions About Makeup Blender Hygiene
Can I wash my makeup blender in the washing machine?
No. The agitation and heat can destroy the foam structure. Additionally, residual detergent may remain trapped inside, irritating your skin upon next use. Hand-washing is the only safe method.
Is it safe to use hydrogen peroxide to disinfect my sponge?
While hydrogen peroxide has disinfectant properties, it is not recommended for regular use on sponges. It can degrade the latex-free foam over time and may cause skin sensitivity. Stick to alcohol soaks (once monthly) or trusted cleansers instead.
What if I’m traveling? How can I keep my sponge clean on the go?
Carry a travel-sized sponge cleanser or cleansing wipe designed for makeup tools. After use, rinse with bottled water and wipe clean. Allow it to dry in a breathable mesh bag—not sealed in plastic. Alternatively, disposable sponges are a hygienic option for short trips.
Essential Checklist for a Clean, Safe Makeup Blender Routine
Stay consistent with this actionable checklist:
- ✔ Rinse sponge with water immediately after each use
- ✔ Perform a deep clean with gentle soap at least once a week
- ✔ Air-dry upright or on a towel in a ventilated space
- ✔ Never let it sit in pooled water or enclosed containers
- ✔ Replace every 3–6 months, or sooner if damaged
- ✔ Store in a clean, dry place away from humidity
- ✔ Consider owning multiple sponges to rotate between uses
Consistency beats perfection. Even if you miss a full clean one week, a quick rinse and dry goes a long way in minimizing bacterial accumulation.
Conclusion: Make Hygiene Part of Your Beauty Ritual
Your makeup blender should enhance your appearance—not compromise your skin health. With minimal effort, you can prevent breakouts, prolong the life of your tools, and maintain a clearer complexion. The key is consistency: treating sponge maintenance as seriously as you do facial cleansing or moisturizing.
Start today. Wash your current sponge thoroughly, inspect it for damage, and commit to a realistic cleaning schedule. Share this habit with friends who wear makeup—they might be unknowingly contributing to their own skin issues. Small changes yield visible results. When you care for your tools, you’re ultimately caring for your skin.


 浙公网安备
33010002000092号
浙公网安备
33010002000092号 浙B2-20120091-4
Comments
No comments yet. Why don't you start the discussion?