
Mechanical keyboards are prized for their tactile feedback, durability, and typing precision. However, over time, dust, debris, oils from fingertips, and even food particles accumulate beneath the keycaps, which can interfere with switch performance. While cleaning is essential for maintaining both hygiene and function, improper techniques can damage switches or degrade responsiveness. The goal isn’t just cleanliness—it’s preserving the keyboard’s original feel and reliability.
Cleaning a mechanical keyboard doesn’t require extreme measures. With the right tools, timing, and approach, you can restore your board to peak condition without risking misalignment, moisture damage, or wear on sensitive internal components. This guide walks through every step of a safe, thorough cleaning process designed specifically to maintain key responsiveness—whether you're using Cherry MX, Gateron, Kailh, or any other mechanical switch type.
Why Key Responsiveness Matters
Key responsiveness refers to how quickly and consistently a switch registers keystrokes. It’s influenced by the physical state of the switch mechanism, contact points, and stem alignment. When gunk builds up inside a switch, it can create resistance, cause double-actuation, or lead to missed inputs. Users often notice this as “mushy” keys, inconsistent actuation points, or ghosting.
According to hardware engineer Lin Zhao, who specializes in input device design:
“Even minor debris under the keycap can alter the travel path of the stem. Over months, this leads to uneven wear and micro-friction that dulls responsiveness. Regular maintenance prevents cumulative degradation.” — Lin Zhao, Input Hardware Engineer at PeriphDesign Labs
The challenge lies in removing contaminants without introducing new risks—like static discharge, bent stems, or moisture corrosion. That’s why method matters more than frequency.
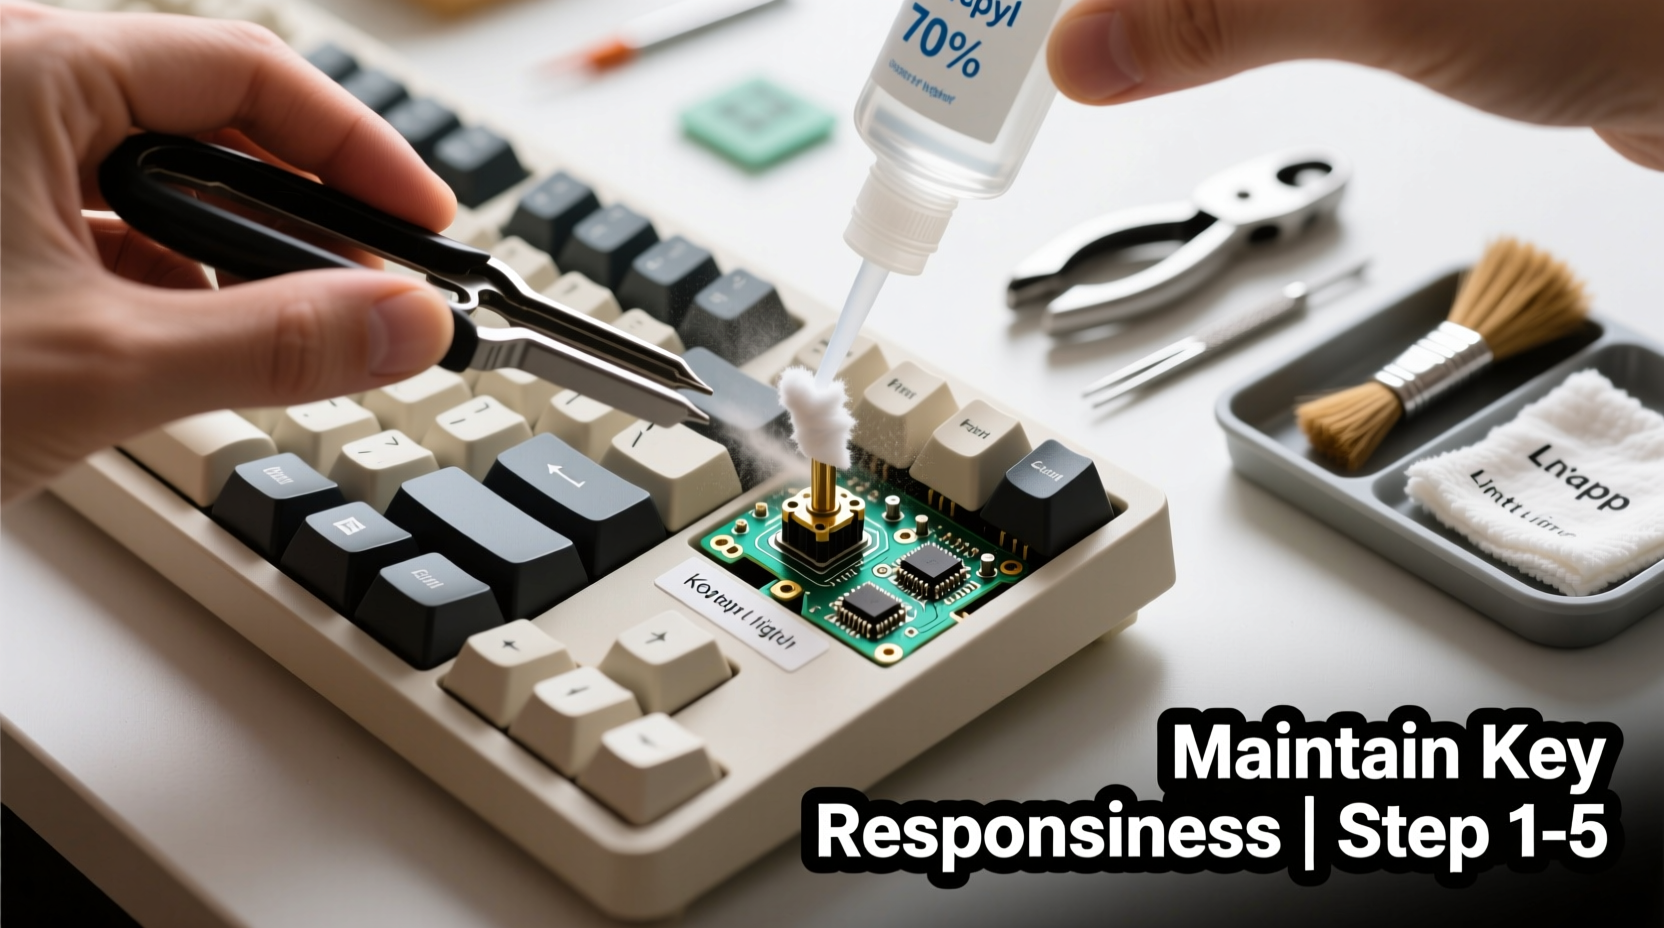
Essential Tools and Materials
Before beginning, gather the following supplies. Using inappropriate tools (like wet cloths or metal objects) increases the risk of permanent damage.
| Tool/Supply | Purpose | Recommended Options |
|---|---|---|
| Keycap puller | Safely removes keycaps without scratching | Plastic or silicone-coated |
| Compressed air | Dislodges dust and debris from switches and PCB | Canned air with narrow nozzle |
| Soft-bristle brush | Loosens grime without damaging plastic | Toothbrush (unused), paintbrush |
| Isopropyl alcohol (70% minimum) | Sanitizes and dissolves oils; evaporates quickly | 90% preferred for faster drying |
| Lint-free cloths | Wiping surfaces without leaving fibers | Microfiber towels |
| Tweezers (optional) | Removes stubborn debris like hair or crumbs | Non-conductive, fine-tip |
Step-by-Step Cleaning Process
Follow this sequence to ensure deep cleaning while protecting switch integrity. Allow 30–60 minutes depending on keyboard size and level of buildup.
- Power down and disconnect: Unplug the keyboard or turn off wireless mode. Never clean a powered device.
- Remove keycaps: Use a keycap puller starting from the top row. Work outward to avoid accidental pressure on exposed switches. Place caps in a labeled container.
- Dry clean the base: Tilt the keyboard at 45 degrees and use short bursts of compressed air between switches. Hold the can upright to prevent propellant leakage.
- Brush away residue: Gently scrub around each switch with a dry soft-bristle brush. Focus on corners where dust collects.
- Spot-clean sticky areas: Dampen a corner of a microfiber cloth with isopropyl alcohol. Wipe only visibly soiled spots on the plate or case. Do not pour liquid onto the board.
- Clean keycaps separately: Soak keycaps in warm water with mild dish soap for 15–20 minutes. Scrub gently with a toothbrush, rinse, and lay flat to dry completely (minimum 4 hours).
- Reassemble carefully: Once all parts are fully dry, reattach keycaps one by one. Press straight down to avoid tilting or misalignment.
- Test functionality: Reconnect the keyboard and open a text editor. Type across all rows and test modifier keys. Listen for uniform sound and feel.
Do’s and Don’ts of Mechanical Keyboard Maintenance
Avoid common pitfalls that compromise long-term performance. Even small mistakes can accelerate wear or reduce sensitivity.
| Action | Do | Don’t |
|---|---|---|
| Cleaning frequency | Every 3–6 months for regular users | Wait until keys fail or become stiff |
| Liquid exposure | Use minimal IPA on cloth, never spray directly | Soak switches or submerge the PCB |
| Removing stabilizers | Only if visibly dirty or rattling; handle gently | Remove frequently or force them out with tools |
| Drying time | Allow 4+ hours for keycaps, 1 hour for chassis | Reassemble while damp |
| Storage during cleaning | Keep parts in ventilated area away from pets/kids | Leave disassembled overnight on carpet |
Real Example: Recovering a Sticky Spacebar
Mark, a freelance writer in Toronto, noticed his spacebar required extra force to register. After six months of daily use, he suspected crumb buildup. Instead of immediately soaking the entire keyboard, he followed a targeted approach.
He removed the spacebar keycap and used compressed air at an angle to blow out visible debris. A quick inspection revealed a small piece of popcorn kernel lodged beneath the stabilizer. Using tweezers, he extracted it. He then wiped the surrounding area with an IPA-dampened cotton swab, ensuring no liquid dripped into the switch. After letting it sit for 20 minutes, he reattached the keycap.
The result? Full responsiveness returned instantly. Mark avoided unnecessary disassembly and preserved the lubrication inside the switch—a critical factor in smooth actuation. His experience underscores the value of diagnosis before deep cleaning.
When to Avoid Full Disassembly
Some enthusiasts recommend desoldering switches or removing them from the PCB for deep cleaning. This is rarely necessary—and often counterproductive—for typical consumer use.
Switch-level cleaning should only be considered if:
- You’ve spilled liquid directly into a switch and it remains unresponsive after drying.
- There’s confirmed internal debris (e.g., metal shavings, insect intrusion).
- You’re rebuilding or modifying the keyboard anyway.
For most users, surface and mid-layer cleaning suffices. As noted by repair technician Dana Ruiz:
“Over 80% of responsiveness issues come from debris above the switch housing—not inside it. Opening switches prematurely wears out springs and can misalign housings.” — Dana Ruiz, Keyboard Repair Specialist, TechFix Collective
If you do open a switch, document each step and keep tiny parts secure. Replacement switches cost $2–$5 each, but sourcing exact models can take weeks.
Preventative Habits for Long-Term Performance
The best way to maintain key responsiveness is to minimize contamination between cleanings. Integrate these habits into your routine:
- Wash hands before extended typing sessions: Oils and salts transfer easily and attract dust.
- Avoid eating near the keyboard: Crumbs and grease accelerate grime buildup.
- Use a keyboard cover when idle: A silicone skin keeps dust out without affecting ventilation.
- Flip and shake weekly: Turn off the keyboard and tilt it gently to dislodge loose particles.
- Run diagnostics monthly: Use online key testers to catch early signs of inconsistency.
Frequently Asked Questions
Can I use hand sanitizer to clean my mechanical keyboard?
No. While hand sanitizers contain alcohol, they also include fragrances, glycerin, and thickening agents that leave sticky residues. These can gum up switch stems and attract more dirt. Stick to pure isopropyl alcohol on a cloth instead.
Will cleaning affect switch lubrication?
Surface cleaning with compressed air or light wiping will not disturb factory lube inside the switch. However, excessive IPA exposure or submerging switches can degrade lubricants over time. Always apply liquids sparingly and avoid direct injection into switch housings.
My keys feel different after cleaning—what went wrong?
This usually means keycaps weren’t fully dry before reassembly or were reinstalled unevenly. Ensure complete drying (overnight is safest) and press keycaps straight down until they click into place. Also verify that larger keys (like shift or enter) have stabilizers properly engaged.
Conclusion: Maintain Responsiveness Through Smart Care
Cleaning a mechanical keyboard doesn’t have to be risky or complicated. By focusing on non-invasive methods, using the right tools, and respecting the delicate mechanics of each switch, you can keep your keyboard responsive for years. The key is consistency—regular light maintenance beats infrequent deep cleans that stress components.
Your keyboard is an investment in comfort, speed, and precision. Treat it with care, and it will return the favor through reliable performance. Start with a single cleaning session today, adopt a few preventative habits, and make keyboard hygiene part of your digital self-care routine.


 浙公网安备
33010002000092号
浙公网安备
33010002000092号 浙B2-20120091-4
Comments
No comments yet. Why don't you start the discussion?