
A window air conditioner is a reliable ally during hot summer months, but like any mechanical system, it performs best when properly maintained. Over time, dust, pollen, pet dander, and outdoor pollutants accumulate inside the unit, reducing airflow, lowering cooling efficiency, and potentially contributing to poor indoor air quality. A dirty AC may also consume more energy, drive up utility bills, and shorten its lifespan. Cleaning your window air conditioner isn’t just about comfort—it’s about performance, cost savings, and health. With a few basic tools and some regular attention, you can keep your unit running smoothly for years.
Why Regular Cleaning Matters
Window air conditioners work in harsh conditions—exposed to outdoor elements on one side and recirculating indoor air on the other. This dual exposure makes them prone to grime buildup. The evaporator and condenser coils, air filter, fan blades, and internal housing all collect debris over time. When these components are clogged, the unit must work harder to cool the same space, leading to strain on the motor and reduced cooling output.
According to the U.S. Department of Energy, cleaning or replacing your air conditioner’s filter every 4–6 weeks during peak use can improve efficiency by up to 15%. Beyond efficiency, a clean unit helps reduce allergens and mold spores in your home, especially important for individuals with respiratory sensitivities.
Step-by-Step Guide to Cleaning Your Window Air Conditioner
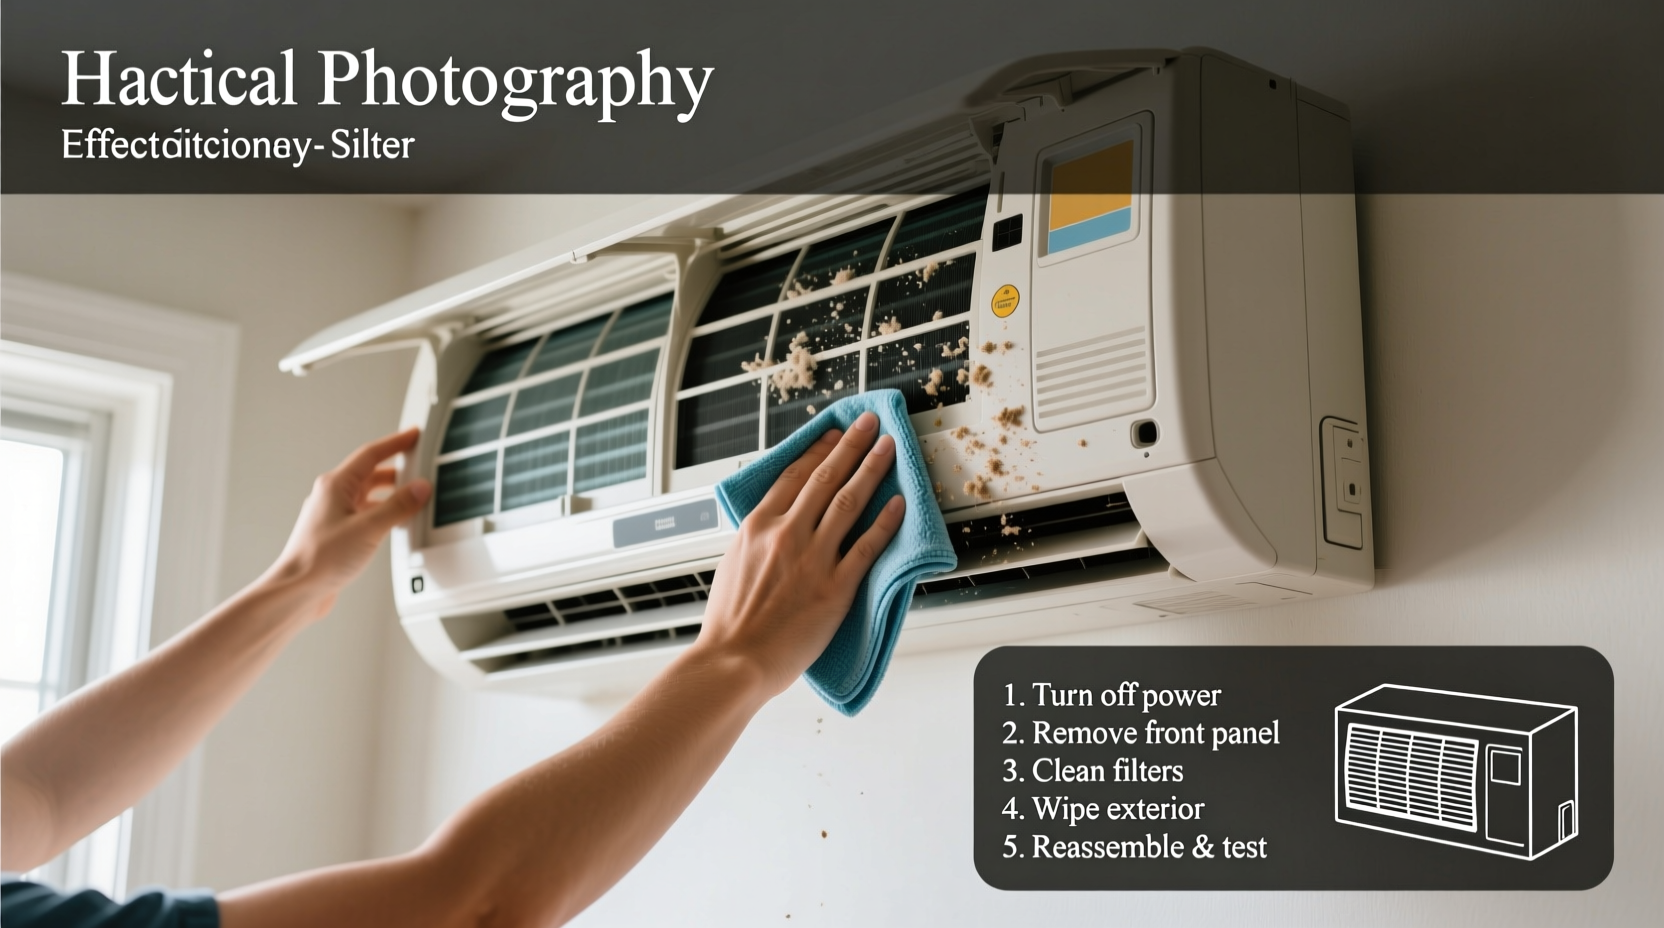
Cleaning a window air conditioner doesn’t require professional help. With proper safety precautions and a methodical approach, most homeowners can complete the process in under an hour.
- Turn Off and Unplug the Unit
Always disconnect power before beginning any maintenance. For window units, this usually means unplugging from the wall outlet. Never work on a live appliance. - Remove the Front Cover and Filter
Gently slide off the front panel (usually secured by clips or screws). Set aside. Remove the reusable air filter. If it's disposable, note the size and MERV rating for replacement. - Wash the Air Filter
If reusable, rinse the filter under lukewarm water. Use a soft brush and mild dish soap to remove stubborn dirt. Avoid harsh chemicals. Let it air dry completely before reinstalling—never put a damp filter back in. - Clean the Evaporator Coils
Behind the filter, you’ll find the evaporator coils. These are delicate and easily bent. Use a soft brush or vacuum with a brush attachment to gently remove dust. For deeper cleaning, apply a no-rinse coil cleaner (available at hardware stores) following label instructions. Spray, wait 10 minutes, then wipe excess with a microfiber cloth. - Clear the Drain Hole
Located at the bottom of the unit, the drain hole allows condensed moisture to escape. Use a pipe cleaner or small wire to clear any blockage. A clogged drain can cause water to leak indoors. - Wipe Down Fan Blades and Interior
Use a damp cloth and mild cleaner to wipe fan blades and interior surfaces. Avoid spraying liquid directly into the unit. Dry thoroughly. - Inspect and Clean the Exterior
Wipe down the outer casing with soapy water. Pay attention to the rear grille where the condenser coils are located. Remove leaves, insects, or debris blocking airflow. - Reassemble and Test
Once everything is dry, reattach the filter and front cover. Plug the unit back in and run it for 15 minutes to ensure proper operation and check for unusual noises or leaks.
Essential Tools and Supplies Checklist
Having the right tools on hand makes the job faster and safer. Here’s what you’ll need:
- Screwdriver (if needed to remove panels)
- Soft-bristle brush or coil cleaning brush
- Vacuum with brush attachment
- Mild dish soap
- Microfiber cloths
- Pipe cleaner or flexible wire
- No-rinse AC coil cleaner (optional but recommended)
- Rubber gloves and safety glasses
Do’s and Don’ts of AC Cleaning
| Do’s | Don’ts |
|---|---|
| Unplug the unit before starting | Never spray water directly into electrical components |
| Dry all parts completely before reassembly | Avoid using bleach or abrasive cleaners on coils |
| Clean the filter monthly during use | Don’t bend or damage coil fins with sharp tools |
| Check the drain hole for clogs regularly | Never operate the unit without the filter installed |
| Use a fin comb to straighten bent coil fins | Don’t ignore signs of mold or persistent odors |
Real Example: A Homeowner’s Summer Wake-Up Call
Jamal in Phoenix noticed his bedroom wasn’t cooling as quickly in June, despite setting the thermostat low. His unit was running constantly, yet the room stayed warm. After checking the filter—caked with gray dust—he decided to do a full cleaning. Upon removing the front panel, he found thick layers of dust on the coils and a blocked drain hole causing minor water leakage. After following a thorough cleaning process, including a coil treatment, the difference was immediate. The unit cooled the room 5 degrees faster and ran more quietly. Jamal now schedules cleanings every two months during summer and has cut his electricity bill by nearly 12% compared to the previous year.
“Regular maintenance isn’t optional for window ACs—it’s essential. A clean unit can perform like new even after five years of use.” — Luis Mendez, HVAC Technician with 18 years of field experience
Frequently Asked Questions
How often should I clean my window air conditioner?
At minimum, clean the filter every 4–6 weeks during active use and perform a full internal cleaning twice per cooling season—one in early summer and another mid-season. If you live in a dusty area, near construction, or have pets, increase frequency to every 3–4 weeks.
Can I hose down my window AC unit?
No. Never use a garden hose or pressure washer on a window AC, even if it’s unplugged. Water can damage electrical components, corrode metal parts, or push debris deeper into the system. Spot-clean exterior surfaces with a damp cloth only.
What should I do if I see mold inside the unit?
If you detect visible mold, wear gloves and a mask. Use a mixture of distilled white vinegar and water (1:1) to wipe affected areas. Avoid bleach, which can corrode metal and release harmful fumes. If mold is extensive or recurring, consider professional inspection or replacement, as mold can compromise indoor air quality.
Final Tips for Long-Term Performance
Seasonal care extends beyond cleaning. When summer ends, prepare your unit for storage or off-season use. If you plan to remove it, clean it thoroughly, let it dry, and store it upright in a dry place. If leaving it in the window, cover the exterior with a breathable, weather-resistant AC cover to prevent snow, ice, and debris accumulation. Never use plastic wrap—it traps moisture and encourages rust.
Also, periodically inspect the window seal around the unit. Gaps allow hot air in and cooled air to escape, reducing efficiency. Use foam insulation or removable weatherstripping to seal edges tightly.
Take Action Today for a Cooler, Cleaner Home
Your window air conditioner works hard to keep you comfortable. In return, it deserves regular care. A few hours of maintenance each season can restore cooling power, lower energy costs, and extend the life of your unit. You don’t need special skills—just attention to detail and consistency. Start with a simple filter wash this weekend, then progress to a full cleaning. Share your experience or ask questions in the comments below. Together, we can make smart home maintenance a habit, not a hassle.


 浙公网安备
33010002000092号
浙公网安备
33010002000092号 浙B2-20120091-4
Comments
No comments yet. Why don't you start the discussion?