
Dust, crumbs, oils from fingertips, and pet hair accumulate beneath keyboard keys over time, degrading both performance and hygiene. While cleaning seems straightforward, the risk of damaging sensitive electronic components is real—especially if water, pressure, or improper tools are used. Done correctly, however, cleaning between keys restores responsiveness, prevents key failure, and improves typing comfort. This guide covers proven, non-destructive techniques that protect circuitry while delivering deep cleaning results. Whether you're using a laptop, mechanical gaming board, or office keyboard, these methods prioritize safety, precision, and long-term device health.
Why Cleaning Between Keys Matters
A keyboard may appear clean on the surface, but debris collects rapidly in the gaps around and under each keycap. Over months, this buildup can interfere with switch mechanics, especially in mechanical keyboards where physical contact depends on unobstructed movement. In membrane keyboards, grime can insulate contact points, leading to missed keystrokes. Beyond functionality, accumulated dirt harbors bacteria—studies show that the average keyboard hosts more germs than a toilet seat. Regular maintenance isn't just about aesthetics; it's essential for hygiene, performance, and extending your device’s lifespan.
“Keyboards are high-touch surfaces that collect skin cells, oils, and environmental debris. Cleaning them properly reduces microbial load and prevents hardware degradation.” — Dr. Lena Torres, Environmental Microbiologist
Essential Tools and What to Avoid
Using the wrong tools is one of the most common causes of accidental damage during keyboard cleaning. The goal is to dislodge debris without introducing moisture, static discharge, or physical stress to internal components.
Recommended Cleaning Supplies
- Compressed air canister – Removes loose particles without contact.
- Soft-bristle brush (e.g., clean toothbrush or paintbrush) – Loosens stuck debris gently.
- Cotton swabs – Ideal for precision cleaning around keycaps.
- Isopropyl alcohol (70% or higher) – Disinfects without residue when used sparingly.
- Microfiber cloth – Safe for wiping surfaces without scratching.
- Tweezers or plastic pick – For lifting stubborn fibers or lint.
Tools That Pose Risk
- Household vacuums – Can generate static electricity harmful to electronics.
- Water or liquid cleaners – Even small amounts can short-circuit boards.
- Metal tools – May scratch surfaces or cause electrical shorts.
- Excessive pressure – Can crack keycaps or damage underlying switches.
Step-by-Step Guide: Safe Deep Cleaning Process
This method works for most desktop and laptop keyboards. Adjust slightly based on device type, especially when removing keycaps.
- Power down and disconnect – Unplug wired keyboards or turn off wireless ones. For laptops, shut down completely and disconnect from power.
- Invert and shake gently – Hold the keyboard at a 75-degree angle over a trash can and tap the back to dislodge large debris.
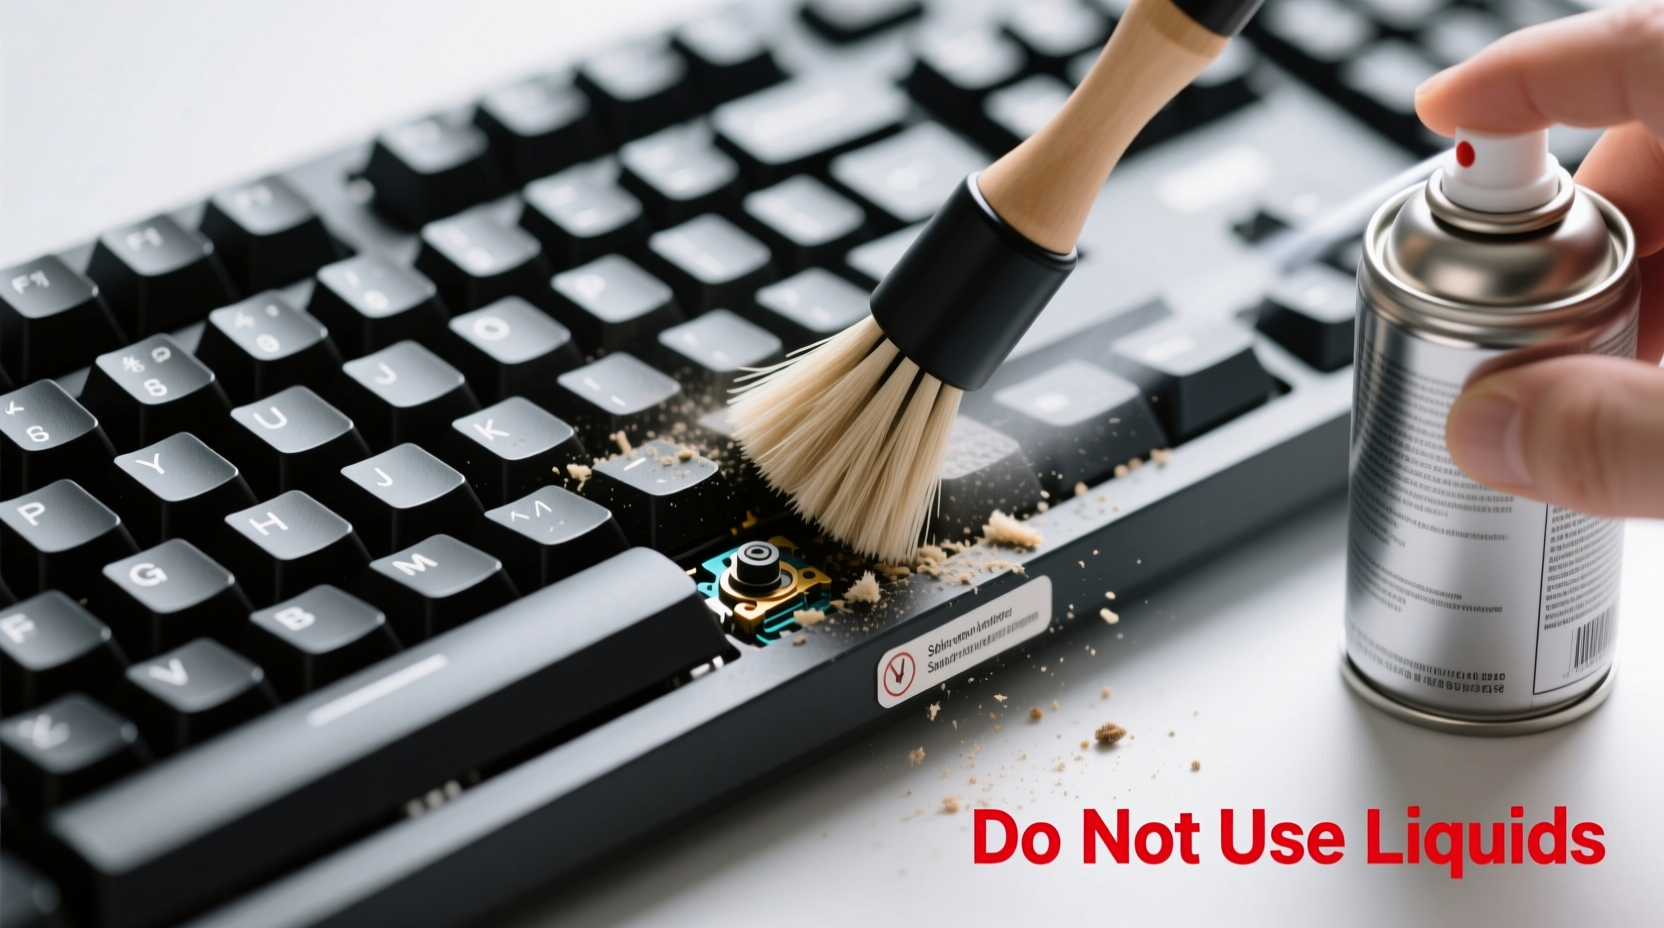
- Use compressed air – Spray in short bursts at a 45-degree angle across the key matrix. Move row by row to push out dust and crumbs. Do not tilt the can upside down to avoid propellant leakage.
- Brush between keys – Use a soft-bristle brush in small circular motions to loosen packed-in grime. Focus on high-use areas like spacebar and letter clusters.
- Apply cotton swabs with care – Dampen a swab lightly with isopropyl alcohol (never wet). Wipe between and around keys, rotating the swab as it picks up debris.
- Wipe surface – Use a microfiber cloth slightly dampened with alcohol to clean tops of keys. Never pour liquid directly onto the keyboard.
- Allow full drying – Wait at least 10–15 minutes before reconnecting or powering on. Ensure no moisture remains.
When and How to Remove Keycaps
For mechanical keyboards or heavily soiled setups, removing keycaps allows access to the base and stabilizers. This step is optional and not recommended for standard laptop keyboards unless you’re experienced.
To remove keycaps safely:
- Use a keycap puller (plastic preferred) to lift keys straight upward.
- Start with smaller keys (ASDF, JKL;) before larger ones like spacebar, which may have stabilizer bars.
- Soak removed caps in warm, soapy water for 10–15 minutes. Rinse and dry thoroughly before reattaching.
- While caps are off, use compressed air and cotton swabs to clean exposed switches.
Reattach keycaps by aligning stems with switch housings and pressing down evenly. Avoid wiggling or forcing.
“Removing keycaps gives you direct access to problem areas, but only do it if you’re confident. Misaligned reinstallation can lead to double-typing or unresponsiveness.” — Marcus Lin, Mechanical Keyboard Technician
Do’s and Don’ts: A Quick Reference Table
| Do | Don’t |
|---|---|
| Use isopropyl alcohol on a swab or cloth | Soak the keyboard or spray liquid directly |
| Clean in a well-lit, static-free area | Work on carpeted floors (risk of static shock) |
| Use compressed air in short bursts | Hold the can upside down while spraying |
| Wait 10+ minutes after cleaning before use | Turn on the keyboard while still damp |
| Label key positions if removing multiple caps | Remove laptop keycaps without researching model-specific guides |
Real Example: Recovering a Sticky Laptop Keyboard
Jamal, a freelance writer, noticed his 'E' and 'R' keys were registering double inputs. He avoided cleaning because he feared damaging his three-year-old laptop. After research, he followed the dry-method approach: powered down, inverted the machine, used compressed air, then a dry brush. No liquids were applied. After several passes, fine sand-like particles emerged—likely from working outdoors. The keys responded normally within two days of consistent light cleaning. Jamal now cleans monthly and reports improved typing accuracy and confidence in maintaining his gear.
This case illustrates that even minor debris, invisible to the eye, can impair function—and that cautious, tool-based cleaning often resolves issues without invasive steps.
Checklist: Complete Keyboard Cleaning Routine
- ✅ Turn off and disconnect the keyboard
- ✅ Shake out loose debris
- ✅ Use compressed air in short bursts
- ✅ Brush between keys with soft bristles
- ✅ Clean around keys with alcohol-dampened swabs
- ✅ Wipe keytops with microfiber cloth
- ✅ Allow 10–15 minutes to dry completely
- ✅ Power on and test critical keys
- Optional: Remove keycaps (mechanical only), clean separately, and reattach
Frequently Asked Questions
Can I use hand sanitizer to clean between keyboard keys?
No. Hand sanitizers often contain gels, fragrances, and additives that leave sticky residues. While they contain alcohol, they are not formulated for electronics. Stick to pure isopropyl alcohol (70% or higher) applied via swab or cloth.
Is it safe to clean a laptop keyboard with water?
No. Water conducts electricity and can seep through gaps into the motherboard, causing permanent damage. Even a few drops can corrode traces over time. Always use dry or minimally damp methods with alcohol-only solutions.
How often should I deep clean my keyboard?
Every 4–6 weeks for regular users. If you eat at your desk, have pets, or work in dusty environments, consider cleaning every 2–3 weeks. Light surface wiping can be done weekly.
Protecting Your Investment Through Maintenance
A keyboard is a high-use interface, subject to daily wear far beyond most other peripherals. Yet it often receives the least attention until problems arise. Proactive cleaning between keys preserves both tactile feel and electrical integrity. The methods outlined here minimize risk while maximizing effectiveness—using widely available tools and simple discipline. By integrating these habits into your routine, you extend the life of your equipment, maintain hygiene, and ensure consistent performance whether you're coding, writing, or gaming.
Damage prevention starts with awareness: knowing what not to do is just as important as knowing the right steps. Avoid moisture, excessive force, and improvised tools. Stick to controlled, tested practices that respect the delicate balance between mechanical design and electronic function.


 浙公网安备
33010002000092号
浙公网安备
33010002000092号 浙B2-20120091-4
Comments
No comments yet. Why don't you start the discussion?