
Every year, as the holiday season approaches, millions of households pull out their stored Christmas lights—only to find them coated in a layer of dust, grime, or even cobwebs. While it might be tempting to plug them in and hang them up immediately, skipping a proper cleaning can reduce their brightness, increase fire risk, and shorten their usable life. Cleaning dusty Christmas lights doesn’t require harsh chemicals or complicated tools, but it does demand care, especially around delicate bulbs and wiring. Done correctly, this process restores sparkle, improves electrical contact, and ensures your lights last for many seasons.
This guide walks you through safe, effective methods to clean your Christmas lights without damaging bulbs or risking personal injury. Whether you’re dealing with vintage incandescent strands or modern LED sets, the right technique makes all the difference.
Why cleaning matters: More than just appearance
Dust accumulation isn't merely cosmetic. Over time, layers of dust, pet hair, and airborne grease settle into sockets and along wires. This buildup can:
- Reduce light output by up to 30%, making displays appear dimmer
- Increase heat retention in incandescent bulbs, raising fire risk
- Corrode metal contacts, leading to flickering or dead sections
- Attract pests that may chew on insulation
Additionally, indoor storage in attics, garages, or basements exposes lights to temperature swings and humidity, accelerating oxidation and material degradation. A simple cleaning routine mitigates these issues and extends the functional life of your investment.
“Many people don’t realize that a quick pre-season clean can prevent half the electrical failures we see during December.” — James Lohr, Electrical Safety Technician at Holiday Lighting Inspections Inc.
Step-by-step guide: Safe cleaning from start to finish
Cleaning Christmas lights requires patience and attention to detail. Follow this timeline-based method to avoid damage and maximize effectiveness.
- Unpack carefully: Remove lights from storage boxes gently. Avoid yanking tangled strands, which can stress solder joints and break filaments.
- Inspect for damage: Before cleaning, check each bulb, socket, and wire for cracks, fraying, or corrosion. Replace faulty bulbs now if possible.
- Test functionality: Plug in the strand (if safe) to identify non-working sections. Mark problem areas with a small tag or tape.
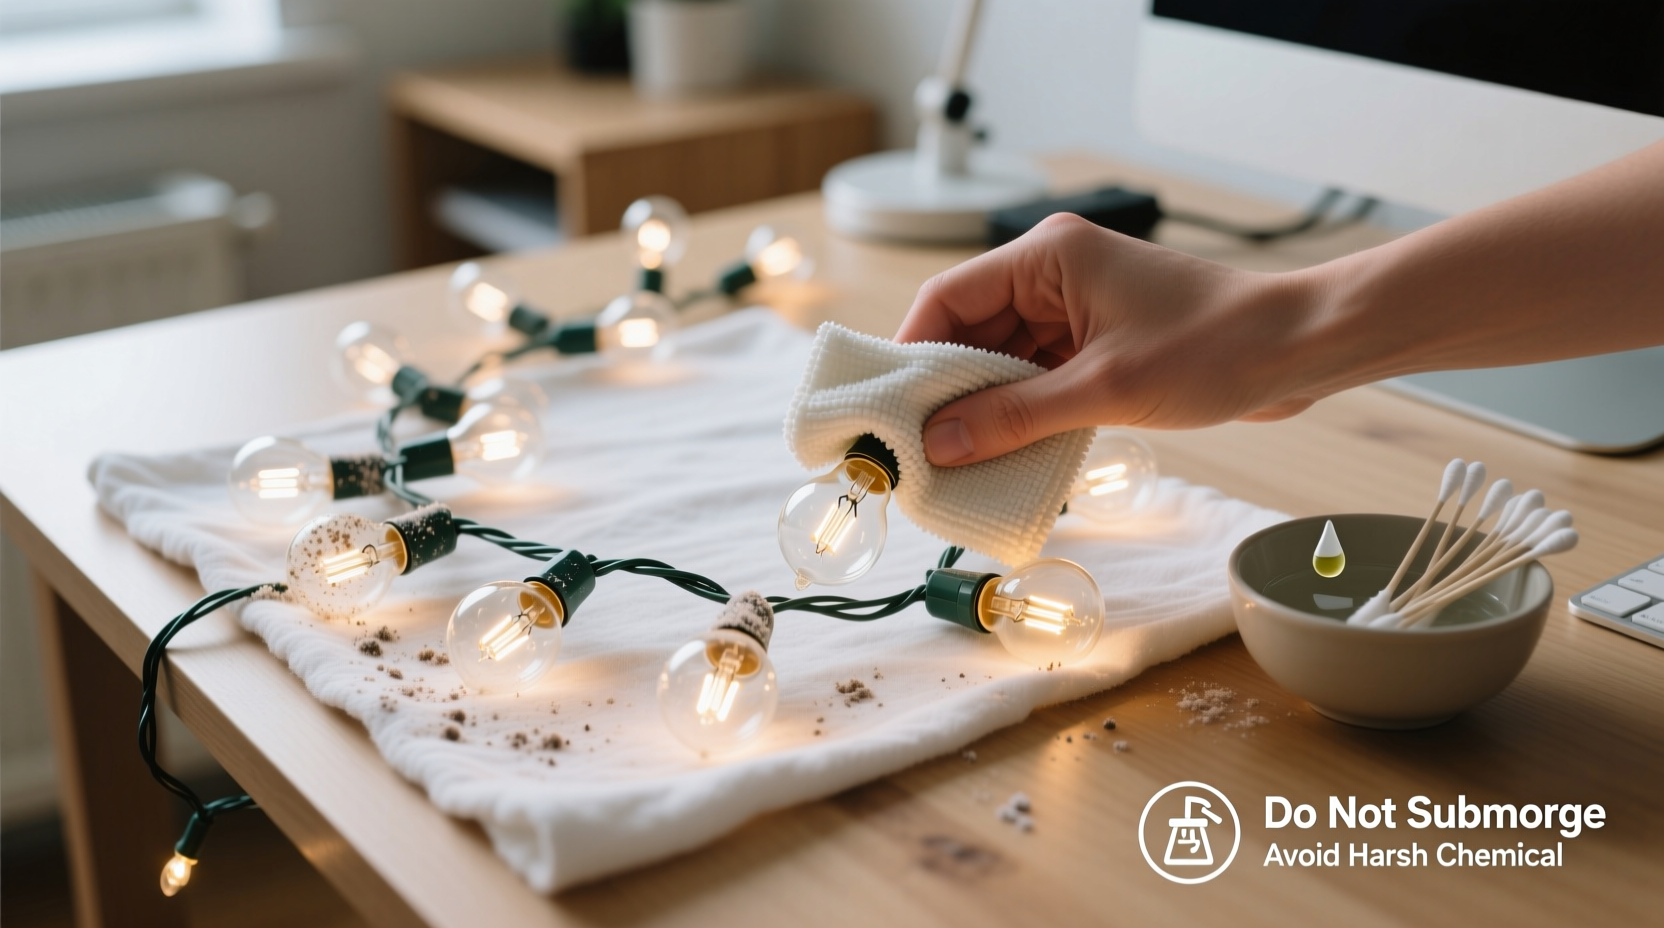
- Prepare cleaning station: Lay out a clean towel on a table. Gather supplies: soft microfiber cloths, cotton swabs, mild dish soap, distilled water, and a plastic bin (optional).
- Remove surface dust: Use a dry microfiber cloth or soft-bristle brush to gently wipe down wires and bulbs. Work from one end to the other, minimizing bending.
- Clean stubborn grime: For sticky residue or embedded dirt, dampen a cloth with a solution of one part mild dish soap to ten parts water. Wipe carefully—never soak the strand.
- Target sockets and connectors: Dip a cotton swab in rubbing alcohol (70% isopropyl) and clean inside each socket and plug ends. This removes oxidation and improves conductivity.
- Air dry completely: Hang the strand loosely over a clothesline or lay flat on a dry towel. Allow at least 4–6 hours of drying time before testing or storing.
- Re-test lights: Once fully dry, plug in the strand again. Confirm all bulbs function and connections are secure.
- Coil for storage: Wrap lights around a cardboard reel or use a specialized light keeper to prevent tangles next year.
Do’s and Don’ts: What to avoid when cleaning Christmas lights
Mistakes during cleaning are common but preventable. The table below outlines best practices versus risky behaviors.
| Do | Don’t |
|---|---|
| Use a dry microfiber cloth for initial dusting | Use paper towels—they can scratch plastic bulbs and leave lint |
| Dampen cloths slightly with soapy water for deep cleaning | Soak strands in sinks or buckets—moisture seeps into sockets |
| Clean plugs and sockets with isopropyl alcohol on a swab | Insert metal objects into sockets to scrape debris |
| Allow full air drying before plugging in | Use hairdryers or heaters—excess heat damages wiring |
| Store cleaned lights on reels or in compartmentalized bins | Toss lights loosely into boxes where they tangle and crush |
Real example: How one family avoided a holiday hazard
The Reynolds family in Portland, Oregon, had used the same set of incandescent C7 lights on their front porch for over 12 years. Each November, they’d pull the strands from a garage shelf and string them up with minimal inspection. In 2022, their display flickered erratically, and one section emitted a faint burning smell after an hour of use.
Instead of replacing the set, they decided to clean it thoroughly. After unplugging and cooling the lights, they wiped each bulb and wire with a dry microfiber cloth, then used alcohol-dipped swabs on every socket. During cleaning, they discovered several corroded base contacts and two cracked insulation spots near the plug. They replaced three bulbs and wrapped the damaged wire section with electrical tape.
After six hours of drying, the lights worked flawlessly—and brighter than they had in years. More importantly, the fire hazard was eliminated. The family now cleans all their lights annually, crediting the routine with saving both money and safety.
Checklist: Pre-cleaning preparation and execution
Follow this checklist to ensure a thorough and safe cleaning process:
- ☐ Unpack lights in a clear, well-lit workspace
- ☐ Wear gloves to protect hands and prevent oil transfer
- ☐ Inspect each strand for broken bulbs, exposed wires, or melted sockets
- ☐ Test lights while cold to identify malfunctioning sections
- ☐ Gather supplies: microfiber cloths, cotton swabs, mild soap, distilled water, isopropyl alcohol
- ☐ Dust entire strand with a dry cloth or soft brush
- ☐ Dampen a cloth with soapy water and gently wipe dirty areas
- ☐ Clean plug prongs and socket interiors with alcohol swabs
- ☐ Hang or lay flat to dry completely (minimum 4 hours)
- ☐ Re-test lights after drying
- ☐ Label and store properly using reels or organizers
Frequently asked questions
Can I wash Christmas lights in the dishwasher or washing machine?
No. Despite viral DIY hacks, dishwashers and washing machines expose lights to high heat, strong detergents, and mechanical agitation that will destroy bulbs, melt sockets, and compromise wiring integrity. Even brief exposure can lead to short circuits or electrocution risks. Always clean manually using gentle methods.
Are LED lights easier to clean than incandescent ones?
Yes, generally. LEDs run cooler, attract less dust due to lower static charge, and often have more durable plastic housings. However, their electronic components are sensitive to moisture. While the cleaning steps are similar, extra caution is needed around circuit boards in smart or programmable LED strands. Avoid any liquid near control boxes.
How often should I replace my Christmas lights?
With proper care, incandescent strands last 3–5 years; LEDs can last 10–15 years. Replace lights if you notice frequent bulb burnouts, darkened sockets, brittle wires, or inconsistent lighting. Consider upgrading older incandescent sets to LEDs—they consume up to 90% less energy and generate far less heat, improving safety and reducing cleaning frequency.
Expert insight: Long-term maintenance tips
Professional decorators and electricians emphasize that prevention is more effective than repair. Routine care begins the moment you take lights down after the holidays.
“Cleaning once a year is good. But storing them correctly is what really prevents dust buildup and physical damage.” — Maria Tran, Seasonal Lighting Consultant at Evergreen Displays Co.
Tran recommends wrapping each strand individually around a piece of corrugated cardboard cut into a figure-8 shape. This minimizes tension and prevents kinks. She also advises using breathable cotton storage bags instead of sealed plastic, which traps moisture and encourages mold growth on wiring.
For commercial or large residential displays, she suggests rotating between two sets of lights—using one while the other is cleaned and rested. This reduces wear and allows for deeper maintenance cycles.
Conclusion: Shine bright for years to come
Cleaning dusty Christmas lights isn’t just about restoring sparkle—it’s a critical step in home safety, energy efficiency, and seasonal preparedness. With simple tools and mindful handling, you can preserve your favorite holiday decorations for years. The few hours spent wiping down strands and checking connections pay off in reliable performance, brighter displays, and peace of mind.
Start this tradition today. Pull out last season’s lights, inspect them closely, and give them the care they deserve. Your future self—standing under a perfectly lit tree or porch—will thank you.


 浙公网安备
33010002000092号
浙公网安备
33010002000092号 浙B2-20120091-4
Comments
No comments yet. Why don't you start the discussion?