
Bathroom tile grout is a magnet for moisture, soap scum, mold, and daily wear. Over time, once-bright grout lines turn dingy, stained, or even black—especially in high-humidity zones like showers and tub surrounds. Most people reach for a brush and elbow grease, only to end up frustrated after hours of scrubbing with minimal results. The good news? You don’t need to spend your weekend on your knees to restore grout to its original condition. With the right approach, you can achieve deep cleaning with little to no scrubbing required.
The secret lies not in brute force but in chemistry, consistency, and smart application. This guide reveals proven, low-effort methods that dissolve buildup, lift stains, and inhibit future discoloration—all while preserving your grout and saving your energy.
Why Grout Gets Dirty (And Why Scrubbing Isn't the Answer)
Grout is porous. Unlike glazed tile, it absorbs water, oils, and residues over time. In bathrooms, this means constant exposure to:
- Hard water minerals (calcium, magnesium)
- Soap scum and body oils
- Mold and mildew spores
- Dirt tracked in from outside
These elements combine to form stubborn layers inside the grout matrix. Traditional scrubbing may remove surface grime but often fails to penetrate deeper stains. Worse, aggressive brushing can erode grout over time, creating micro-cracks that trap more dirt later.
“Scrubbing alone rarely restores grout because it doesn’t address the root cause: absorbed contaminants. The real solution is dwell time and proper chemical action.” — Dr. Alan Reyes, Ceramic Materials Researcher, Building Science Institute
Instead of fighting the grout’s nature, work with it. Let cleaning agents do the heavy lifting through penetration and reaction, minimizing physical effort.
Effective No-Scrub Cleaning Methods
The goal is to apply a solution that clings to vertical surfaces, penetrates pores, breaks down organic and inorganic deposits, and lifts residue to the surface—without requiring friction.
1. Baking Soda and Hydrogen Peroxide Paste
This gentle yet powerful combo uses oxygenation to break apart stains. Hydrogen peroxide acts as a mild bleach and disinfectant, while baking soda provides slight abrasion without scratching.
How to use:
- Mix ½ cup baking soda with ¼ cup hydrogen peroxide to form a thick paste.
- Apply with a small brush or applicator bottle directly into grout lines.
- Cover treated areas with plastic wrap to prevent drying (critical for dwell time).
- Let sit for 1–2 hours.
- Rinse thoroughly with warm water.
No scrubbing needed—the bubbling action loosens debris naturally. For dark grout, repeat weekly until desired brightness returns.
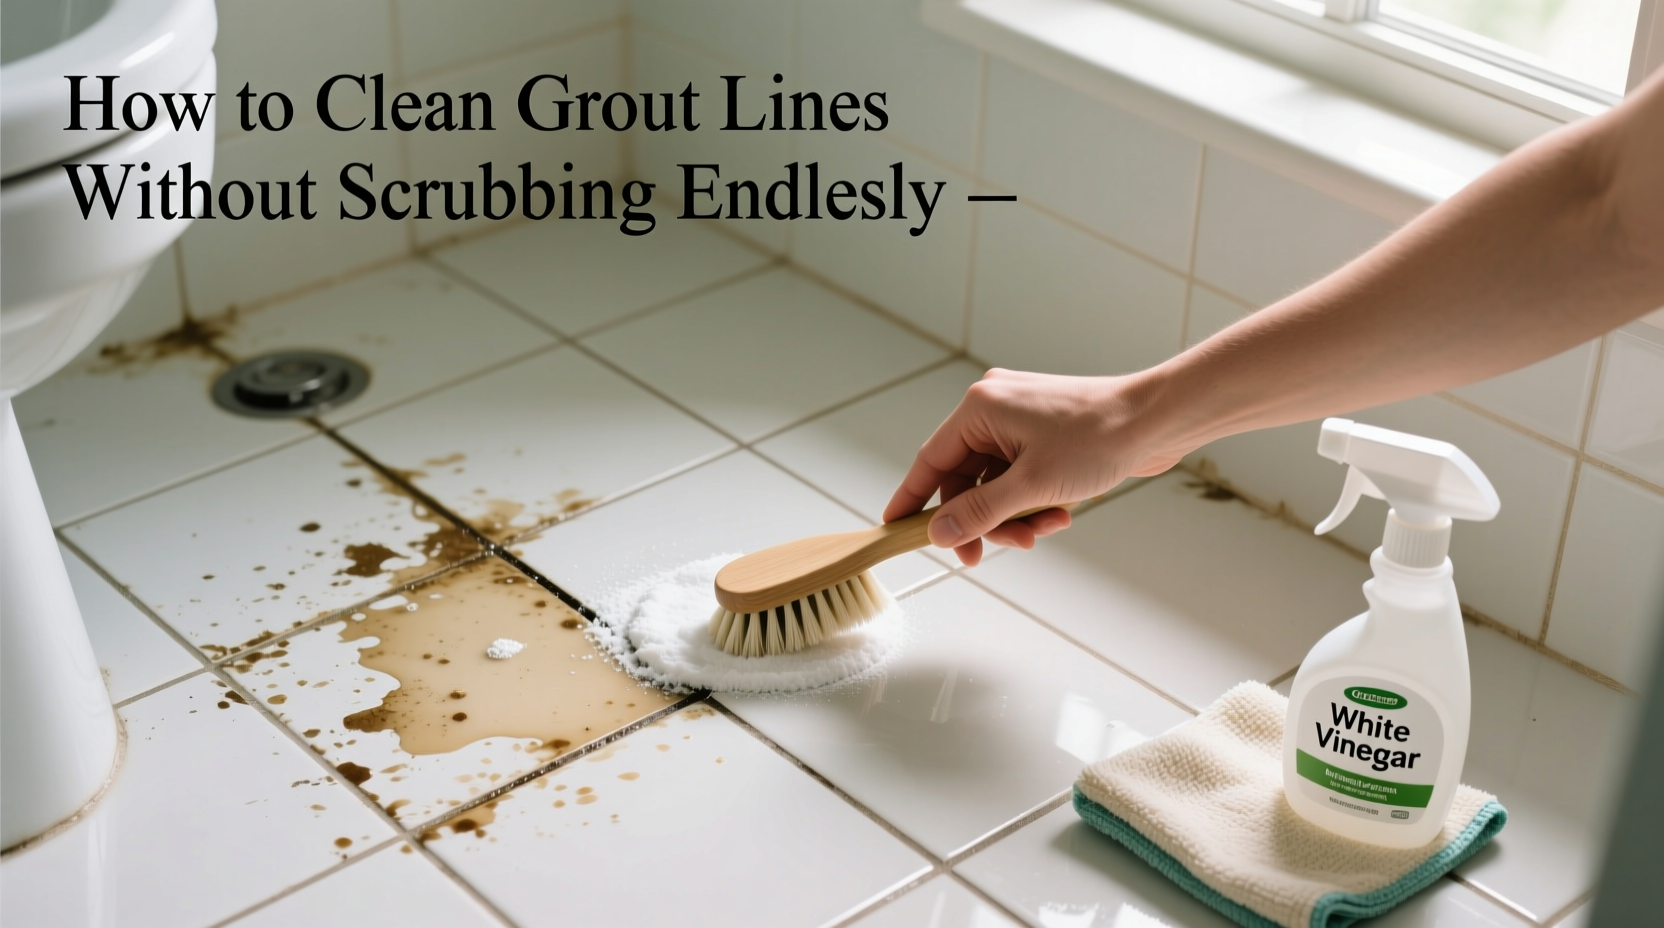
2. Vinegar and Dish Soap Spray
A favorite among eco-conscious cleaners, this method combines acetic acid (vinegar) with surfactants (dish soap) to dissolve mineral deposits and cut through grease.
Recipe:
- 1 cup white vinegar
- 1 tablespoon liquid dish soap (preferably degreasing formula)
- 1 cup warm water
Pour into a spray bottle. Apply generously to grout, ensuring full coverage. Allow to sit for 30–60 minutes. Wipe clean with a damp microfiber cloth. The soap helps the vinegar adhere longer, increasing contact time and effectiveness.
3. Oxygen-Based Bleach Soak
Unlike chlorine bleach, oxygen bleach (sodium percarbonate) releases active oxygen in water, gently oxidizing stains without damaging grout or emitting toxic fumes.
Follow manufacturer instructions, typically mixing ½ cup powder with 1 gallon warm water. Pour into a squeeze bottle or use a foam sprayer to apply thick foam that clings to walls. Let sit 4–6 hours or overnight. Rinse well.
Ideal for large tiled areas like shower walls. One application often removes years of buildup with zero scrubbing.
Step-by-Step Timeline: Deep Clean Without Scrubbing
Here’s a realistic schedule to restore grout over one weekend with minimal effort:
- Saturday Morning (30 min): Clear the area. Remove shower curtains, caddies, and any obstructions. Sweep or vacuum tile surfaces to eliminate loose debris.
- Saturday Afternoon (15 min + dwell time): Apply chosen cleaner (e.g., baking soda/peroxide paste) to grout lines. Cover with plastic wrap. Set timer for 2 hours.
- Saturday Evening: Rinse thoroughly. Assess results. Repeat on stubborn sections if needed.
- Sunday Morning: Perform final rinse and dry with a squeegee or towel. Inspect for remaining discoloration.
- Sunday Afternoon: Apply grout sealer (if desired) to protect against future staining.
Total hands-on time: under 90 minutes. The rest is passive cleaning.
Do’s and Don’ts of Grout Care
| Do’s | Don’ts |
|---|---|
| Use pH-neutral cleaners regularly | Use chlorine bleach frequently (it weakens grout over time) |
| Seal grout every 6–12 months | Allow standing water in shower corners |
| Ventilate bathroom during/after use | Ignore early signs of mold |
| Wipe down tiles after each shower | Use abrasive pads or steel wool |
| Test cleaners on small hidden area first | Assume all grout is sealed (most new installations aren’t) |
Real Example: A High-Traffic Bathroom Transformed
Consider Sarah, a homeowner in Portland, Oregon, dealing with perpetually damp conditions due to frequent rain and limited bathroom ventilation. Her shower grout had turned nearly black in places despite weekly wipe-downs. She tried scrubbing with bleach pens and brushes, but the color returned within days.
Following the no-scrub method, she applied an oxygen bleach solution in foam form on a Friday night, leaving it overnight. On Saturday morning, she rinsed with a handheld showerhead. To her surprise, 80% of the discoloration was gone. She repeated the process one week later and then applied a penetrating grout sealer. Six months later, with only biweekly vinegar sprays and post-shower wiping, her grout remains visibly cleaner than it had been in five years.
The turning point wasn’t more effort—it was smarter technique.
Prevention: Keep Grout Clean Between Deep Cleans
Once your grout is restored, maintenance becomes far easier. Implement these habits to extend results:
- Squeegee after use: Run a rubber squeegee over tiles after each shower to reduce water and soap residue.
- Ventilate: Run the exhaust fan for at least 20 minutes post-shower or crack a window.
- Weekly spray: Mist grout lines with a 1:1 vinegar-water solution monthly, then wipe. Prevents buildup before it starts.
- Re-seal annually: Use a silane/siloxane-based sealer that repels water without altering appearance.
FAQ: Common Questions About Grout Cleaning
Can I really clean grout without scrubbing at all?
Yes—especially if you allow sufficient dwell time. Modern cleaning agents are designed to penetrate and react chemically. Physical scrubbing may still be needed for neglected grout with deep biological growth, but 90% of cleaning can be achieved passively with proper solutions and patience.
Is steam cleaning effective for grout?
Steam can sanitize and loosen light grime, but it lacks chemical action to dissolve mineral scale or organic stains. It works best as a follow-up step after applying a cleaning agent, not as a standalone solution. Also, excessive steam can degrade older grout over time.
What if my grout stays discolored after cleaning?
Persistent discoloration may indicate one of three issues: 1) Unsealed grout that has absorbed permanent stains, 2) Mold growing beneath the tile surface, or 3) Natural grout aging. In such cases, consider professional-grade grout color sealing—a topical dye that recolors grout permanently and seals it in one step.
Checklist: No-Scrub Grout Cleaning Plan
- ☐ Remove bathroom clutter and clean loose debris
- ☐ Choose a cleaning method (peroxide paste, vinegar mix, or oxygen bleach)
- ☐ Mix solution and apply directly to grout lines
- ☐ Cover with plastic wrap or use foaming agent to prevent drying
- ☐ Wait 1–6 hours (follow product guidelines)
- ☐ Rinse thoroughly with warm water
- ☐ Dry completely with towel or squeegee
- ☐ Inspect and reapply if necessary
- ☐ Seal grout if unsealed or overdue
- ☐ Establish a weekly maintenance routine
Conclusion: Work Smarter, Not Harder
Cleaning grout doesn’t have to mean sore knees and wasted hours. By understanding how grout absorbs contaminants and leveraging chemical reactions instead of mechanical force, you can achieve dramatic results with minimal effort. The most effective cleaning happens when you’re not even looking—while the solution sits, breaking down years of buildup in silence.
Start with one section of your bathroom this week. Try the baking soda and peroxide method, let it dwell, and see the difference. Once you experience cleaning that works while you wait, you’ll never go back to endless scrubbing.


 浙公网安备
33010002000092号
浙公网安备
33010002000092号 浙B2-20120091-4
Comments
No comments yet. Why don't you start the discussion?