
Grout lines between tiles are essential for structural stability and aesthetics, but they’re also notorious for trapping dirt, mold, and discoloration over time. While commercial cleaners often promise quick fixes, many contain harsh chemicals that can damage surfaces or irritate the respiratory system. A safer, more sustainable alternative lies in two household staples: vinegar and baking soda. This powerful duo not only cuts through grime effectively but does so without toxic residues. With the right techniques, you can restore your grout to a near-new condition—naturally.
The Science Behind Vinegar and Baking Soda for Grout Cleaning
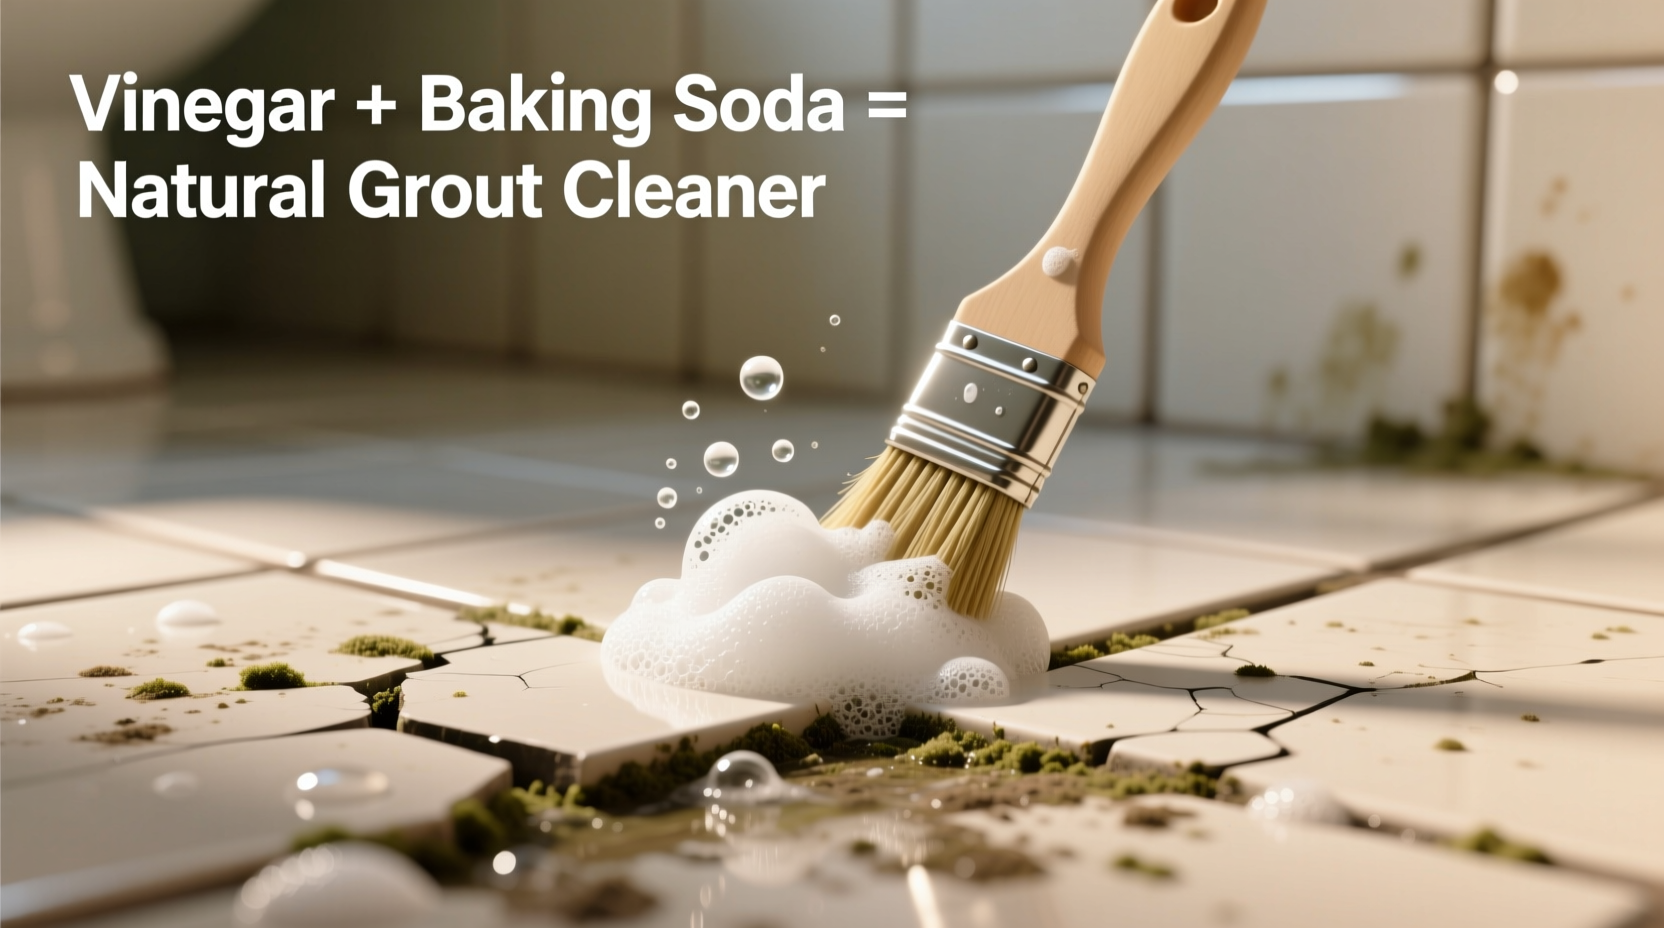
Vinegar and baking soda are frequently misunderstood when used together. Alone, each has distinct cleaning properties; combined, they create a chemical reaction that enhances mechanical scrubbing power.
White vinegar is acidic (around pH 2.5), making it excellent at dissolving mineral deposits, soap scum, and killing certain types of bacteria and mold. Its acetic acid content breaks down alkaline buildups commonly found in bathroom and kitchen grout.
Baking soda, or sodium bicarbonate, is a mild alkali with natural abrasive qualities. When applied as a paste, it acts like a gentle scouring agent that lifts stains without scratching tile surfaces. More importantly, when mixed with vinegar, it produces carbon dioxide gas—the fizzing action—which helps dislodge deeply embedded debris from porous grout.
“Natural cleaning solutions like vinegar and baking soda offer real efficacy while reducing indoor air pollution from volatile organic compounds.” — Dr. Lena Patel, Environmental Health Scientist
While this combination doesn’t disinfect as thoroughly as bleach-based products on all pathogens, it remains highly effective for routine maintenance and visible stain removal—especially when paired with proper scrubbing and ventilation.
Step-by-Step Guide to Deep-Clean Grout Naturally
Cleaning grout with vinegar and baking soda isn’t just about mixing the two and scrubbing. The method matters. Follow this proven sequence for maximum impact:
- Sweep or vacuum the area: Remove loose dust and debris first to prevent turning dirt into mud during cleaning.
- Prewash with warm water: Dampen grout lines with a sponge or spray bottle. Moistening opens pores slightly, allowing better penetration of cleaning agents.
- Make a thick baking soda paste: Mix ½ cup baking soda with 2–3 tablespoons of water until it forms a spreadable consistency. Apply directly to grout using an old toothbrush or small spatula.
- Spray white vinegar over the paste: Fill a spray bottle with undiluted white vinegar and mist the treated areas. Expect immediate bubbling—this reaction lifts trapped soils.
- Let sit for 10–15 minutes: Allow time for the chemical action to break down grease, mildew, and stains. For heavily soiled zones, extend to 20 minutes.
- Scrub thoroughly: Use a stiff-bristled brush (not metal) to agitate each line. Focus on one section at a time to avoid drying.
- Rinse with clean water: Wipe away residue with a damp cloth or sponge. Change rinse water frequently to avoid redepositing grime.
- Dry completely: Use a microfiber towel to absorb moisture, then allow airflow to finish drying. Wet grout encourages mold regrowth.
Advanced Hacks for Tough Stains and Mold
Not all grout issues respond to basic treatments. Here are three enhanced methods leveraging vinegar and baking soda in creative ways:
Hack #1: Hydrogen Peroxide Boost
Mix baking soda with hydrogen peroxide instead of water to form the paste. This creates a light bleaching effect ideal for yellowed or grayed grout. Spray vinegar after application as usual. Ideal for bathrooms where mildew discoloration occurs. Do not use on colored grout unless tested first—peroxide may lighten pigments.
Hack #2: Steam-Assisted Deep Clean
After applying the vinegar-baking soda mix and letting it bubble, pass a handheld steam cleaner over the area. Heat increases molecular activity, helping loosen stubborn deposits. This method reduces scrubbing effort significantly and sanitizes more effectively than cold application alone.
Hack #3: Overnight Penetration Paste
For extremely dirty floors, combine ¾ cup baking soda, ¼ cup hydrogen peroxide, and 1 tablespoon liquid castile soap. Spread thickly over grout lines and cover with plastic wrap overnight. The seal prevents drying and allows prolonged contact. Next day, spray with vinegar, scrub, and rinse. This method works well on decades-old buildup.
Do’s and Don’ts of Natural Grout Cleaning
| Do’s | Don’ts |
|---|---|
| Use distilled white vinegar (cheap and effective) | Use apple cider vinegar—it can leave sticky residue |
| Apply paste evenly along grout lines | Leave paste on too long (>30 min) on sensitive tiles |
| Ventilate the room well during and after cleaning | Use steel wool or wire brushes—scratches attract more dirt |
| Seal grout after cleaning to prolong results | Combine vinegar with bleach—creates toxic chlorine gas |
| Repeat treatment weekly for high-traffic areas | Soak unsealed grout excessively—can weaken structure |
Real Example: Reviving a 15-Year-Old Bathroom Floor
Sarah from Portland had a tiled bathroom floor that hadn’t been deep-cleaned in over a decade. Despite regular mopping, the grout had turned dark gray and developed patchy black spots—signs of mold infiltration. She avoided bleach due to asthma concerns and sought a natural solution.
She began by vacuuming the floor, then pre-wet the grout with warm water. Using a syringe (for precision), she injected a baking soda slurry into narrow joints. After spraying vinegar, she allowed a 15-minute dwell time before scrubbing with a nylon brush. On the second pass, she added hydrogen peroxide to the paste and repeated the process.
After two sessions spaced three days apart, the grout regained its original off-white hue. Sarah finished by sealing the entire floor with a water-based penetrating sealer. Two years later, with monthly vinegar rinses, the grout remains visibly clean.
“This wasn’t magic—it was persistence and chemistry. I saved $200 on professional cleaning and didn’t need to open windows for hours afterward.” — Sarah T., DIY Homeowner
Essential Checklist for Natural Grout Maintenance
- ☐ Sweep or dry mop tile surfaces weekly
- ☐ Spot-treat stained grout with baking soda paste immediately
- ☐ Spray vinegar solution (1:1 vinegar/water) monthly for prevention
- ☐ Reapply grout sealer every 6–12 months
- ☐ Use exhaust fans in bathrooms to reduce humidity
- ☐ Avoid dragging heavy furniture across grouted floors
- ☐ Replace cracked tiles promptly to prevent water intrusion
Frequently Asked Questions
Can vinegar damage grout?
Yes, if used excessively or on unsealed or degraded grout. Vinegar's acidity can erode cement-based grout over time, especially with daily use. It’s safe for occasional deep cleaning (once every few weeks) but should be avoided on poorly maintained or crumbling grout. Always follow with thorough rinsing and drying.
Is baking soda enough on its own?
Baking soda alone works well for light surface stains and fresh spills. However, for deeper discoloration or microbial growth, pairing it with vinegar or hydrogen peroxide significantly improves lifting power. Think of baking soda as the scrubber and vinegar as the solvent—they work best together.
How often should I deep-clean grout naturally?
In high-moisture areas like showers, aim for every 4–6 weeks. Kitchen backsplashes may only need treatment every 3–4 months. Floors in entryways benefit from monthly attention due to tracked-in soil. Frequency depends on foot traffic, humidity, and whether the grout is sealed.
Conclusion: Sustainable Cleanliness Starts Underfoot
Cleaning grout doesn’t require hazardous fumes or expensive specialty products. With vinegar and baking soda—two affordable, accessible ingredients—you can achieve impressive results safely and sustainably. The key is consistency, correct technique, and understanding the limits of natural methods. Over time, maintaining clean grout becomes less about intense labor and more about smart habits: sealing, ventilating, and acting quickly when stains appear.
Natural cleaning empowers homeowners to take control of their indoor environment without compromising health or effectiveness. Whether restoring a neglected bathroom or preserving newly renovated tilework, these vinegar and baking soda hacks deliver real, lasting outcomes. Start small, protect your surfaces, and watch how clean grout transforms the entire look of your space.


 浙公网安备
33010002000092号
浙公网安备
33010002000092号 浙B2-20120091-4
Comments
No comments yet. Why don't you start the discussion?