
Keyboards are among the most frequently touched surfaces in homes and offices, yet they’re often overlooked when it comes to cleaning. Over time, dust, skin cells, food crumbs, and oils from fingertips accumulate between and under the keys. This buildup not only affects typing performance but can also harbor bacteria and reduce the lifespan of your device. While many people assume deep cleaning requires prying off every key, doing so risks damaging delicate switches—especially on laptops or mechanical keyboards with proprietary stabilizers. Fortunately, you can maintain a clean, hygienic keyboard without ever removing a single key. With the right tools and technique, you can restore functionality and freshness safely and efficiently.
Why You Should Avoid Removing Keys Unless Necessary
While some enthusiasts advocate for full disassembly during cleaning, this approach carries significant risks. On membrane keyboards, keycaps are designed to snap back into place, but repeated removal weakens the plastic hinges over time. Mechanical keyboards fare slightly better, but even high-end models can suffer from misaligned stems or broken clips if handled improperly. Laptops present an even greater challenge: their scissor-switch mechanisms are fragile, and reattaching keys perfectly demands precision few users possess.
Moreover, once removed, matching each keycap to its correct position becomes a puzzle—especially with non-standard layouts or staggered designs. Missing or incorrectly placed keys disrupt muscle memory and typing efficiency. For most users, particularly those without technical experience, a non-invasive cleaning method offers superior results with minimal risk.
“Most keyboard failures after cleaning stem from physical damage during disassembly, not dirt buildup.” — Dr. Lin Zhao, Electronics Durability Researcher at MIT Media Lab
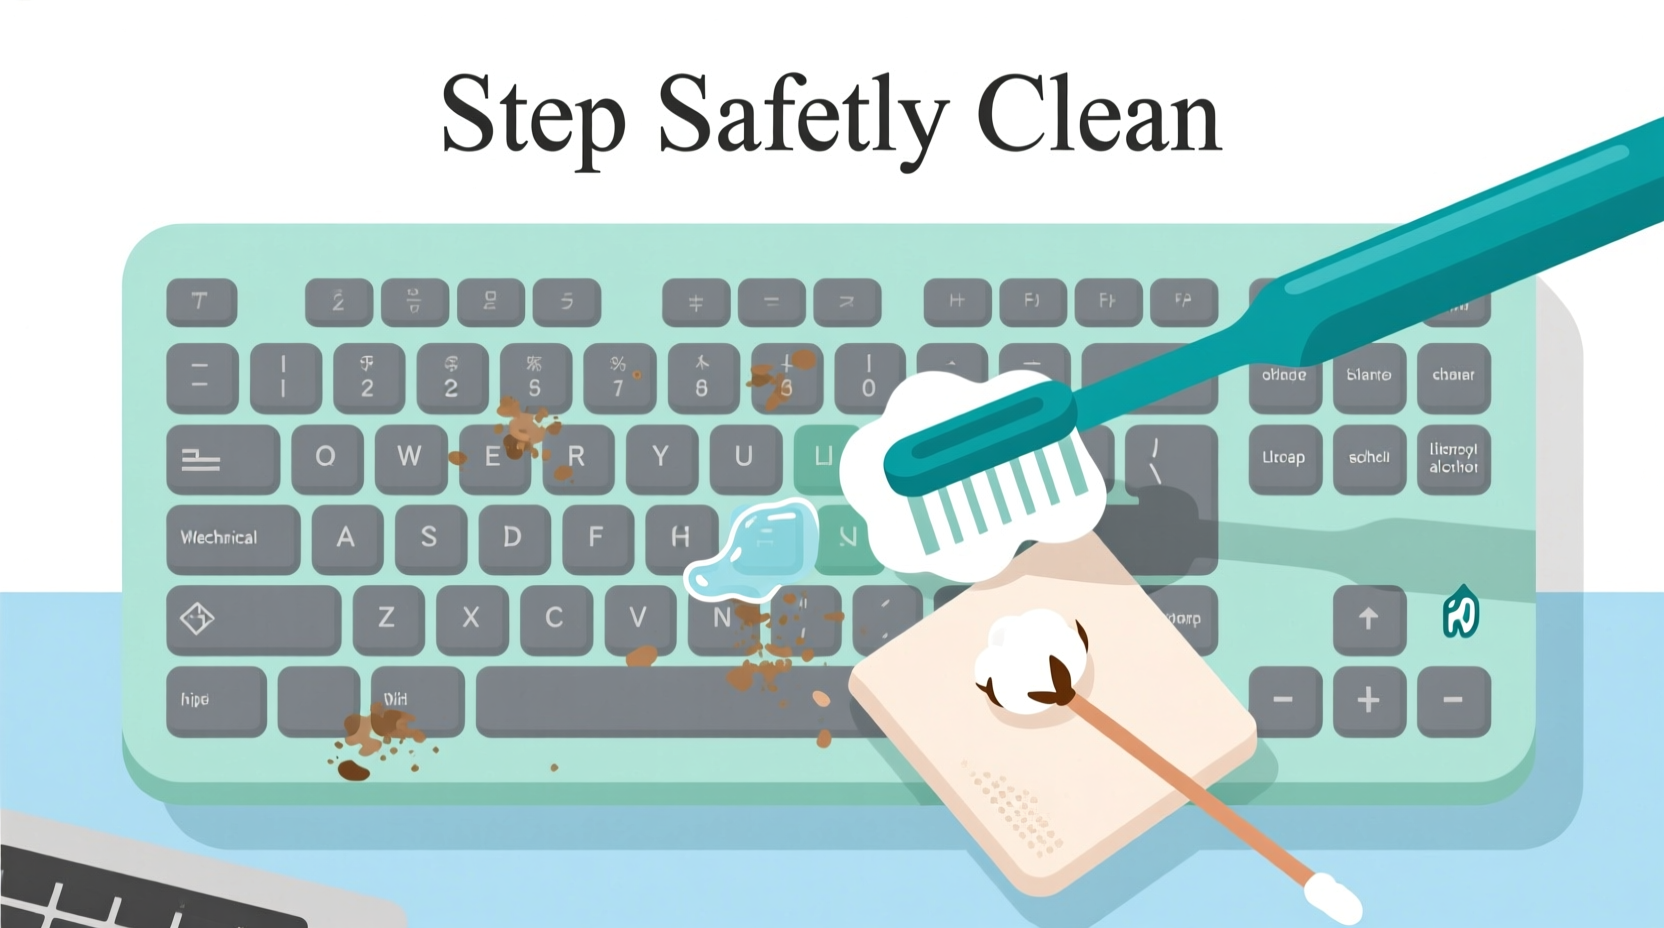
Essential Tools for Safe, No-Disassembly Cleaning
Cleaning without removing keys doesn’t mean compromising on thoroughness. The key is using appropriate tools that reach tight spaces without applying excessive force. Below is a list of recommended supplies:
- Compressed air canister: Blasts out debris trapped beneath and between keys. Ideal for loosening compacted particles.
- Microfiber cloth: Soft and lint-free, perfect for wiping surfaces without scratching.
- Isopropyl alcohol (70% concentration): Effective at disinfecting without damaging plastics or residue buildup.
- Cotton swabs (preferably pointed-tip): Useful for targeted cleaning around key edges and crevices.
- Soft-bristled brush (e.g., clean toothbrush or electronics brush): Gently agitates grime without scratching.
- Plastic dental pick or stylus: Helps dislodge stubborn debris without metal-on-plastic contact.
Step-by-Step: A Complete Non-Invasive Cleaning Routine
Follow this six-step process to deeply clean your keyboard while keeping all keys intact. Perform this routine every 4–6 weeks for optimal hygiene and performance.
- Power down and unplug the device. For desktop keyboards, disconnect USB. For laptops, shut down completely and unplug the charger. This prevents accidental input and protects circuitry from moisture exposure.
- Tilt the keyboard at a 75-degree angle. Hold it so the top edge is higher than the bottom. This prevents dislodged debris from falling deeper into switch housings.
- Use compressed air to flush out debris. Spray short bursts between rows of keys, moving systematically from top to bottom. Focus on areas near spacebar, Enter, and Shift keys—common crumb traps. Do not shake the can upside down, as propellant liquid may spray out and damage components.
- Dampen a microfiber cloth with isopropyl alcohol. Wring it thoroughly until only slightly moist. Wipe across the tops and sides of all keys, applying light pressure. Let the solvent evaporate naturally—do not blow on keys or use heat to dry.
- Clean interstitial gaps with cotton swabs. Dip a swab tip lightly in alcohol, then gently rotate it between keys. Replace swabs frequently as they collect grime. For tight spaces, wrap a small piece of microfiber around a plastic pick and slide it sideways beneath key edges.
- Final brush pass and inspection. Use a dry soft-bristle brush to sweep away any remaining loose particles. Check for lingering stickiness or haze; repeat spot treatment if needed.
This entire process should take no more than 20 minutes. Allow the keyboard to rest for 5–10 minutes before reconnecting or powering on, ensuring all moisture has fully evaporated.
Do’s and Don’ts of Keyboard Maintenance
| Do’s | Don’ts |
|---|---|
| Use 70% isopropyl alcohol for disinfection | Submerge the keyboard in liquid |
| Clean regularly—every 4 to 6 weeks | Wait until keys feel sticky to clean |
| Store covered when not in use (e.g., silicone skin) | Eat over the keyboard daily |
| Use compressed air quarterly | Use a vacuum cleaner directly on keys (risk of static discharge) |
| Wipe keys with a dry cloth weekly | Scrub aggressively with abrasive materials |
Real-World Example: Office Worker Restores Productivity
Jamal, a technical writer based in Denver, noticed his laptop keys were becoming increasingly unresponsive, especially the 'E' and 'R' keys—two of the most-used letters in English. He initially assumed hardware failure and budgeted for a replacement keyboard. Instead, he decided to try a deep clean using the no-removal method. After following the step-by-step routine, including two rounds of compressed air and alcohol-swab detailing, he found that keystroke registration improved dramatically. “It felt like getting a new keyboard,” he said. “I saved $120 and extended my laptop’s usable life by over a year.” His experience highlights how minor maintenance can prevent premature equipment replacement.
When Removal Might Be Necessary (And How to Minimize Risk)
There are rare cases where non-invasive methods fall short. Severe spillages (such as sugary drinks), visible mold growth, or persistent double-typing despite cleaning may require partial disassembly. However, proceed cautiously:
- Only remove keys showing issues—don’t strip the entire board.
- Use a proper keycap puller for mechanical keyboards; never use metal tools.
- Photograph the layout before removal to aid reinstallation.
- Soak keycaps in warm, soapy water for no longer than 30 minutes. Dry completely before replacing.
Laptop users should avoid removal unless under professional guidance. Most manufacturers do not support user serviceability, and warranty terms may be voided.
Frequently Asked Questions
Can I use hand sanitizer to clean keyboard keys?
No. Hand sanitizers typically contain glycerin and fragrances that leave behind a sticky residue. While they include alcohol, the added ingredients compromise their suitability for electronics. Stick to pure isopropyl alcohol (60–70%) for best results.
How often should I clean my keyboard without removing keys?
A light wipe-down with a dry microfiber cloth should happen weekly. A full cleaning with compressed air and alcohol swabs is recommended every 4–6 weeks for average users. Those who eat at their desks or work in dusty environments should clean every 2–3 weeks.
Is it safe to use disinfectant wipes on a keyboard?
Only if they are specifically labeled safe for electronics. Standard Clorox or Lysol wipes contain too much moisture and harsh chemicals. Pre-moistened electronic wipes with alcohol content below 80% are acceptable, but always wring out excess liquid before use.
Expert-Backed Checklist for Long-Term Keyboard Health
To ensure lasting cleanliness and performance, follow this monthly maintenance checklist:
- ✅ Power off and unplug the keyboard
- ✅ Blow out debris with compressed air (angled downward)
- ✅ Wipe key surfaces with alcohol-dampened microfiber cloth
- ✅ Detail between keys using cotton swabs or wrapped cloth
- ✅ Brush away residual particles with a soft-bristle tool
- ✅ Inspect for missed spots or lingering stickiness
- ✅ Allow 10 minutes of drying time before use
- ✅ Reapply protective cover or skin if available
“The average keyboard carries 20,000 times more bacteria per square inch than a toilet seat. Regular cleaning isn’t just about function—it’s a health imperative.” — Dr. Naomi Patel, Environmental Hygiene Specialist, Cleveland Clinic
Conclusion: Make Cleanliness Part of Your Digital Wellness Routine
Your keyboard is a critical interface between you and your digital world. Keeping it clean enhances both performance and personal well-being. By adopting a safe, no-removal cleaning routine, you protect sensitive components while eliminating harmful contaminants. The process is quick, cost-effective, and accessible to everyone—no special skills required. Integrate these practices into your regular workspace maintenance, just as you would organize files or update software. A few minutes every month can extend your keyboard’s life, improve typing accuracy, and contribute to a healthier environment.


 浙公网安备
33010002000092号
浙公网安备
33010002000092号 浙B2-20120091-4
Comments
No comments yet. Why don't you start the discussion?